Device: Lenovo Yoga 920, WD Blue SN550
Recently I bought a very cheap discounted new M.2 SSD (WD Black SN750 1TB) for upgrading my workstation. Then I got the replaced SSD on my workstation was a WD Blue SN550 500GB. I decided to use it to upgrade my wife’s laptop because her laptop originally came with 250GB, which was easily been filled in with Windows system.
Tear Down
-
Removing the backplate was trivial. There were 10 screws. I used a flower shape screwdriver to remove all of them. I placed the case screws into a small box because they are different than the following screws and I have no interest in mixing them together.
-
After removing the backplate, I was astonished because there was no SSD slot. I confirmed with some materials online and realized the SSD was lying between the motherboard and keyboard, which was a very bad design in terms of maintenance. Then I started to figure out a way to the SSD.
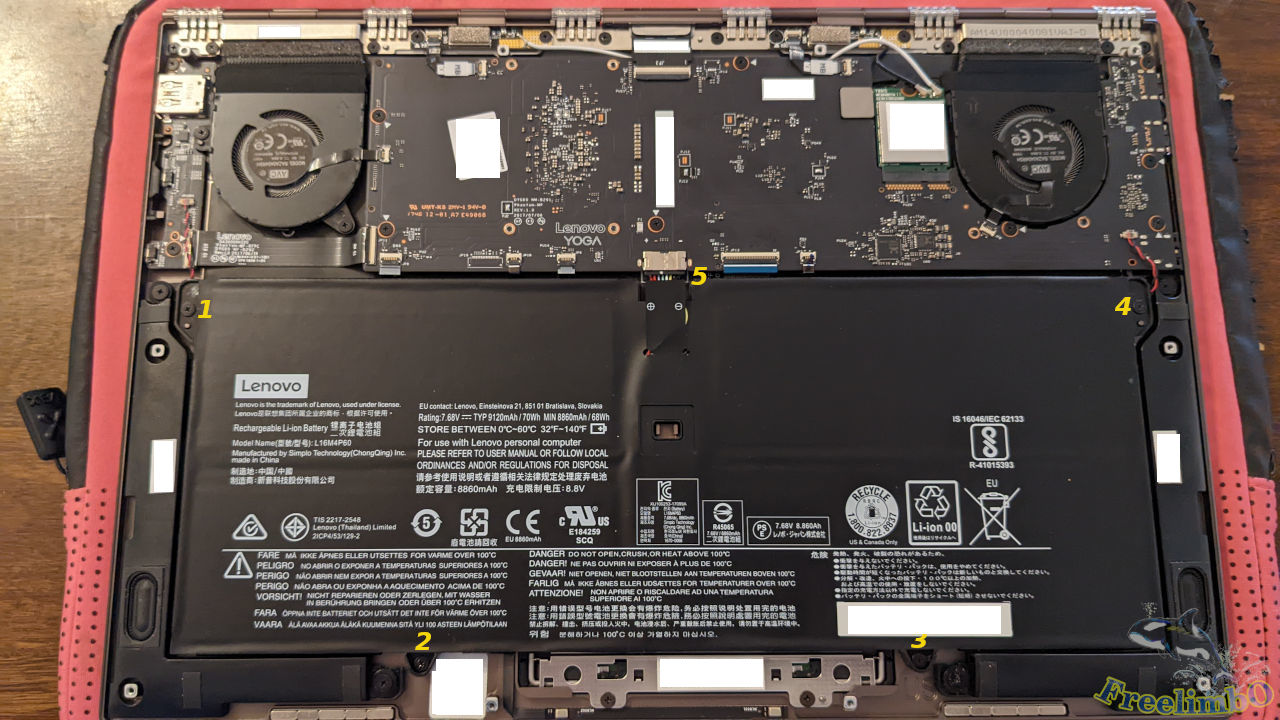
The first step is to remove the battery. There were four screws, labeled as 1 to 4, around the battery. I removed them before handling the fragile power bus, labeled as 5. The power bus can be easily broken, so I need to use my tweezers to clamp the left and right sides of the plug, and alternatively press and pull the plug until it fell off. Use caution, this part should be the hardest in the entire upgrading process.
- I checked with some guides online and realized that I needed to take the MB with one speaker and two system fans.

Once the battery was removed, I followed some guides online to remove the screws of the speaker on the bottom right corner. The sequence of taking down screws was marked with yellow numbers. The green marks were for the buses, which were not as delicate as the one for the battery but I still use my gentlest way to unplug them. Remember to separate the speaker’s screws because they were also different than the MB screws.
- Replacing the SSD.
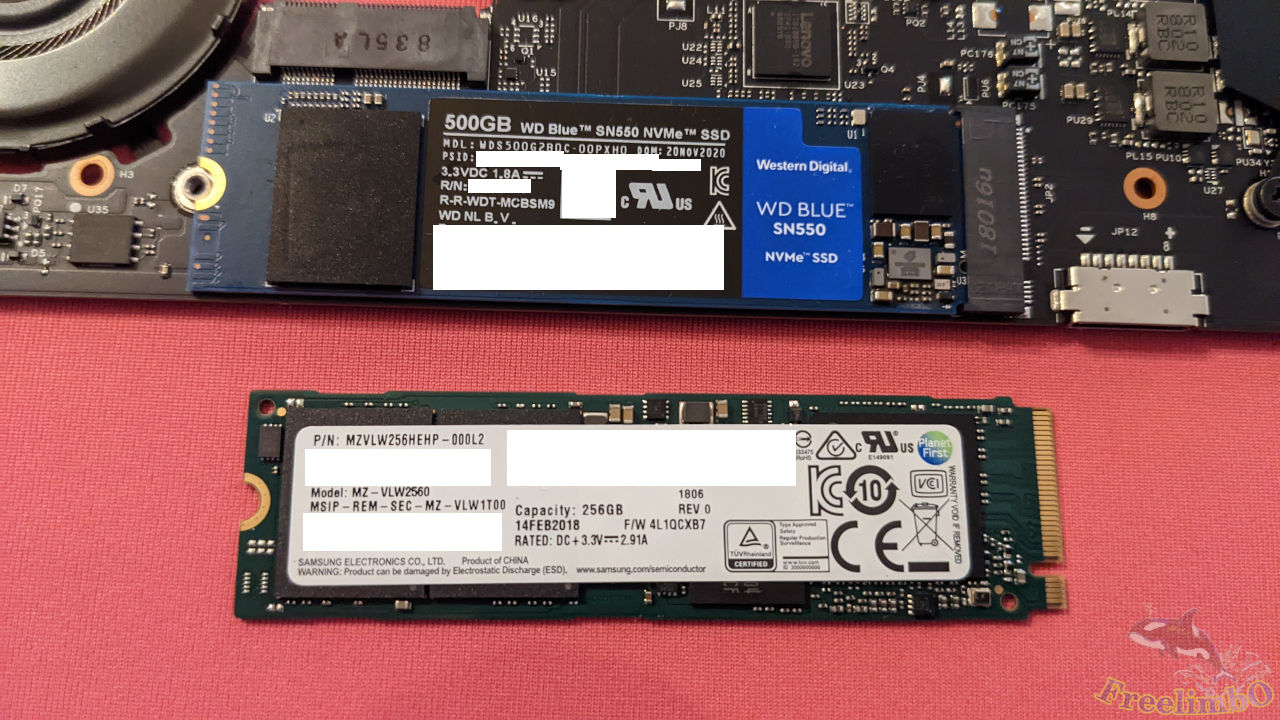
Taking the MB with one speaker out of the laptop also require some caution because the connecting wires between MB and the speaker were fragile as well. I need to hold them together while flipping them onto the desk. Remember to ground your hands since without the protection of the metallic case, the electronic parts can easily get damaged with electric static discharge (ESD). Then I quickly changed the SSD on the MB and took a picture with the replaced 256GB shown on the bottom. The Original one was from Samsung, of which the writing speed was slower than the WD blue.
Assembling Everything.
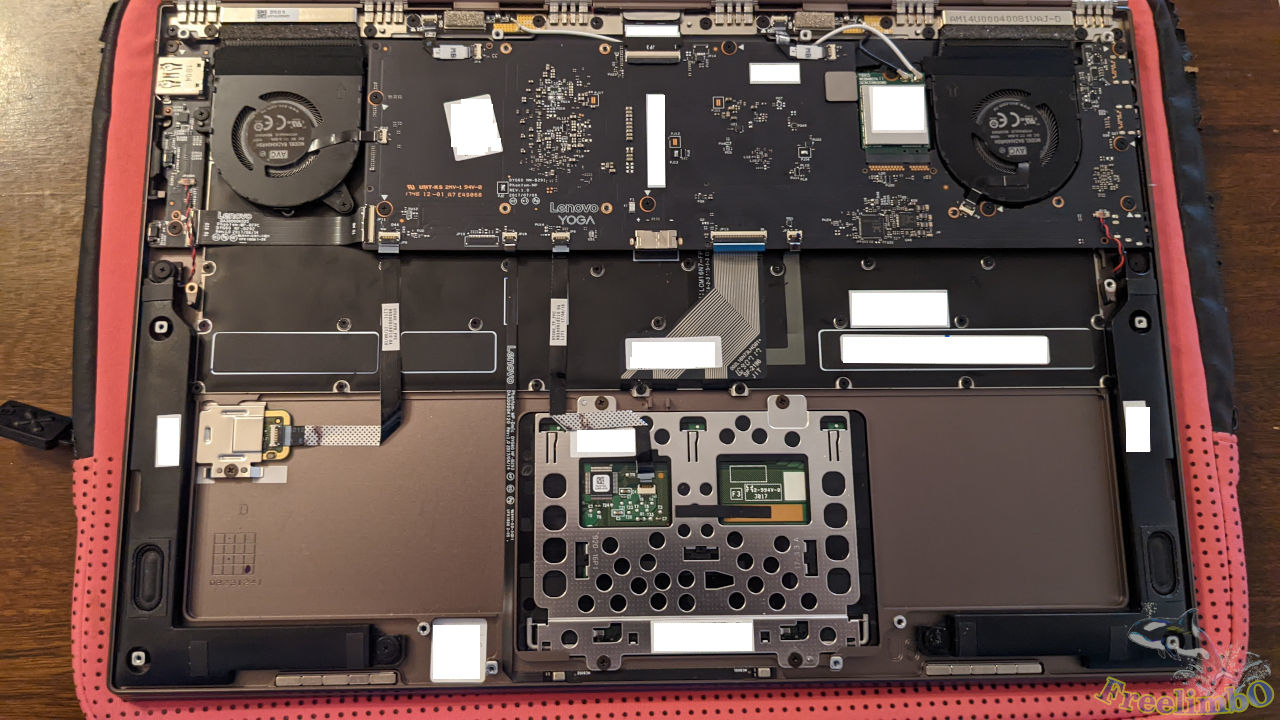
Then I flipped back the MB and speaker and got started to assemble everything. Watch out for the 8 tiny buses. They can be damaged at this step if you press too much on them. After making sure all the bus plugs were put on the MB and then I started to tighten back all screws. While plugging the buses back to the MB, I carefully pushed all of them to the very ends of all slots to avoid any contact issues. The assembling of the battery was relatively easy.
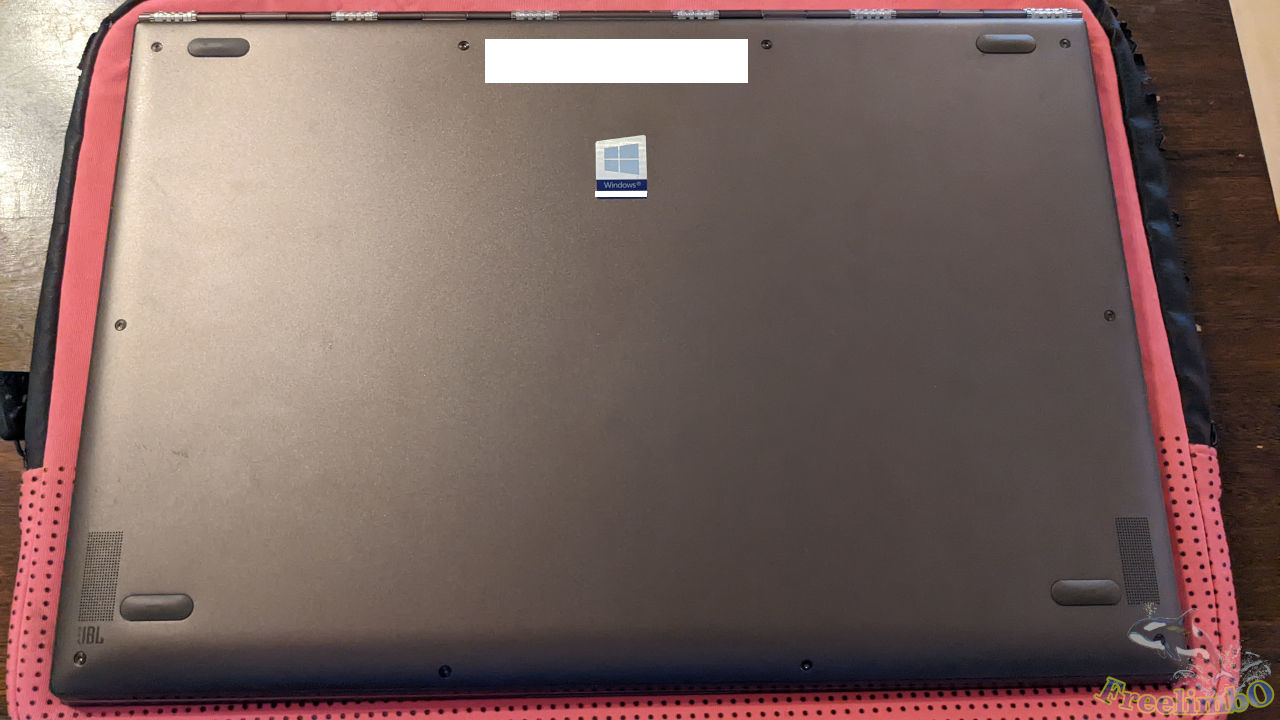
Putting back the back-plate, without knowing if I have broken anything.
Booting Up the System.
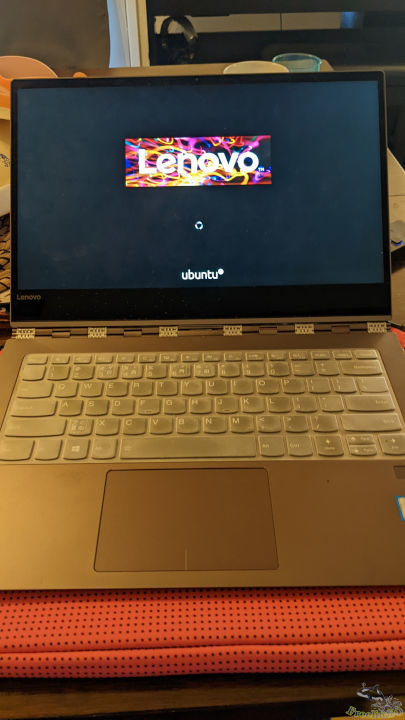
Yeah, the workstation OS was still on the 500GB SSD, and looked like the Ubuntu was detecting the new hardware because its booting time was longer than usual.
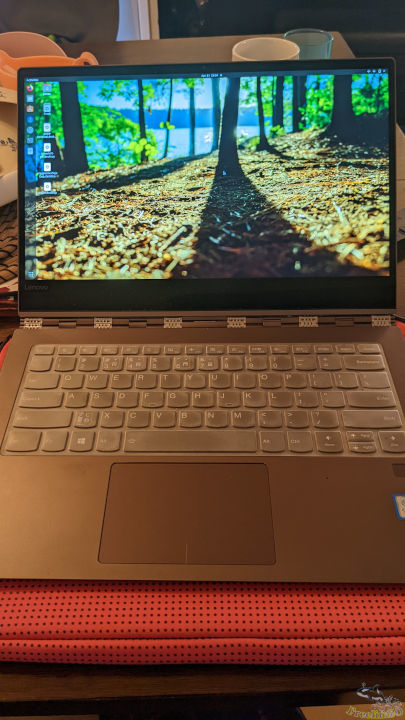
Good to see the desktop on my wife’s laptop. I tried the keyboard, touchpad, speaker, touch screen, and the flipping hinge. Everything worked as before.
Cloning Windows from the 256GB to 500GB
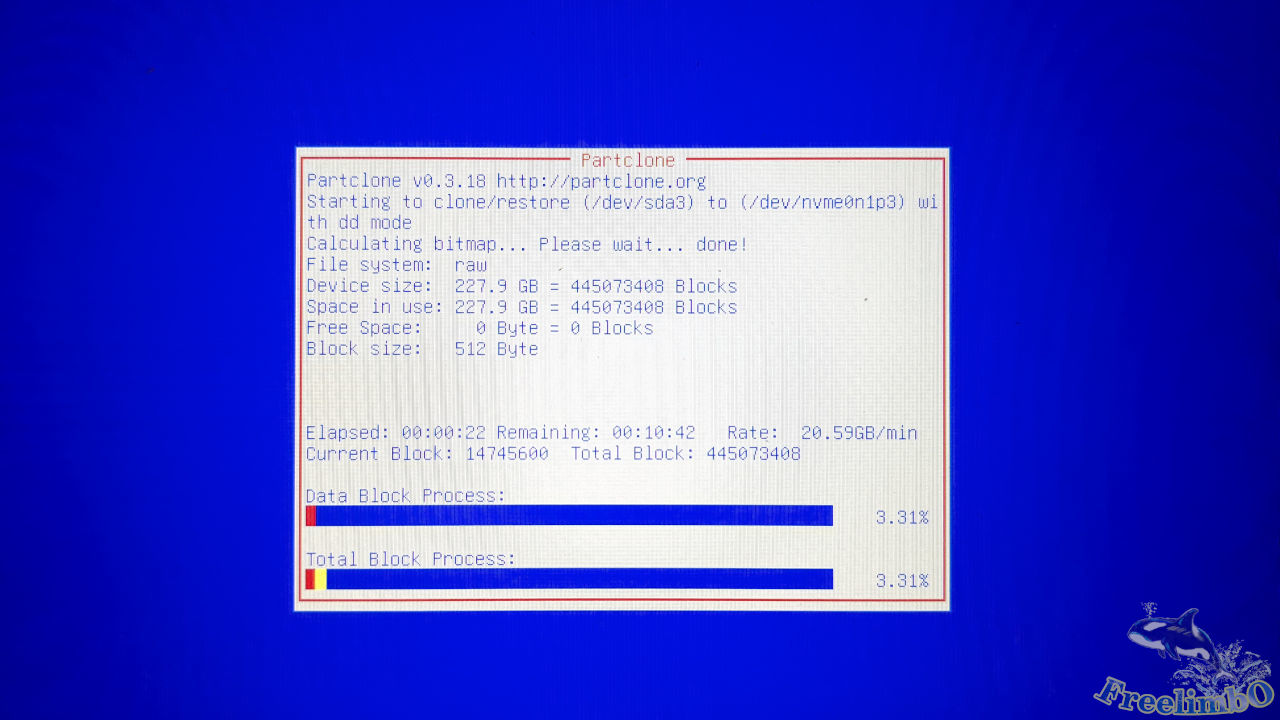
I moved on to use Clonezilla for the whole disk cloning. The process was straightforward and brainless since the tool was very well designed. After entering Windows, I extended the primary partition to take up the whole disk. That’s it. The upgrade was successful, and my wife is happy to have larger disk space now.