Lubing Kit: RUNJrX
Switch: Gateron Silent Brown
Baseplate: GMMK Compact Black
Last time, I built my own customized 60% Silent Brown mechanical keyboard.
It looked great and worked flawlessly in the aspect of LED lighting and key striking, but there was two things seriously bothered me. First, some switches occasionally made high pitch creepy sounds that made me feel super uncomfortable. The other thing was the scratching feeling during the key pressing. The two problems together almost drove me crazy.
I searched online solutions and found that lots of people experienced the same terrible scratching sound the first time they got their brown switch keyboard. After a period of use, both the sound and scratching feeling would disappear. But I have no patience keep using such an uncomfortable keyboard every day to wait for its maturity.
Luckily, someone mentioned that lubing switches can immediately remove both the terrible sound and the touch.
RUNJrX Lubing Kit
I did a little bit of comparison on Amazon and decided to give this lubing kit a try.
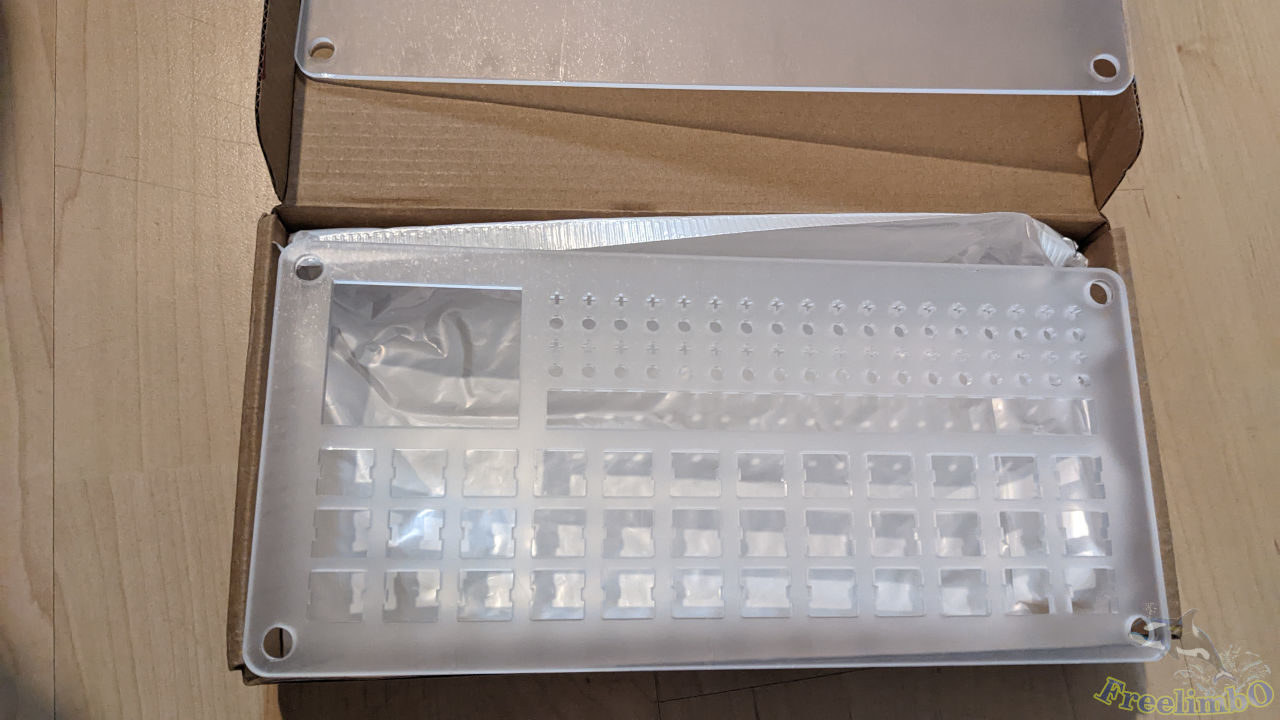
It came with a lubing platform to hold 36 sets of bottom housings, stems, and springs.
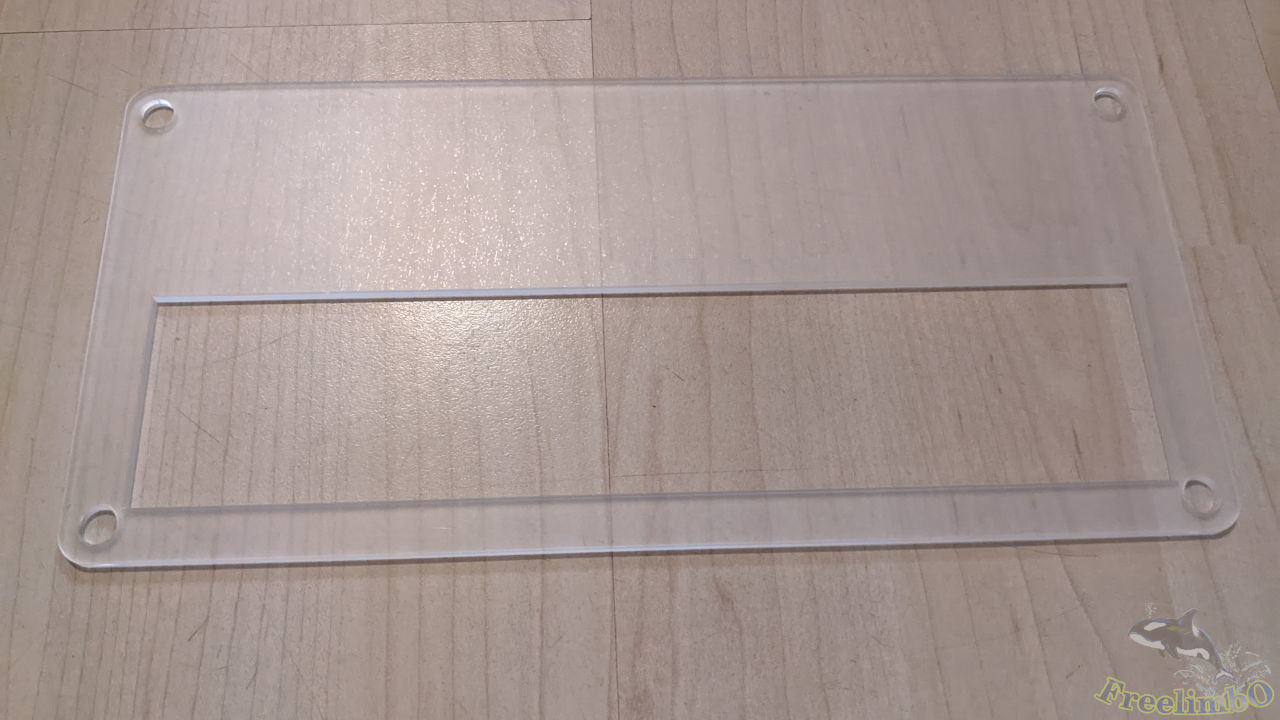
The second layer of the platform.
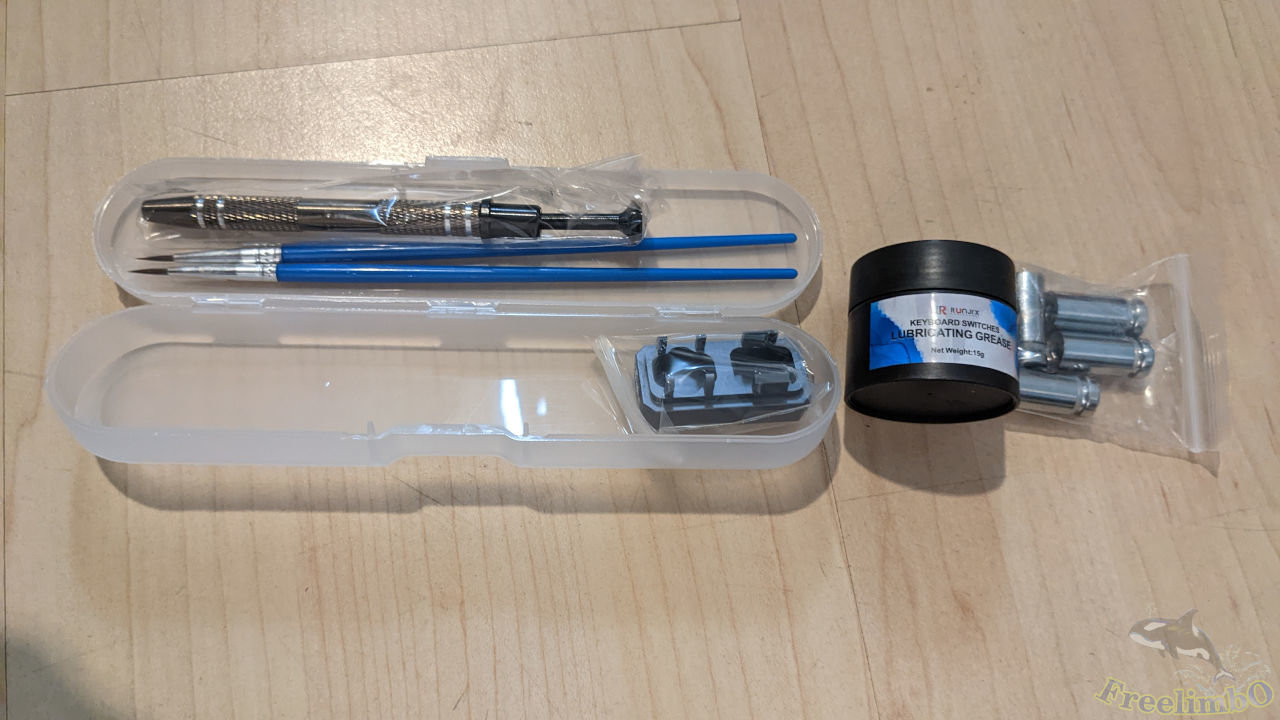
A box containing a stem grabber, two brushes, one switch housing opener. A lubing grease and four metal legs of the platform.
Removing Caps
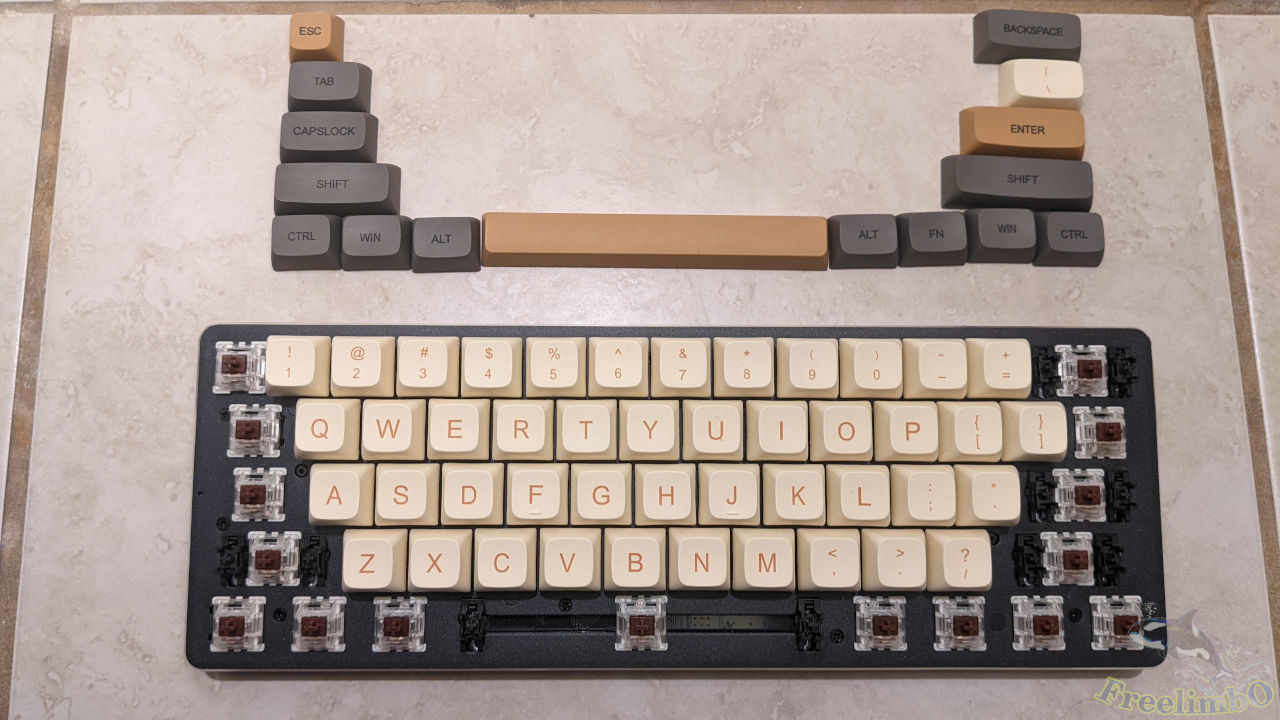
Once again, I set off to remove all keycaps.
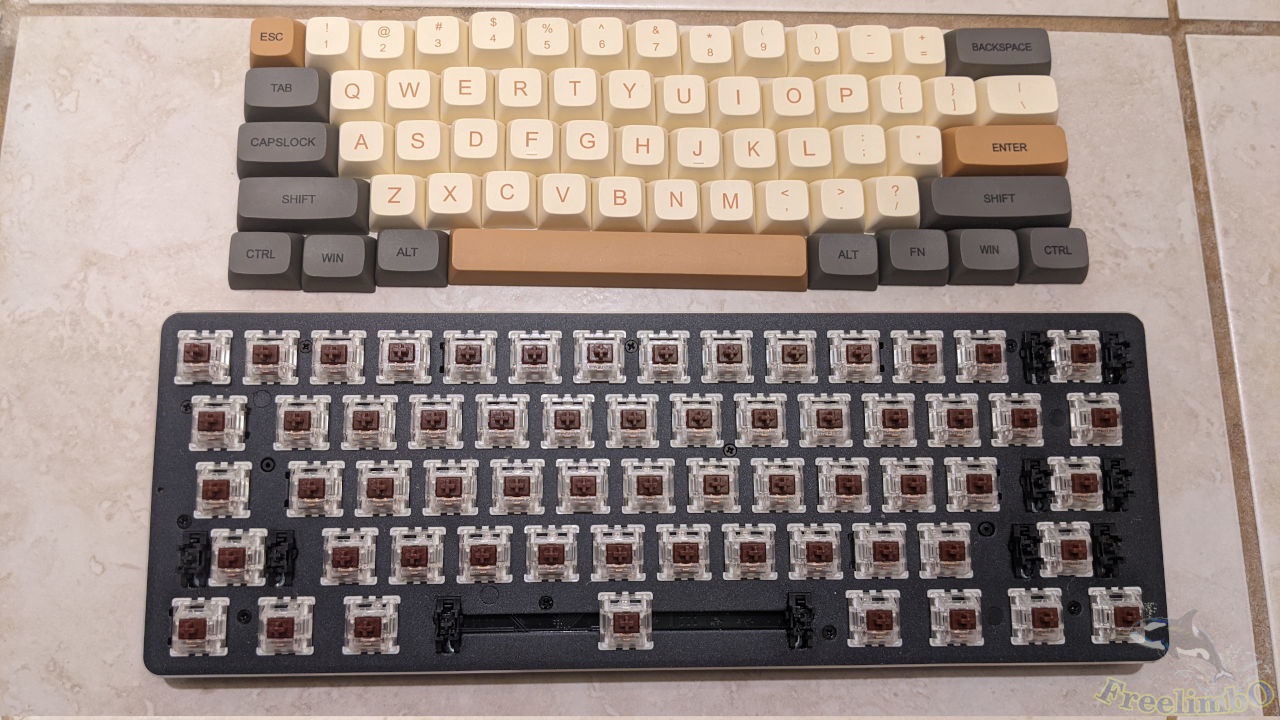
61 caps removed.
Disassembling Switches
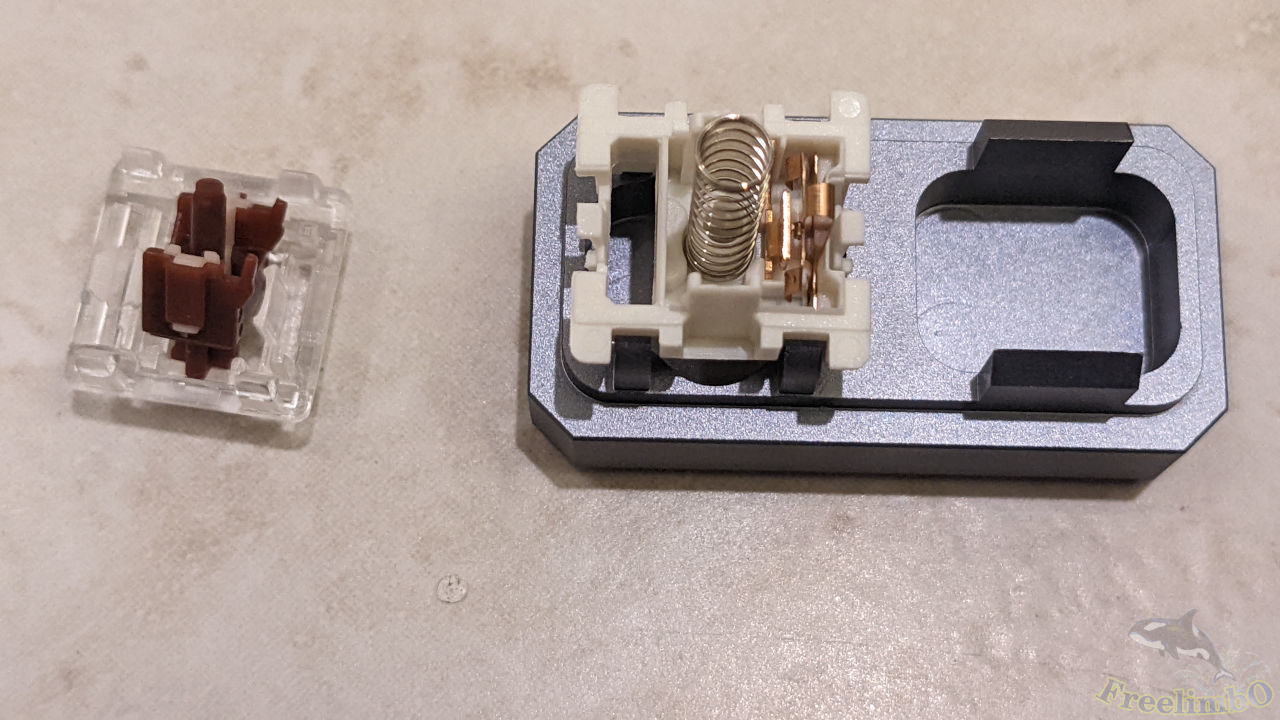
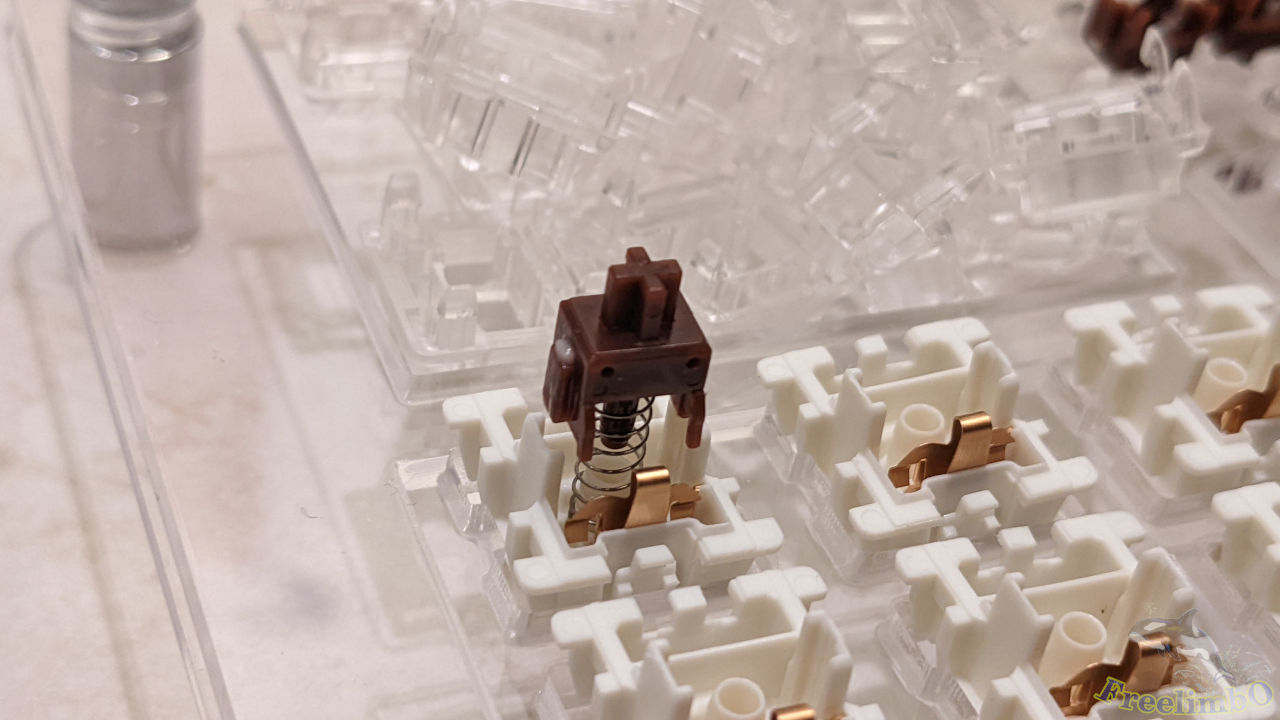
The switch opener worked for almost all brands. I used the four-leg opener to open my Gateron Silent Brown switch.
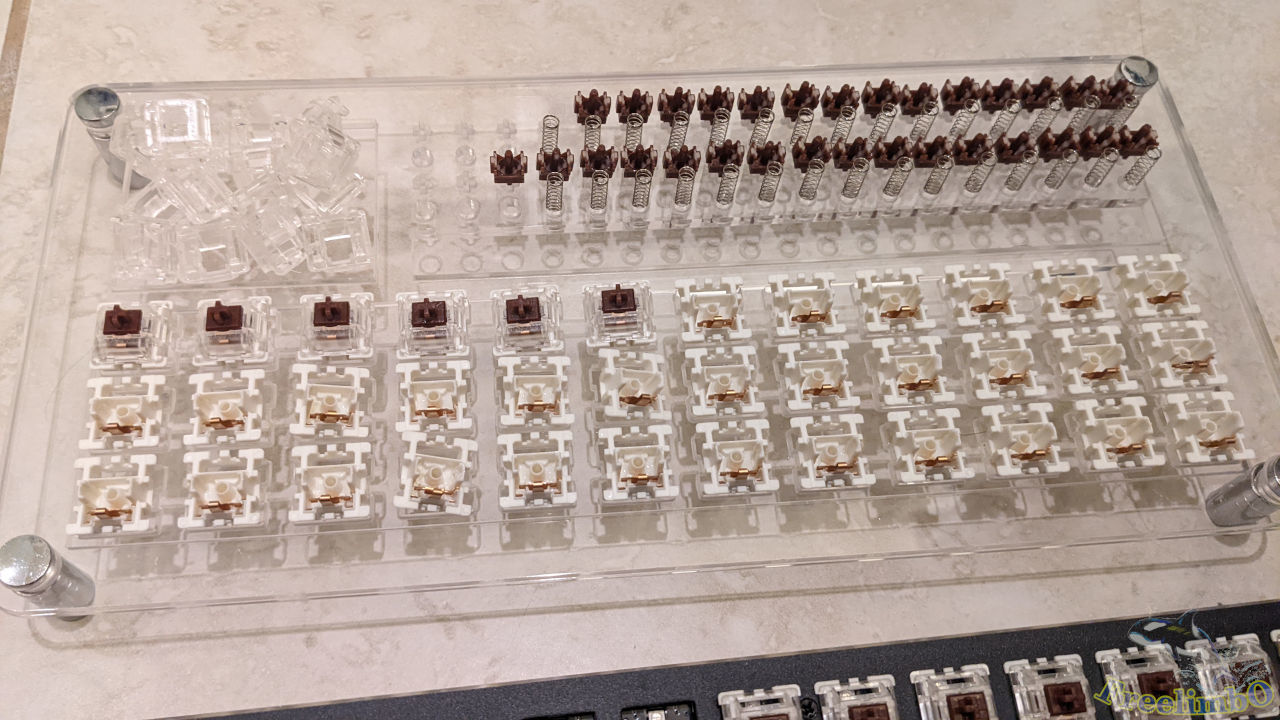
This was also my first time seeing the internal structure of a mechanical switch. On the left, I got the translucent top housing and the brown stem. The remaining parts on the opener were the milky bottom housing, copper conductive leaves, and the spring. The tactile feeling of a brown was created by the two tiny legs and the knot on one metal leaf. The spring provided a repelling force for the stem and cap to resile back to their original height.
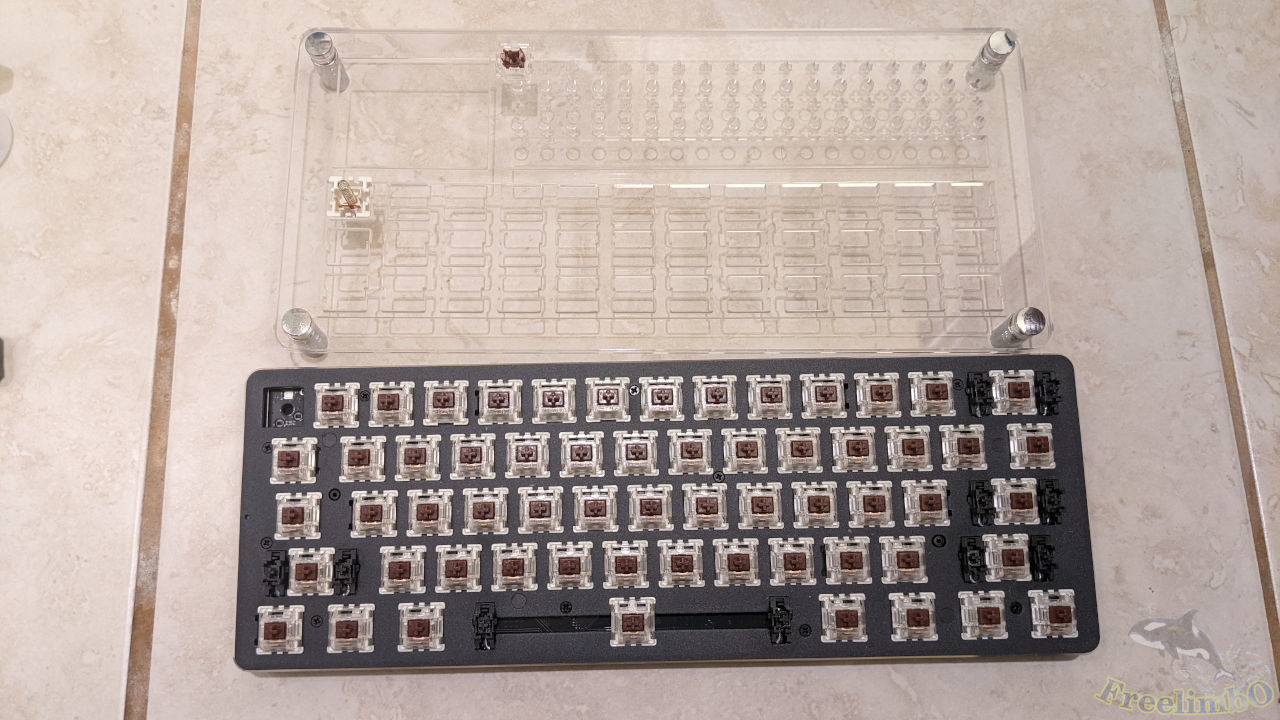
Getting started to disassemble the first 36 switches. The lubing platform can fix the bottom housing and the stem for lubing, which greatly facilitated the lubing.
Keeping on.
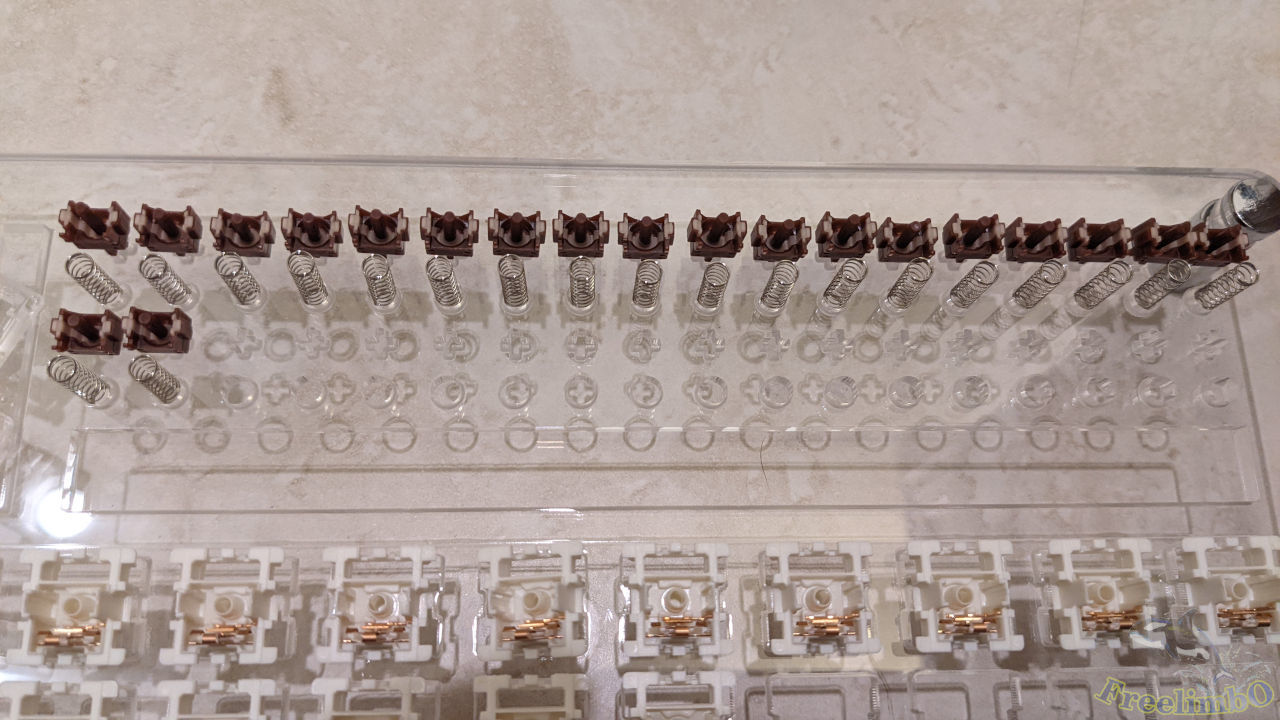
A close look at the stem-holding area.
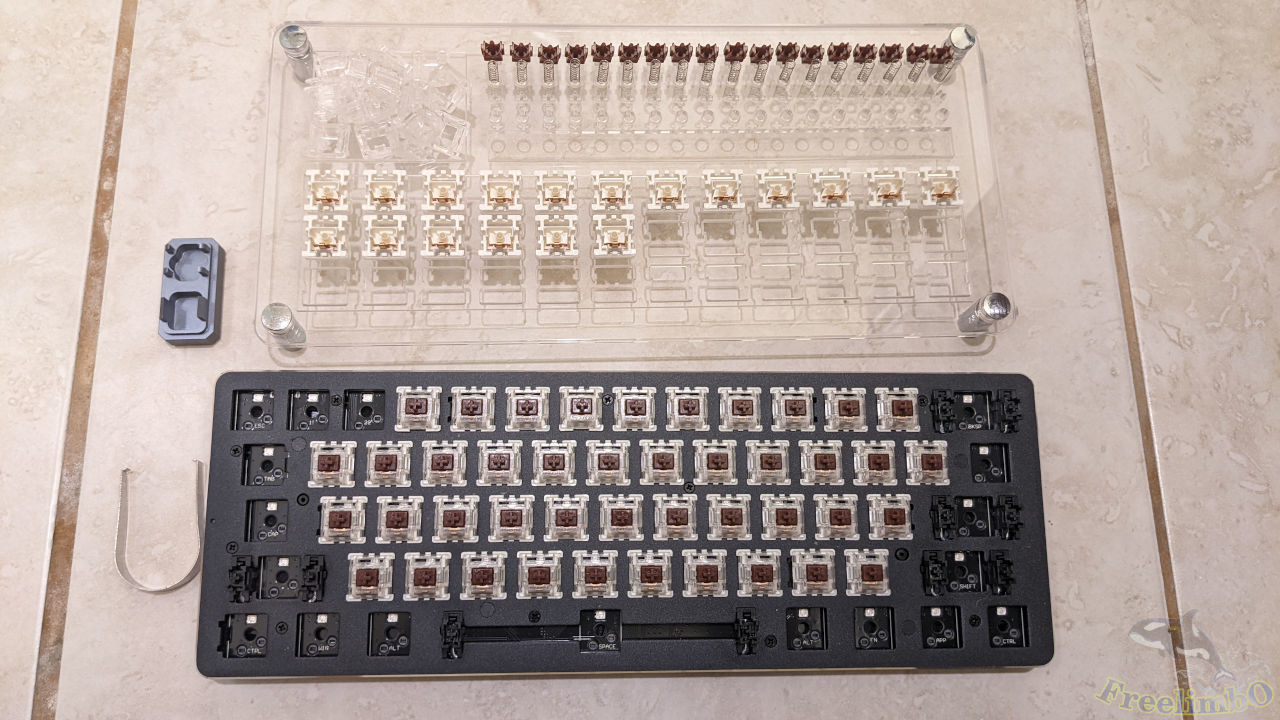
Just showing my switch puller and opener. The process was quite repetitive and kind of tedious. I needed to pull the switch, put it on the opener, and press two sides of the switch down.
If you are wondering how the opener works, here is the short video for your reference:
it only created a gap between the top and bottom housings, and you still need to open the switch with your nails.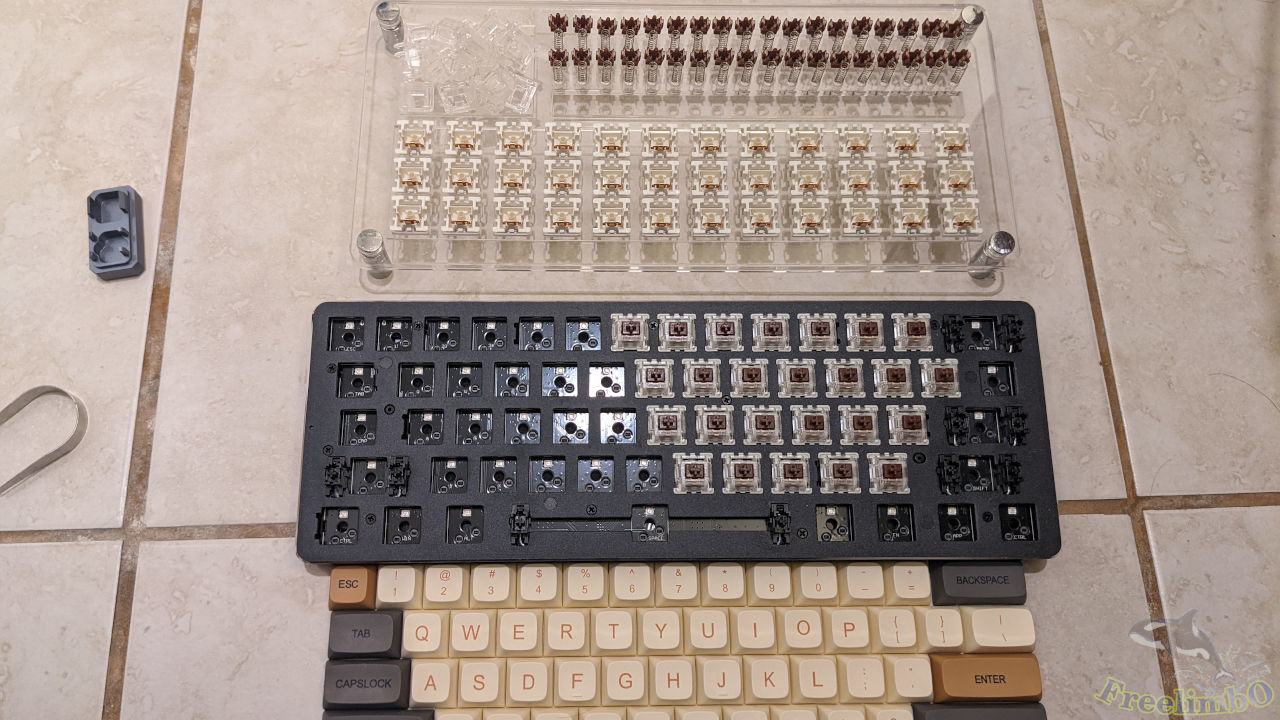
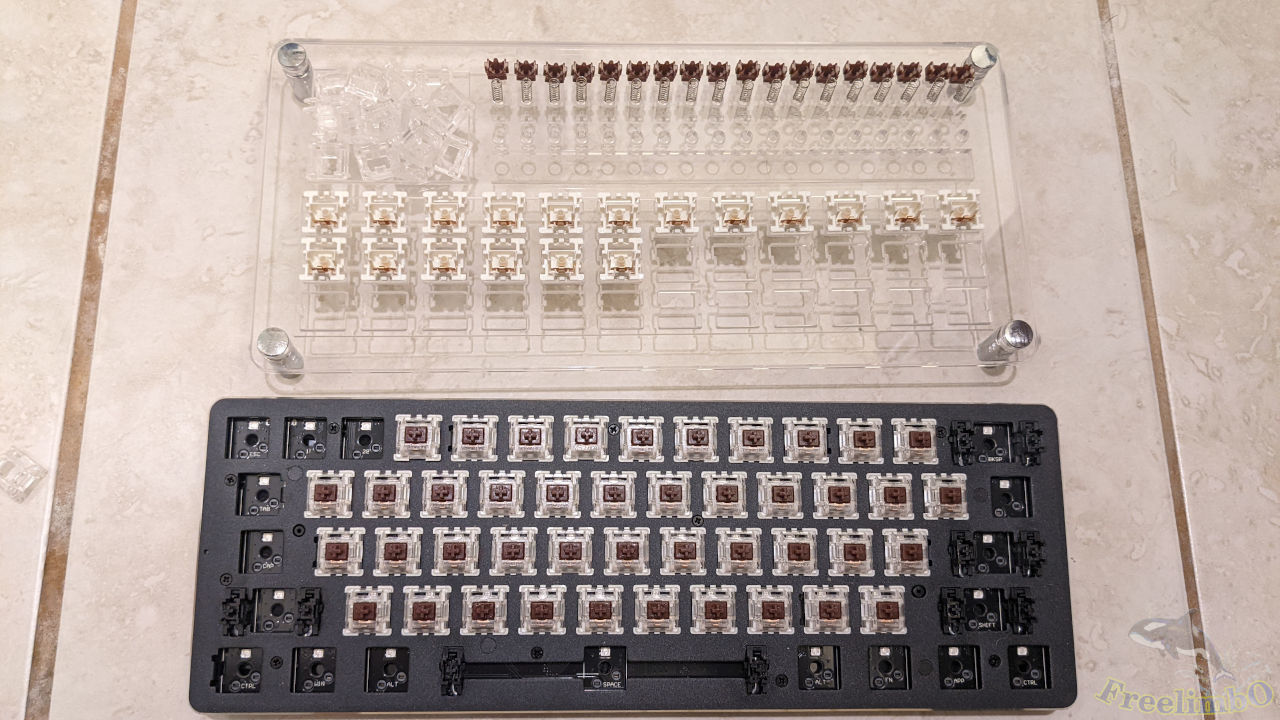
Done with the first 36 switches.
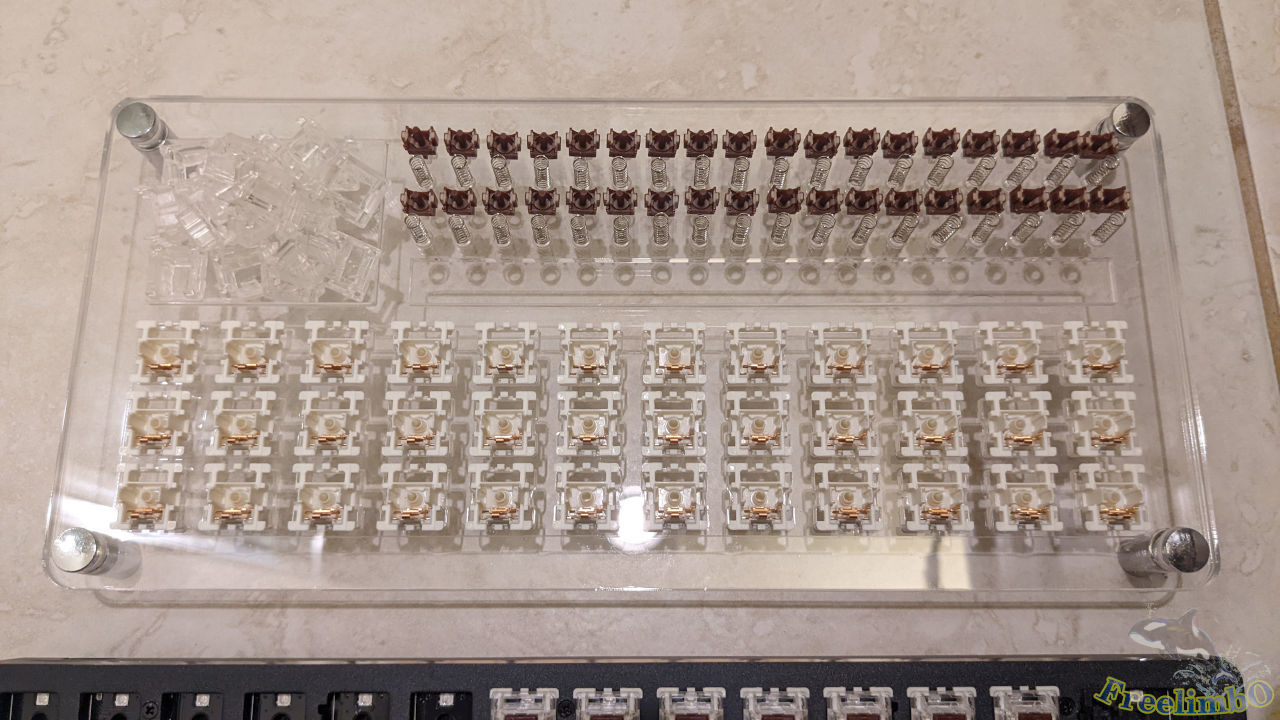
A close look at the fully loaded platform.
Lubing Switches
This is my first time lubing mechanical switches. I did some search online, and learned that I should avoid lubing the metal contact leaves. Otherwise, the baseplate might get damaged.
Here are the videos for my lubing steps:
1. Bottom Housing and Stems
The detailed steps:
- For the bottom housing, I lubed the rails and the floor.
- For the stem, I lubed the center pole and the side without short lags.
A video might demonstrate the steps better:
2. Bag Lubing Springs
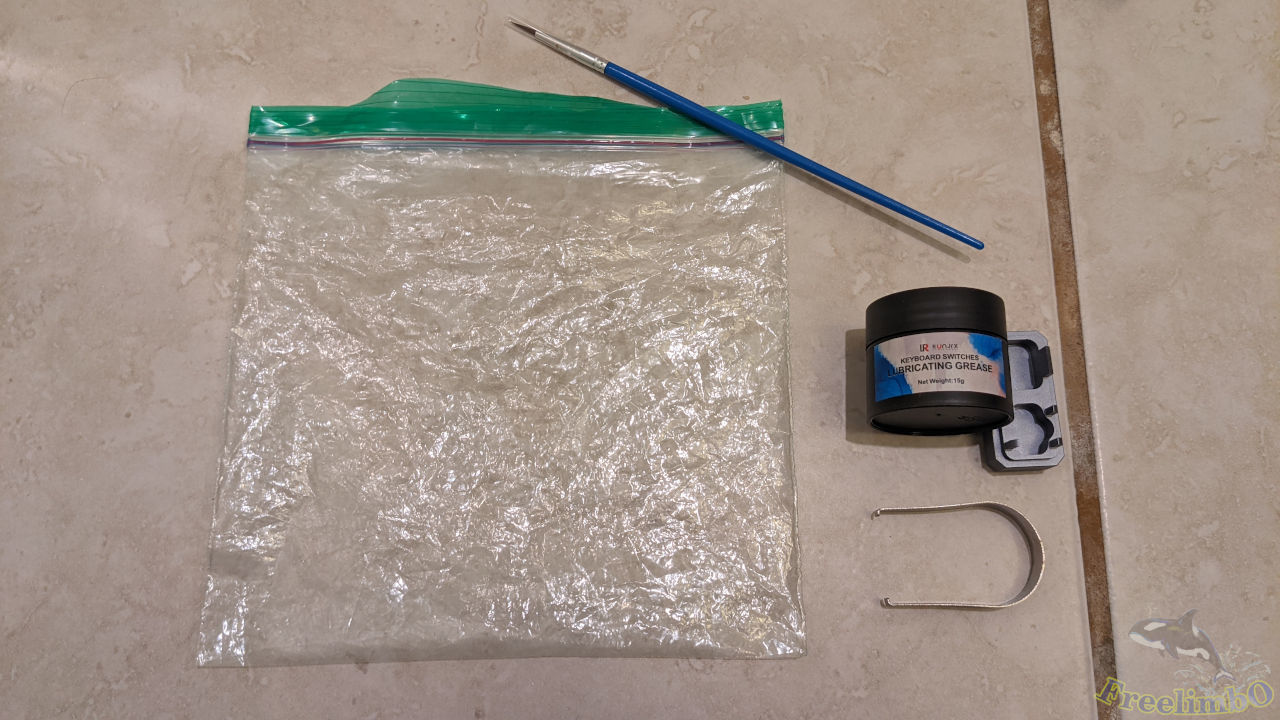
Regarding the springs, I followed some videos to use a method called bag lubing.
- Putting some grease into the bag,
- Putting springs into the bag,
- Breathing to inflate the bag,
- Sealing the bag and shaking it for 1 minute.
Then I can use tweezers to pick up the evenly lubed springs for assembling.
Assembling Switches
This step required extra caution. I put the springs back into the bottom housings, and then cover the spring with the stems. The short legs on the stems must face the conductive leaves; otherwise, the switch cannot send out any signal upon being pressed.
Here is a video of the assembling step:
Reinstalling Switches
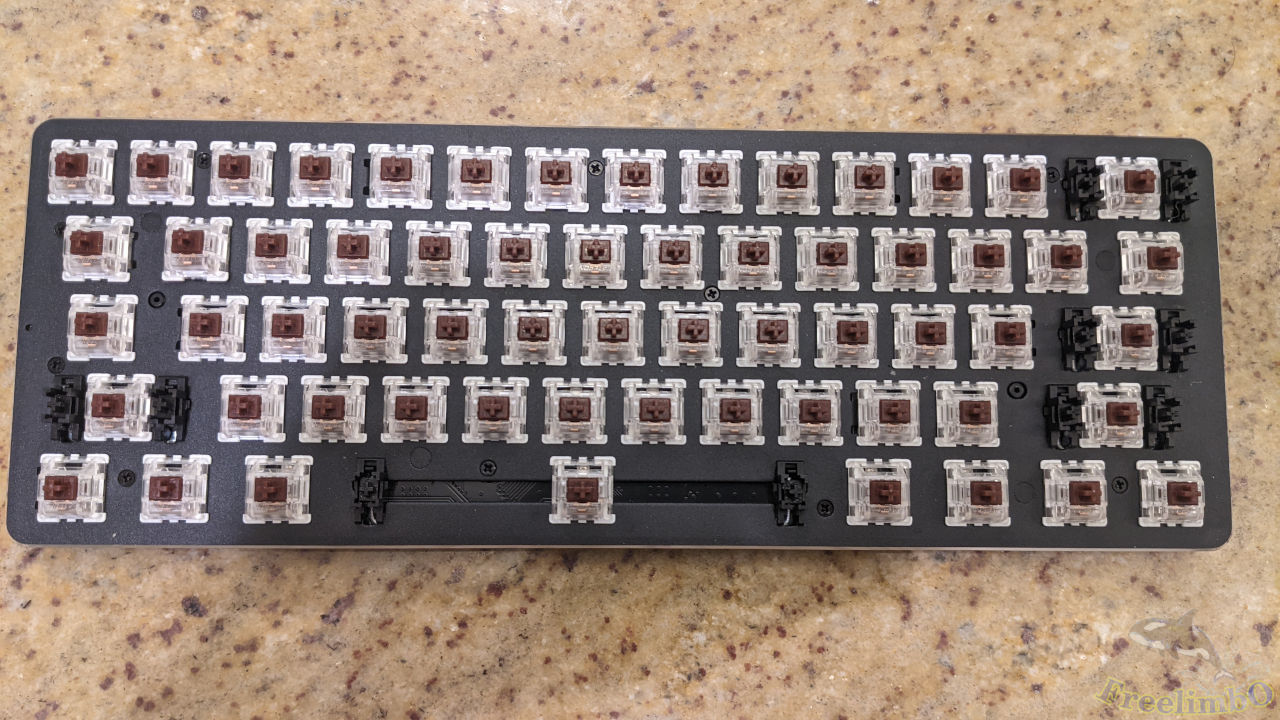
Installed all lubed 61 switches back to the baseplate.
Comments After Lubing
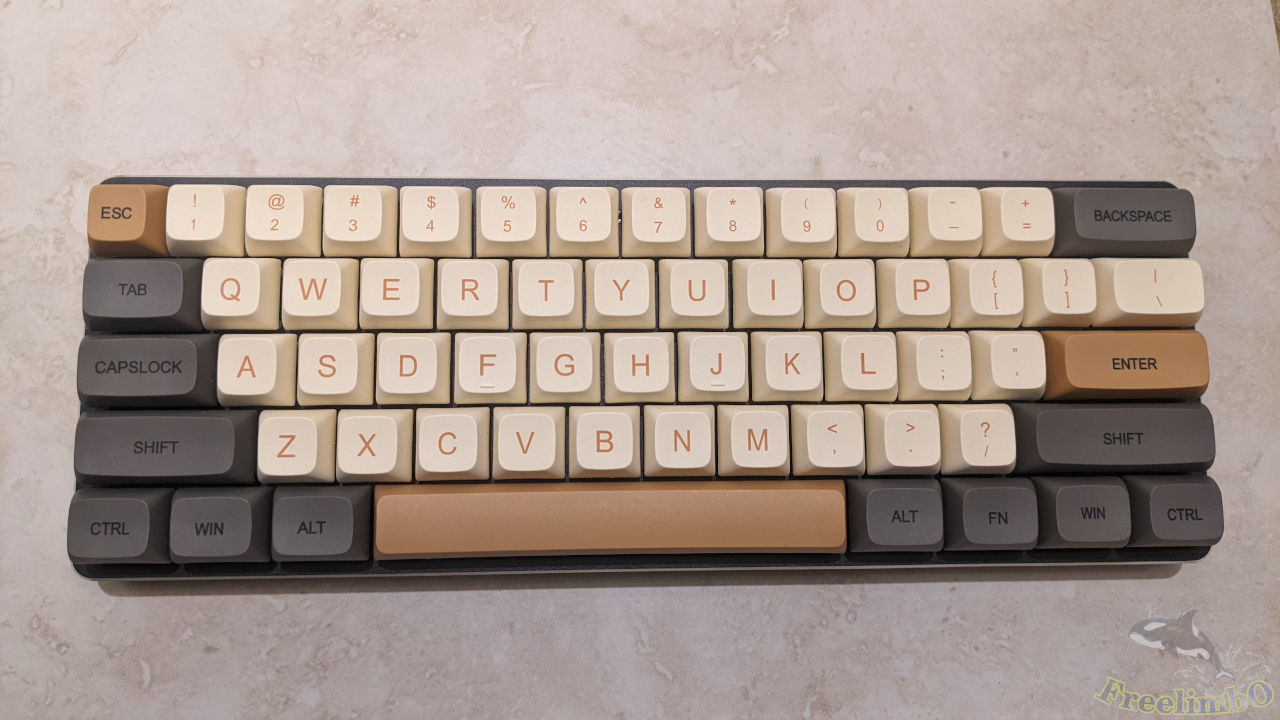
Finally, the keycaps were reinstalled as well.
Now the annoying high pitch sound and creepy scratching touch were all gone. I got my real silent brown mechanical keyboard. I can enjoy the tactile touch and decreased thicc-thocc typing sound after the lubing. It roughly took me 2.5 hours to finish the lubing because it was my first time doing so, but the final quality was really worthy. Not sure whether I need to lube the switches again soon, but I will keep updating if it happens. I think that the ease of lubing was also an important advantage of a hot-swappable baseplate. I heard GMMK also selling pre-lubed Panda switches. Maybe next time I should directly buy some from them.