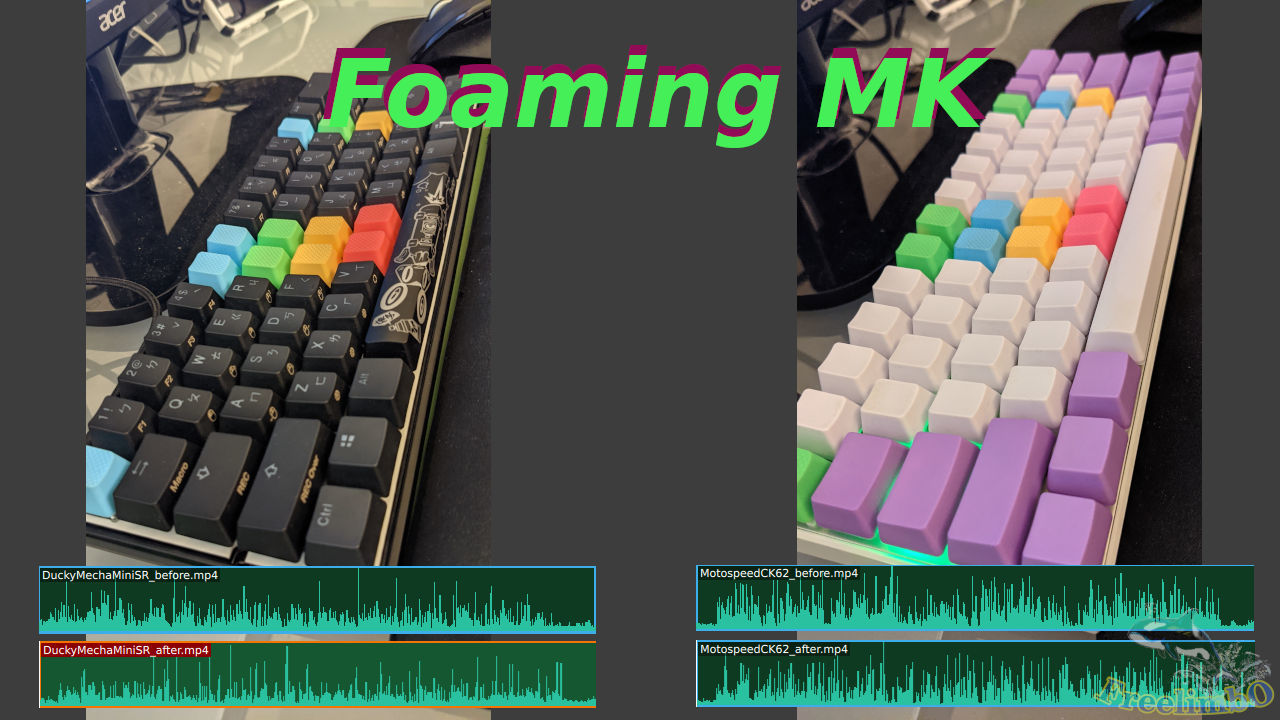
Devices: Ducky Mecha Mini, Motospeed CK62, and Sorbothane damping film.
The switches of my main keyboard were Cherry MX silent red, which was already very quiet, but I still thought there existed certain room for improvement since I had already tried the quietest small form factor mechanical keyboard in the world, which was the Leopold FC660M Silent Red. Although they were all using silent red switches, the Leopold FM660M was even quieter because it had a damping foam under the base plate of the keyboard. Therefore, I decide to foam my Ducky Mecha Mini with an expensive damping film, and I would like to document it down here. The damping film I used was the Sorbothane
Ducky Mecha Mini
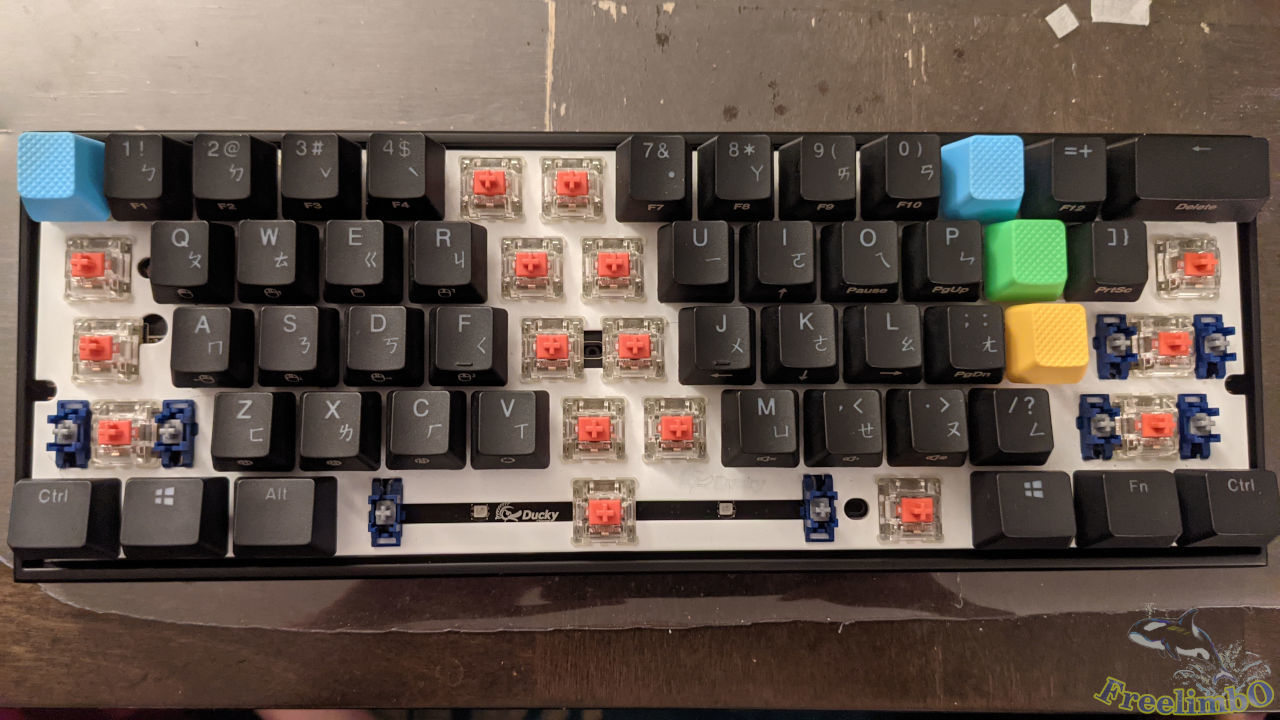
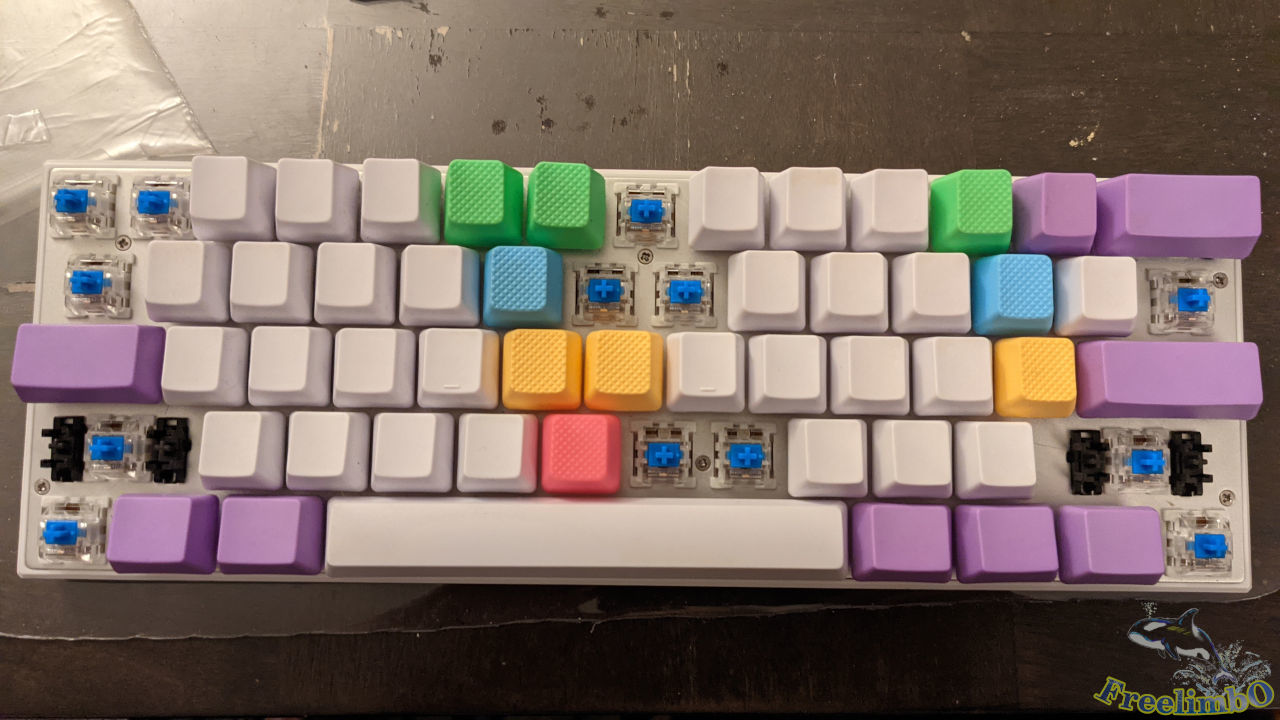
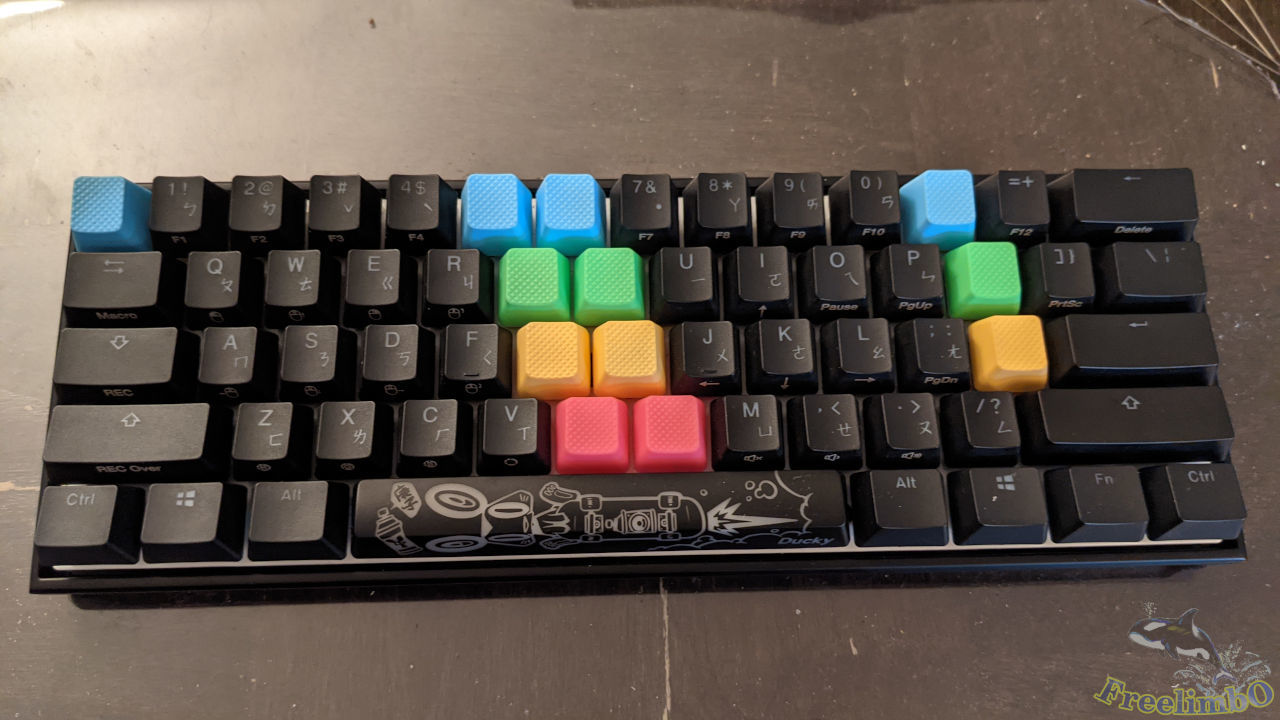 Alright, this was my Ducky Mecha Mini with Cherry MX silent red. I replace some keycaps with Taihao rubber keycaps for assisting my touch typing. The colorful rubber keycaps also made my life move joyful by the way.
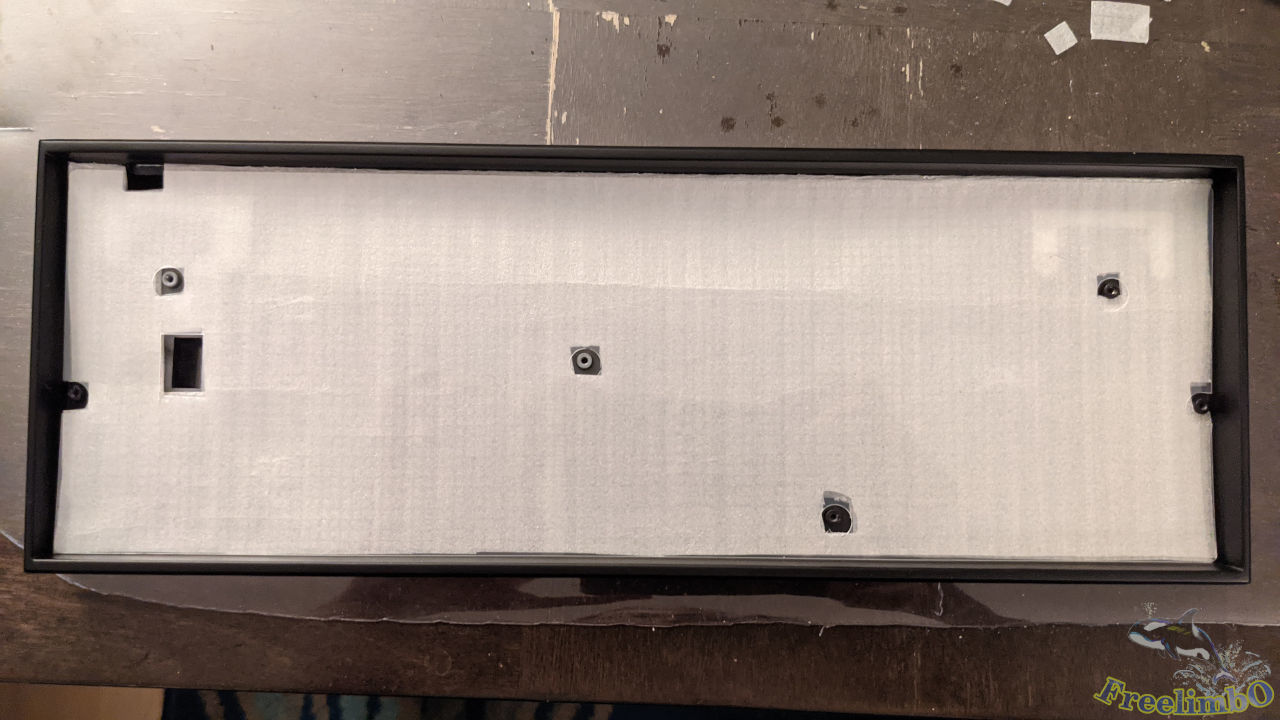
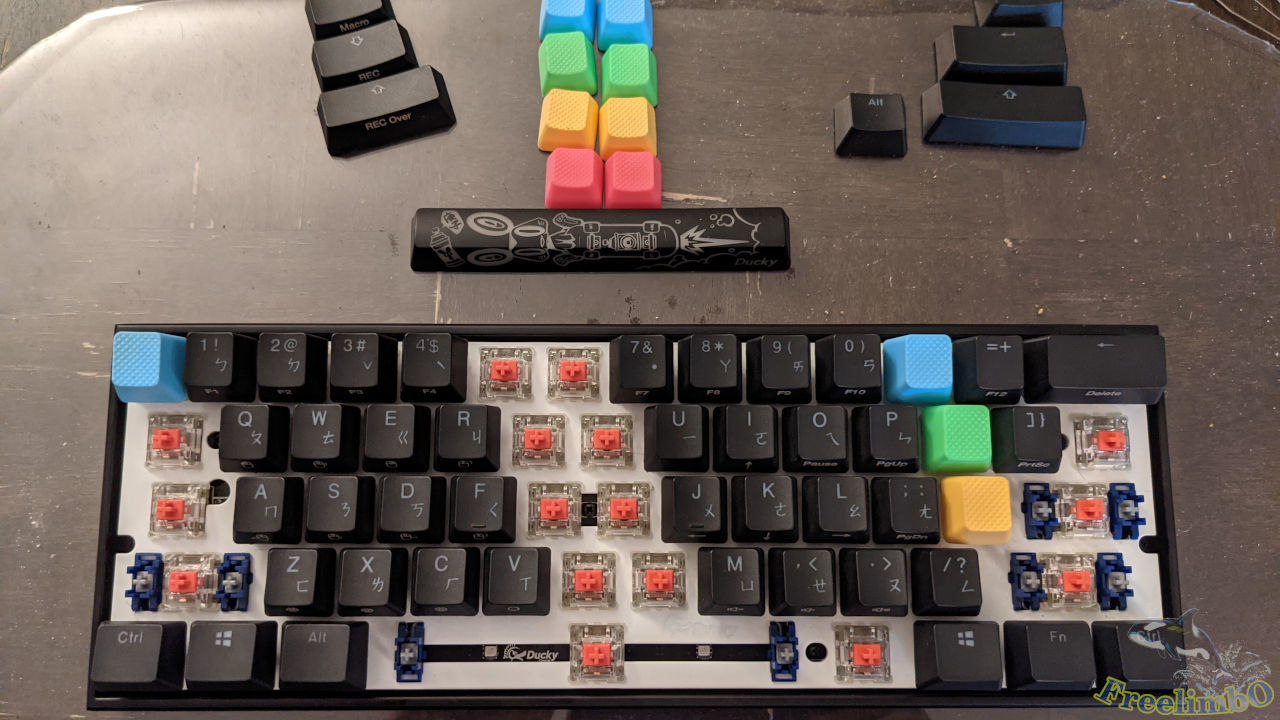 The first step was to find out all screws locking the base plate with the metal case.
 After removing all screws, I found there was an isolating transparent film beneath the base plate. There were some circle holes for the screws.
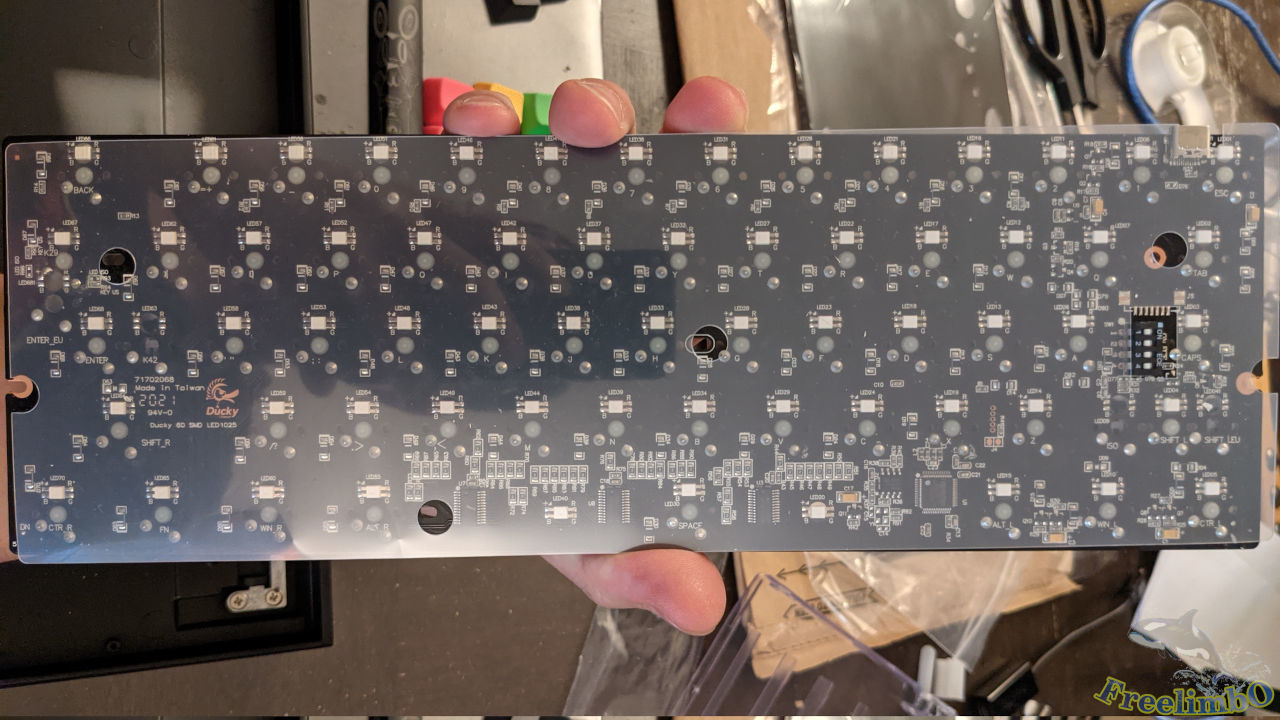
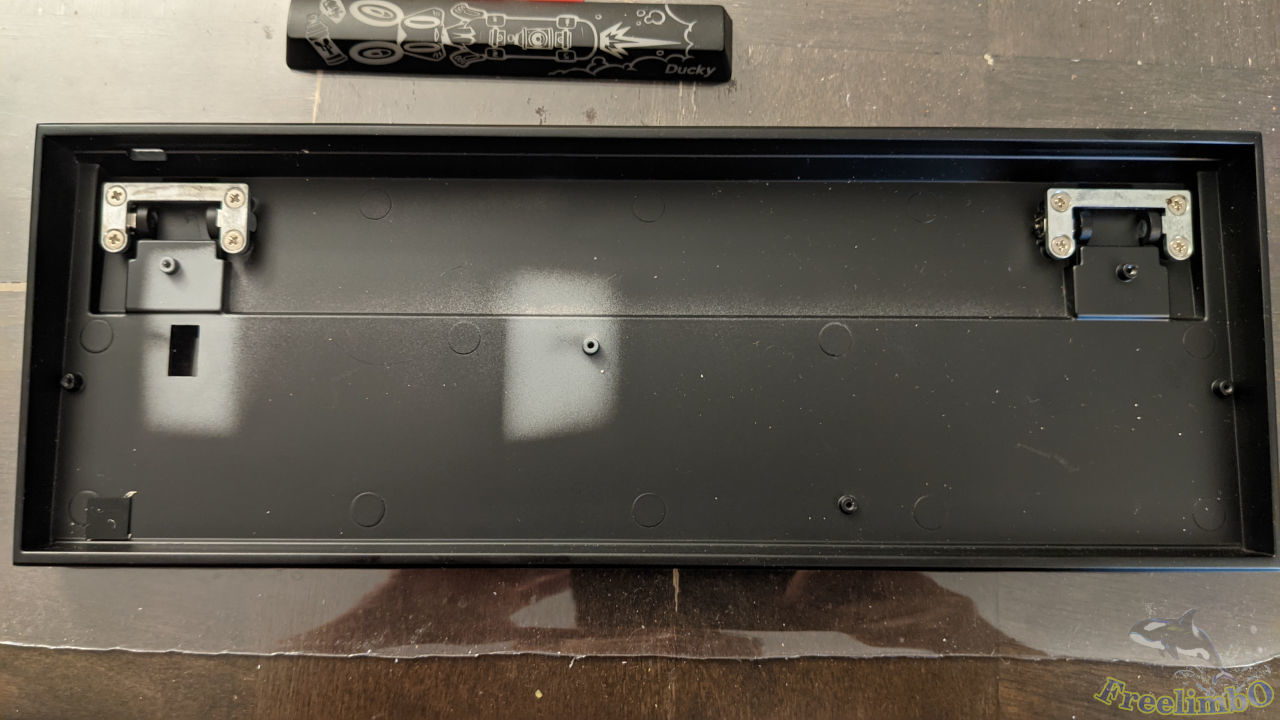 This was the metal case of Mecha Mini. The depth of the case was way shallower than I thought. The damping foam I bought had a thickness of 3/16 inches, and it looked like only the trough between the two stands can fit the thickness of the damping foam.
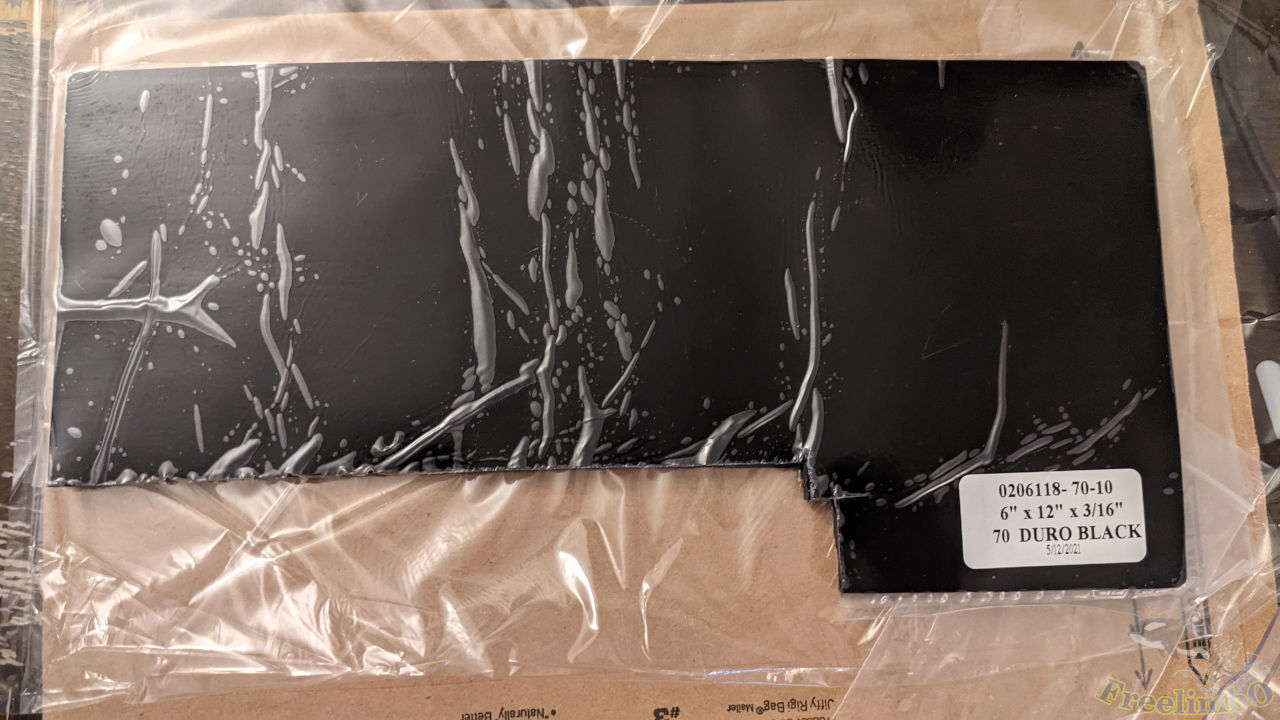 I cut the Sorbothane damping film for the trough and tiny gaps.
 This was the filled trough.
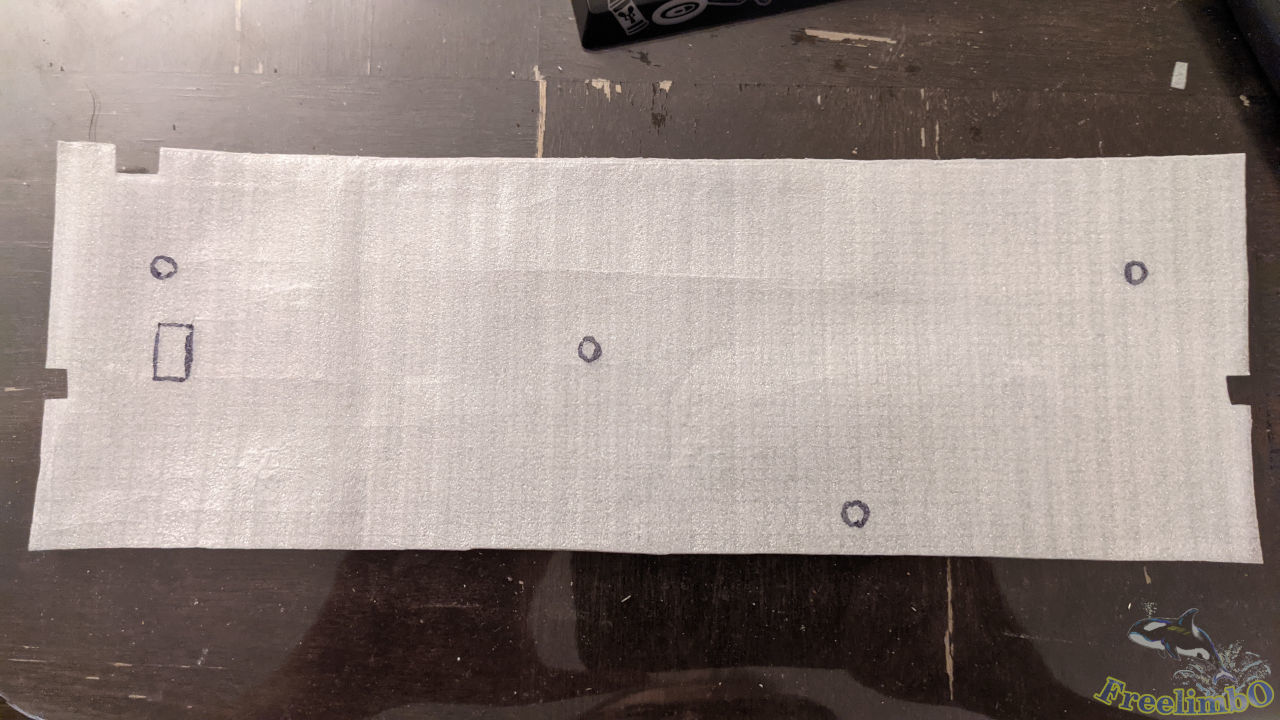 Then I found a thin sponge flake to fill the hollow space between the base plate and the case. I put the transparent film on the sponge to draw the holes for screws.
 Looked like most of the screw can penetrate the sponge.
 After some slight modifications, all screw holes matched the transparent film.
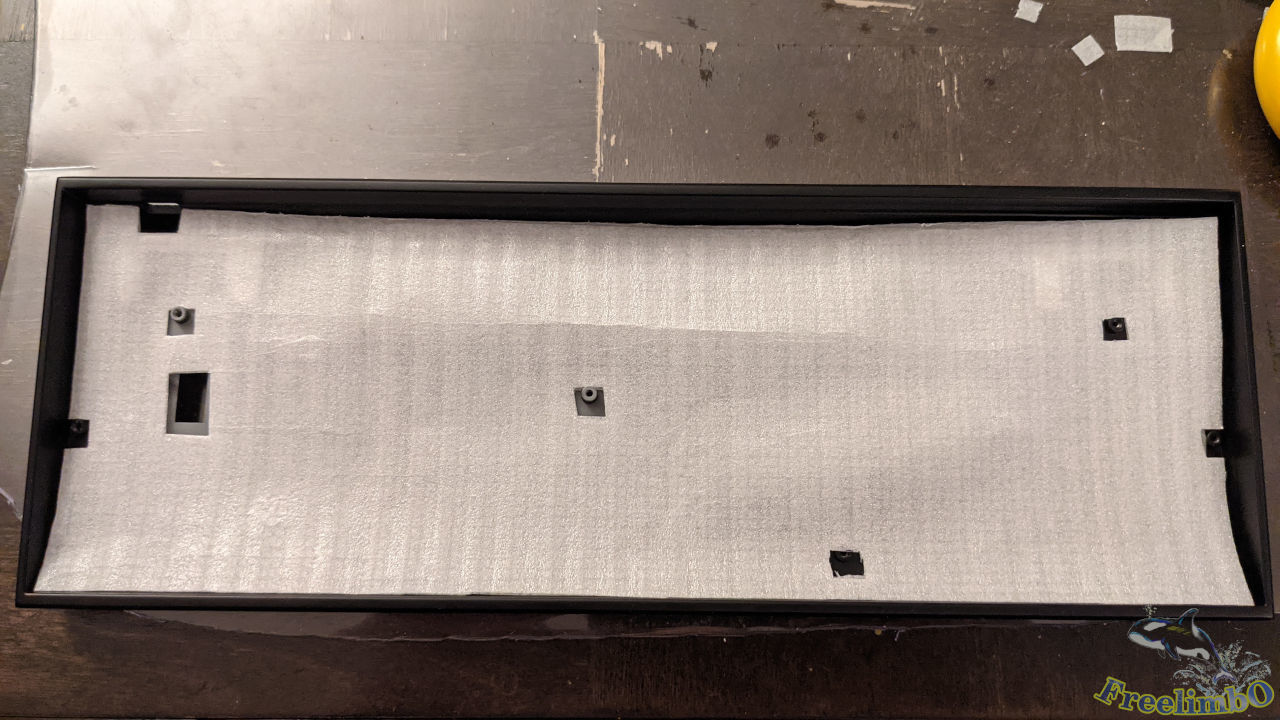
 Mounting back the back plate and tightening all screws one by one.
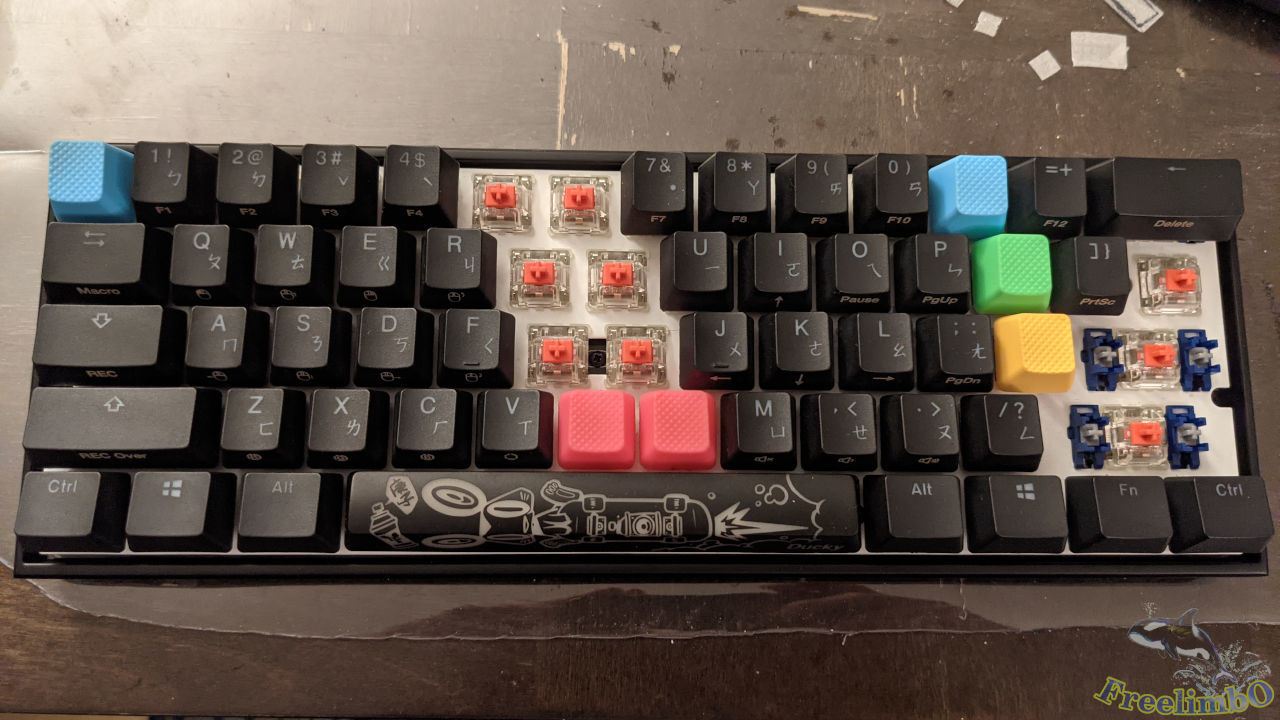 Then, I reinstalled the keycaps blocking the screws.
Motospeed CK62
 Since there was damp foam remaining, I would also like to modify my Motospeed CK62.
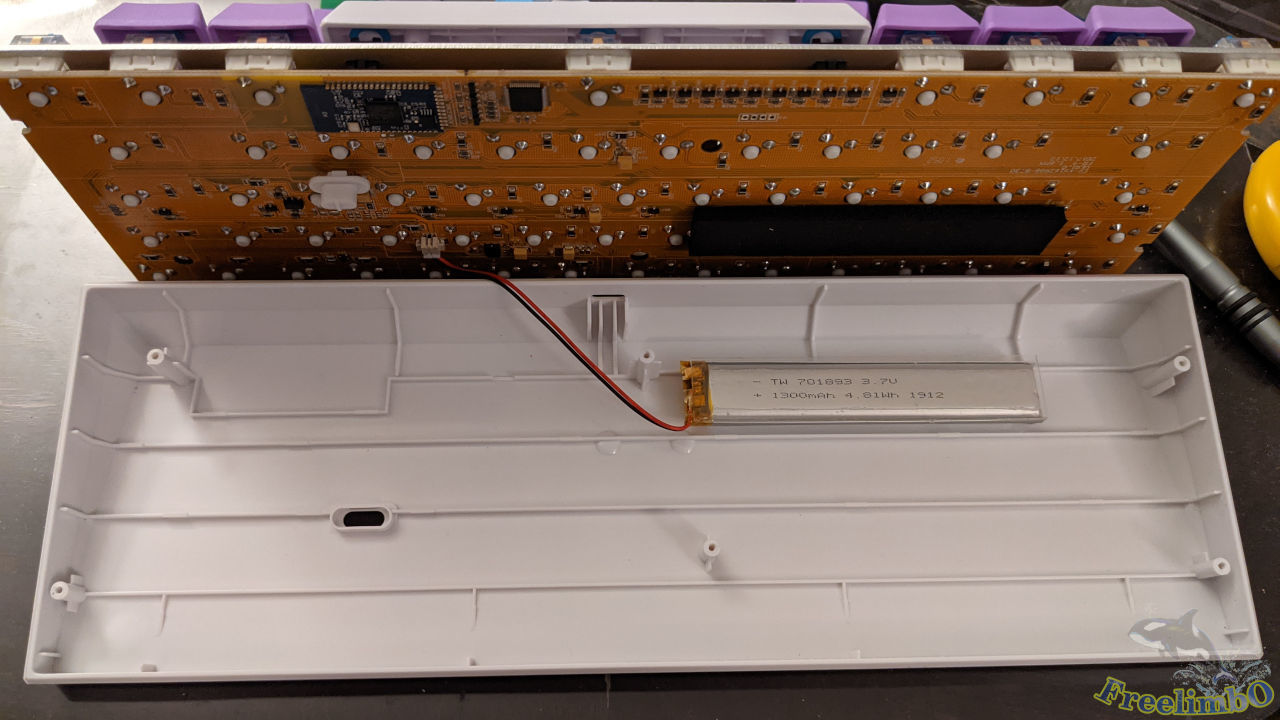 Most steps were the same with the Ducky Mecha Mini, so I directly jumped to the removal of the base plate. As we can see there existed a small battery because this cheap keyboard can work as a Bluetooth wireless keyboard. Rarely do I use it as a Bluetooth keyboard because I had a better Bluetooth one.
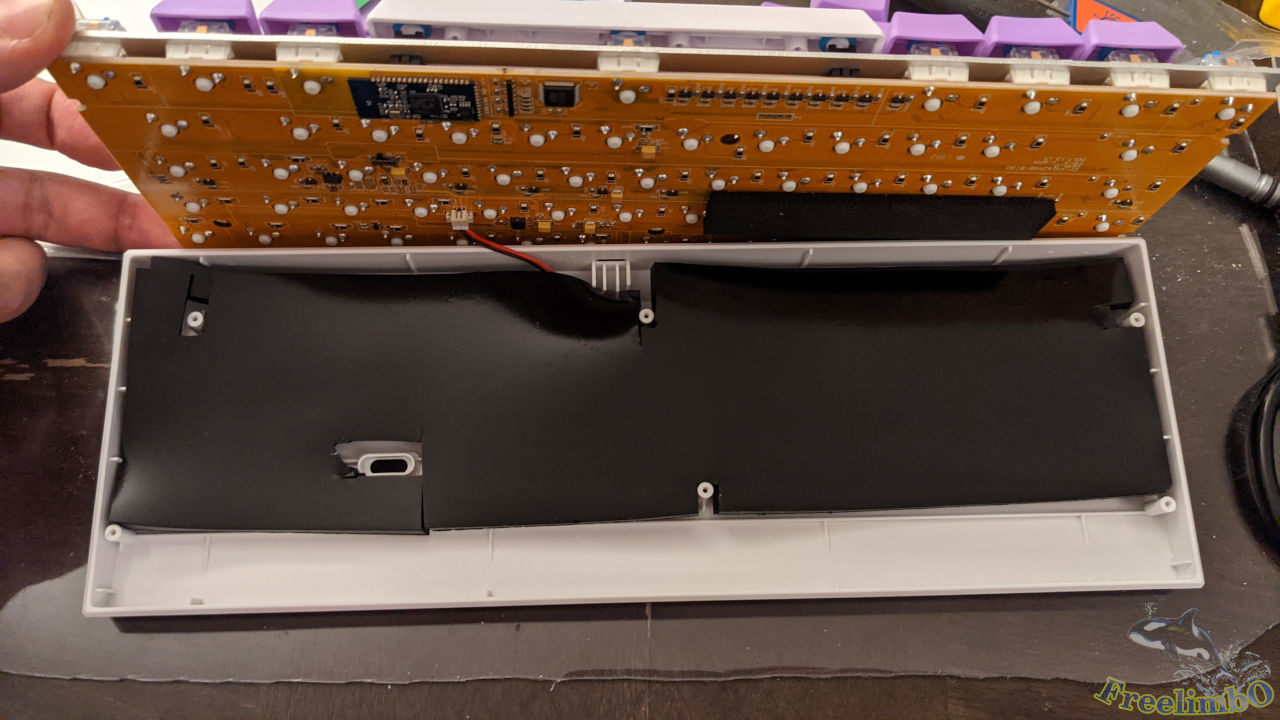 The same thing, I cut the damping foam and drilled some holes for screws.
 Then, I move on to reinstall the keycaps blocking the screws.
Summary
 |
 |
|---|---|
 |
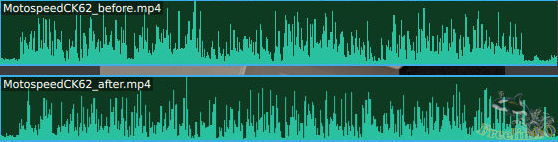 |
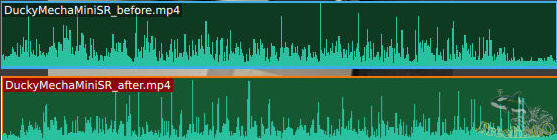
| Audio tracks of Ducky Mecha Mini while I was typing. | Audio tracks of Motospeed CK62 while I was typing. |
From the audio tracks, we can see the peaks of typing sound were almost in the same strength, but the harmonics were suppressed. This was a reasonable result because the gaps produced the harmonics and they were filled after the foaming.
Here is the video of my typing with Ducky Mecha Mini showing how do they sound for your reference.