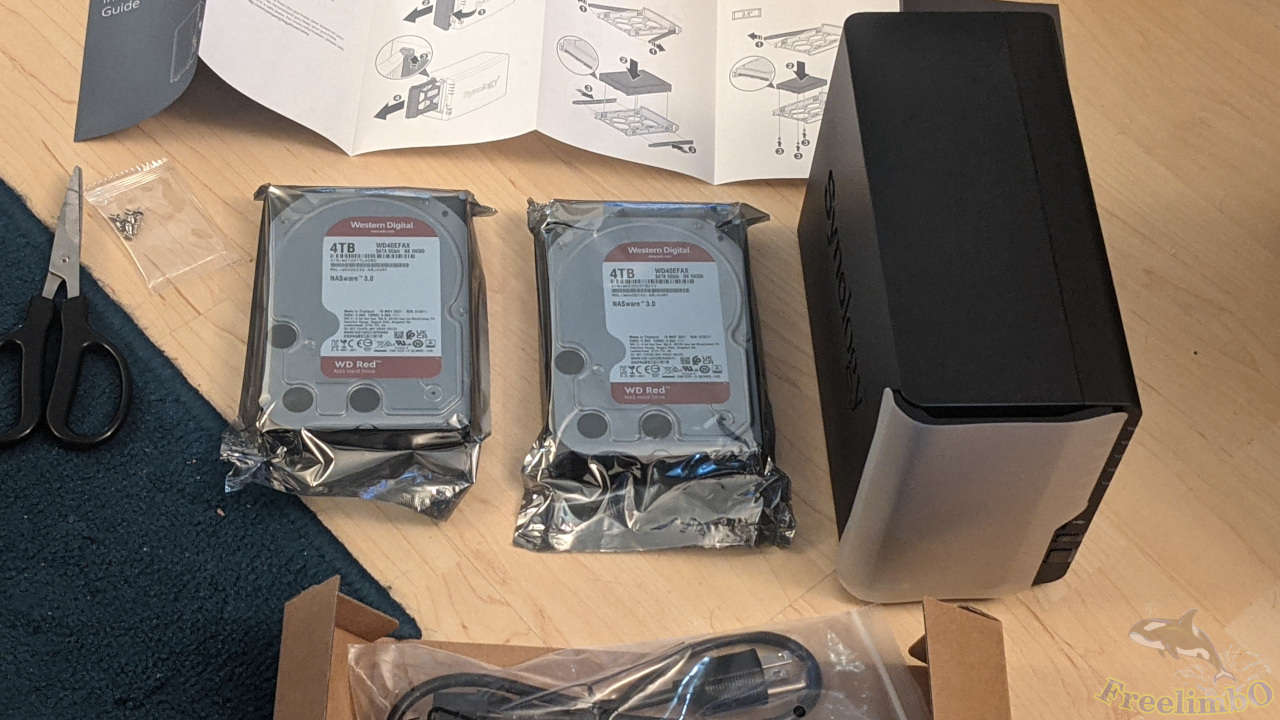
Devices: Synology DS220+ and WD Red 4TB hard drive.
In the past Amazon Prime Day, I bought a discounted Synology NAS and two WD 4TB red label hard disks. Perhaps same as many people, my only intention was to build a private photo cloud as an alternative to Google Photos. I got a pixel phone allowing me to keep backing up my photos to unlimited Google Cloud, but my family members have no cloud space to backup their precious photos. Since there were some huge discounts on DS220+ and WD HDDs, I decided to give Synology a shot.
Open-Box and Installation

After days of shipping, my DS220+ and HDDs were delivered at the same time. The box of Synology DS220+ looked pretty clean and eco-friendly.

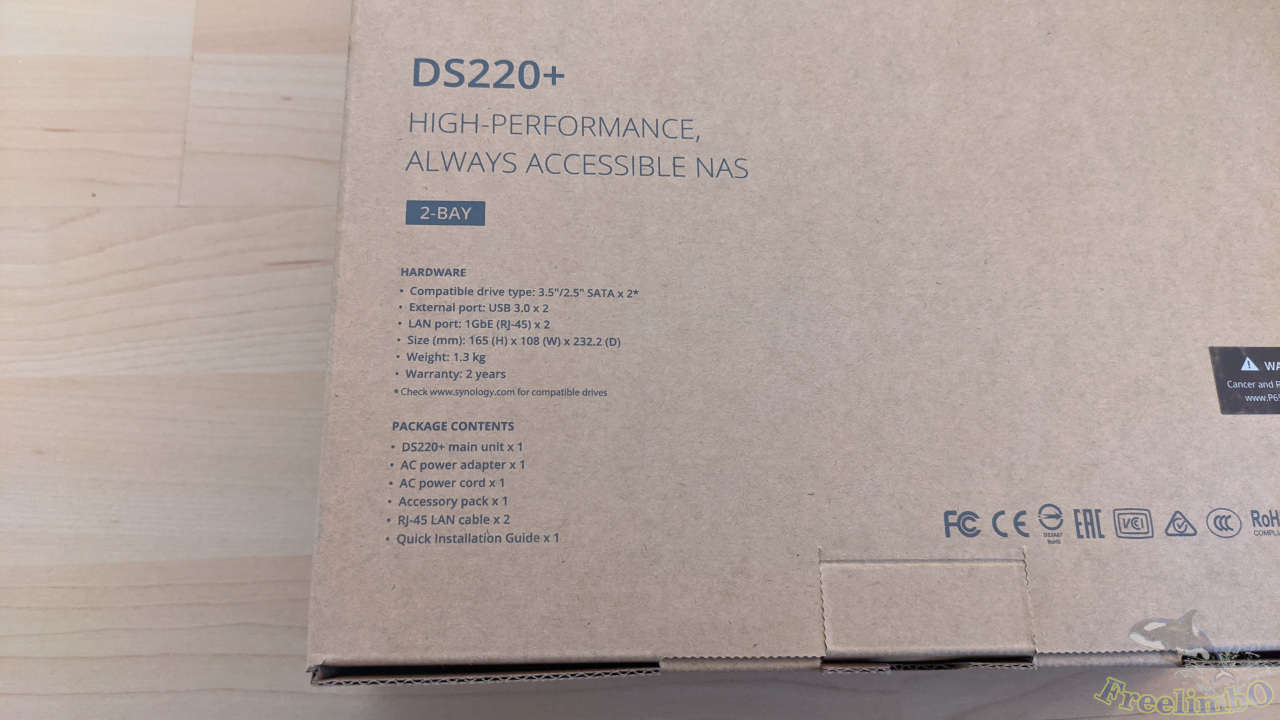
The sticker showed some spec. of the NAS. I don’t use the second LAN port for link aggregation actually.
On the back of the box, there showed more information of the contents.
 |
 |
|---|---|
| The left side. | The right side. |
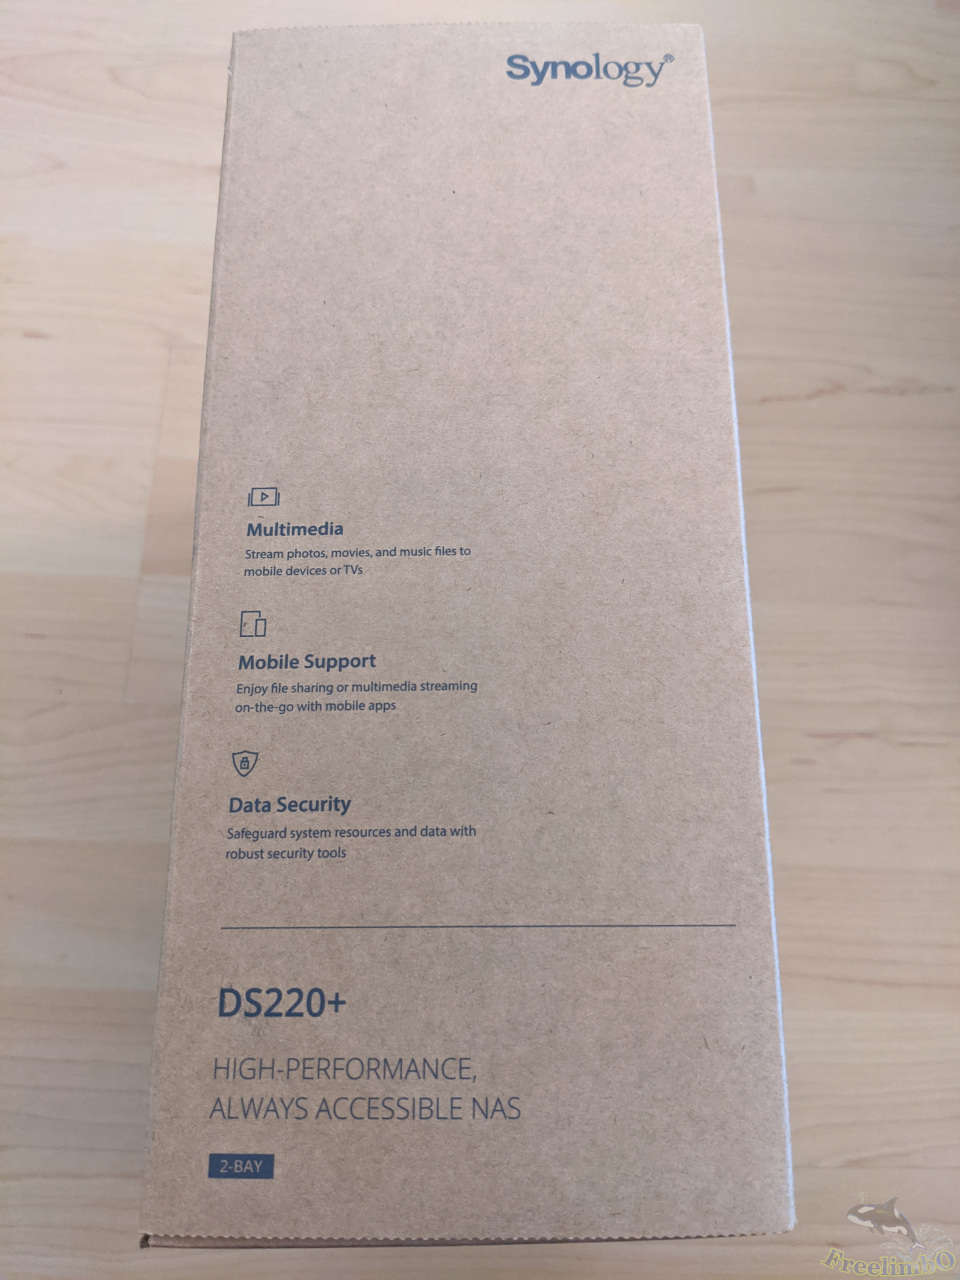
The printed information on the left side included the most important thing of my concern, which was the mobile support. I would like to build a private cloud for my family to synchronize photos on to this NAS.
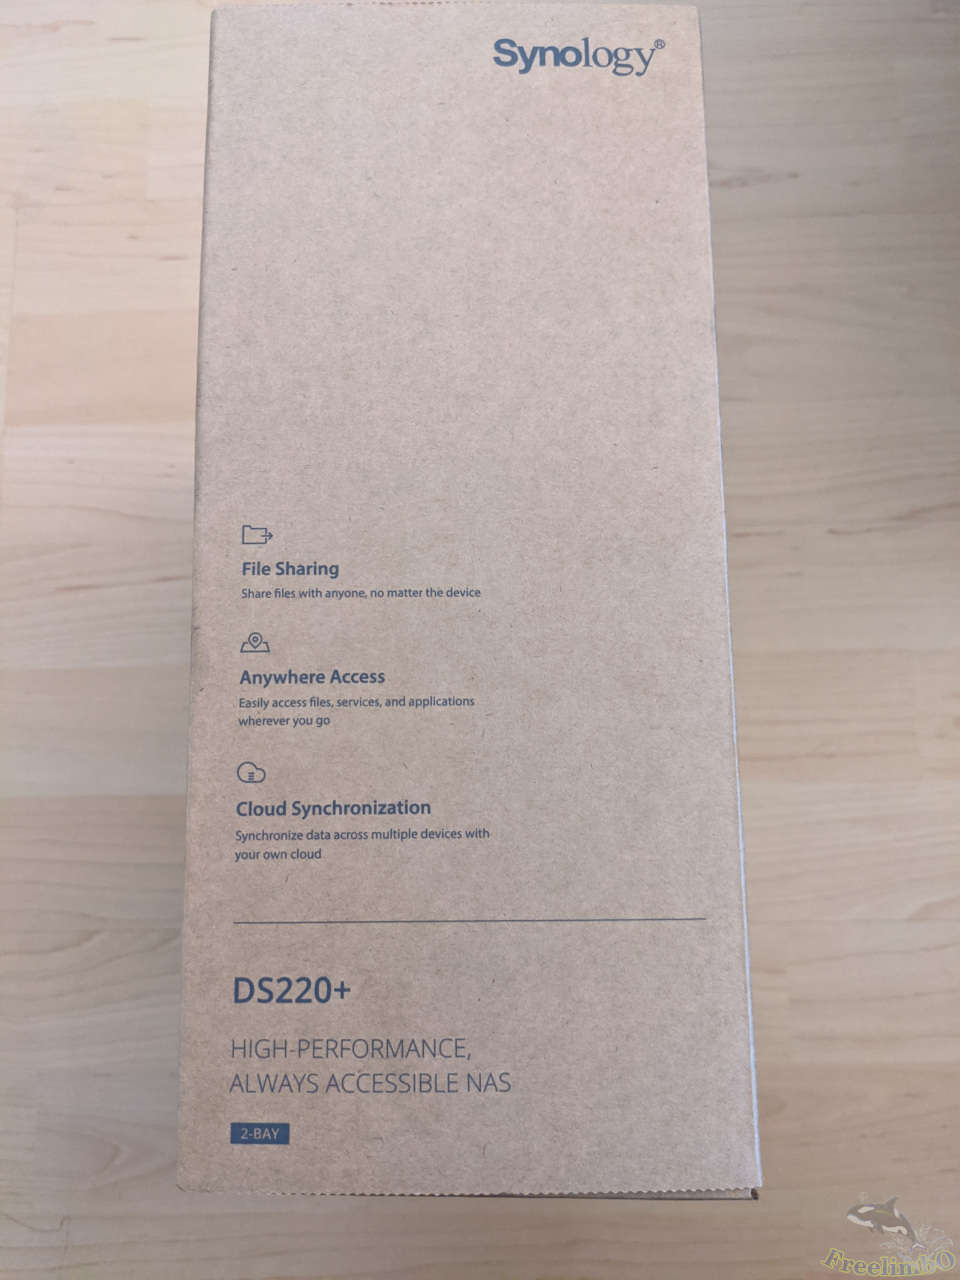
The other side showed accessibility.
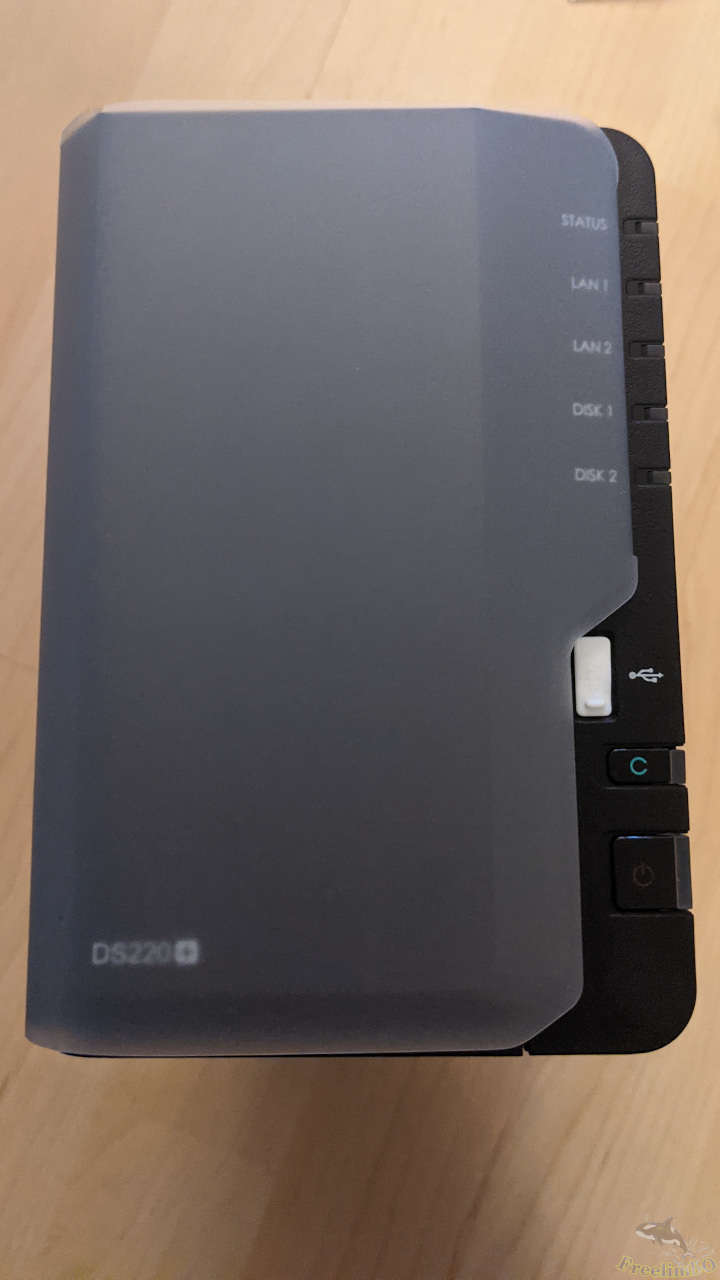
The real face of DS220+ I plugged a rubber plug on the USB port to keep dust out. The power button was on the bottom right corner. The other button with a green capital C is for a direct copy of a USB device.
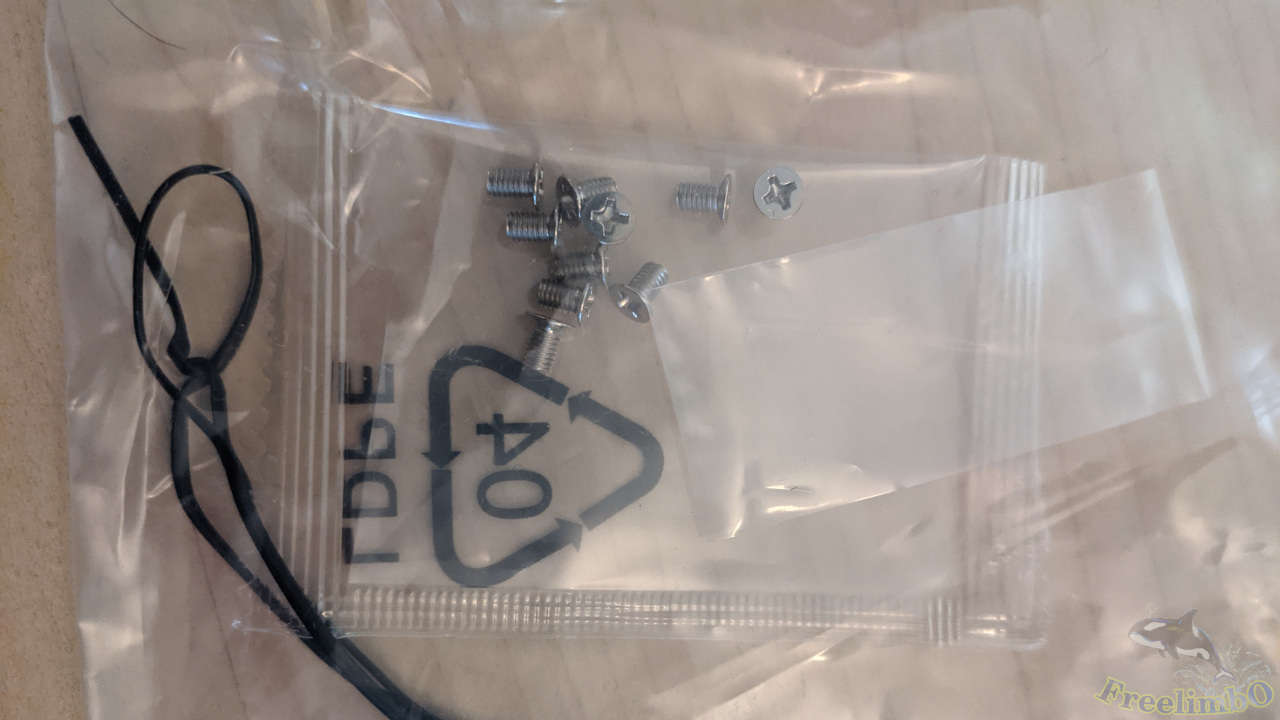
The screws came with the NAS. I used some to fix my HDDs to the plastic racks.
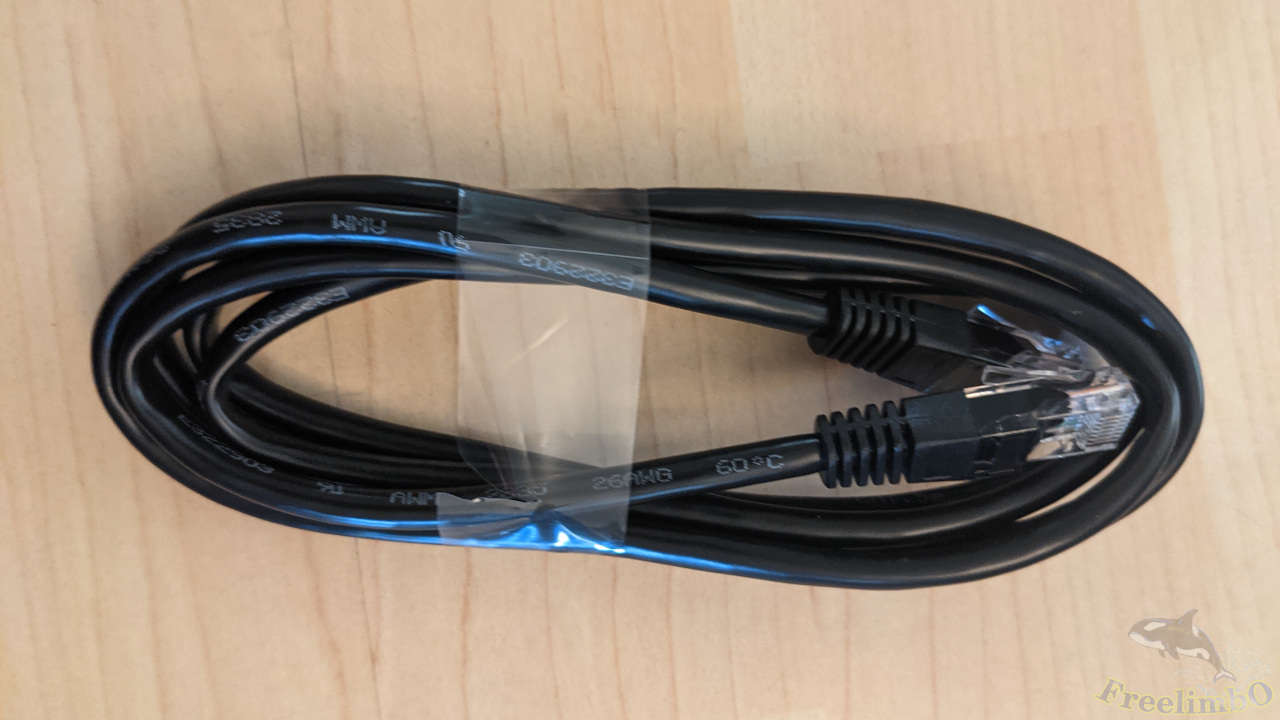
There were two ethernet cables, and I only use one to connect the NAS to my LAN switch.
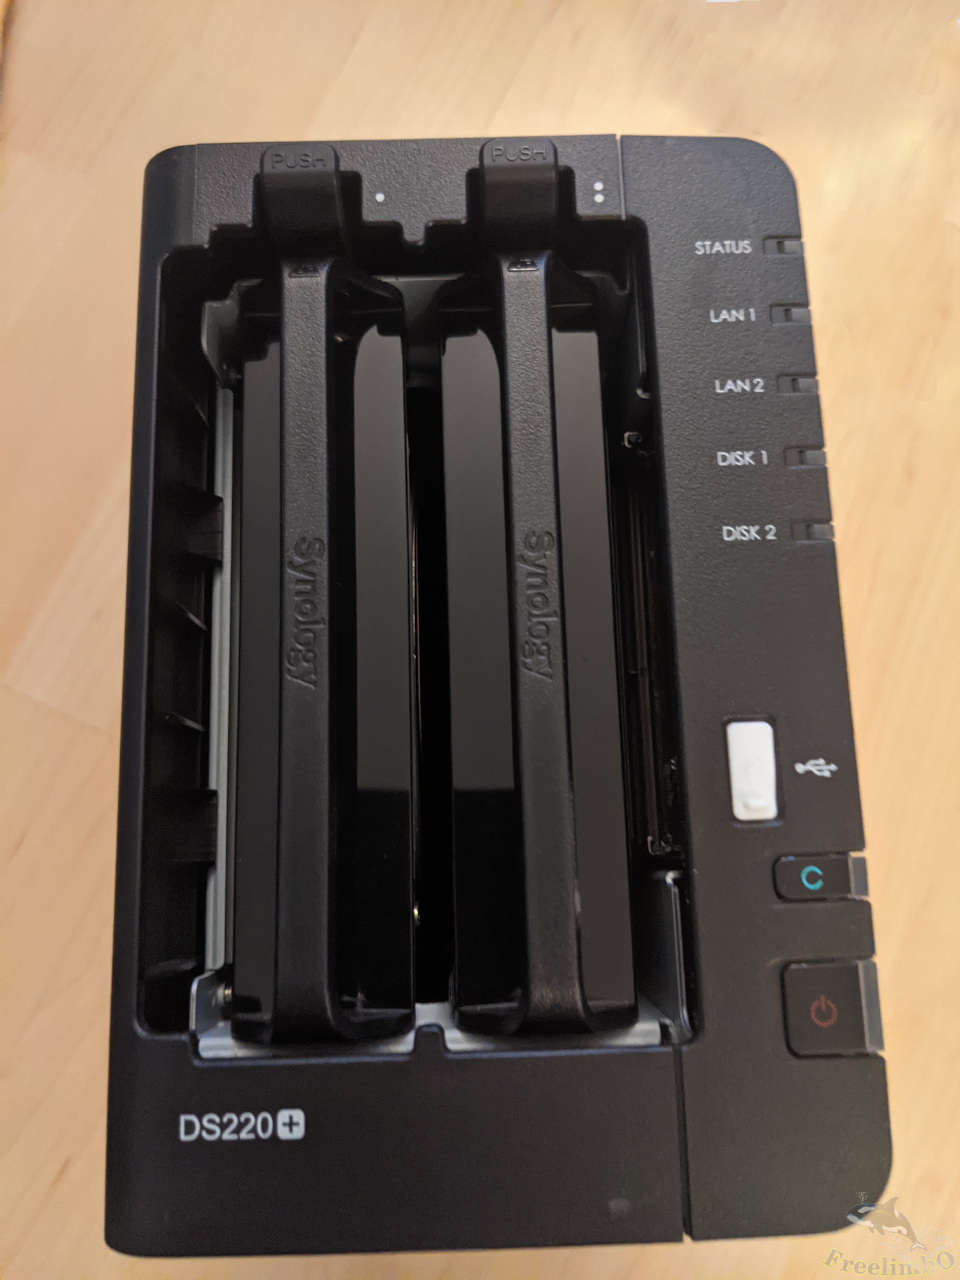
After pulling out the cover, there were two plastic racks. I need to push the stubs on the top so that the racks can be removed from the NAS.
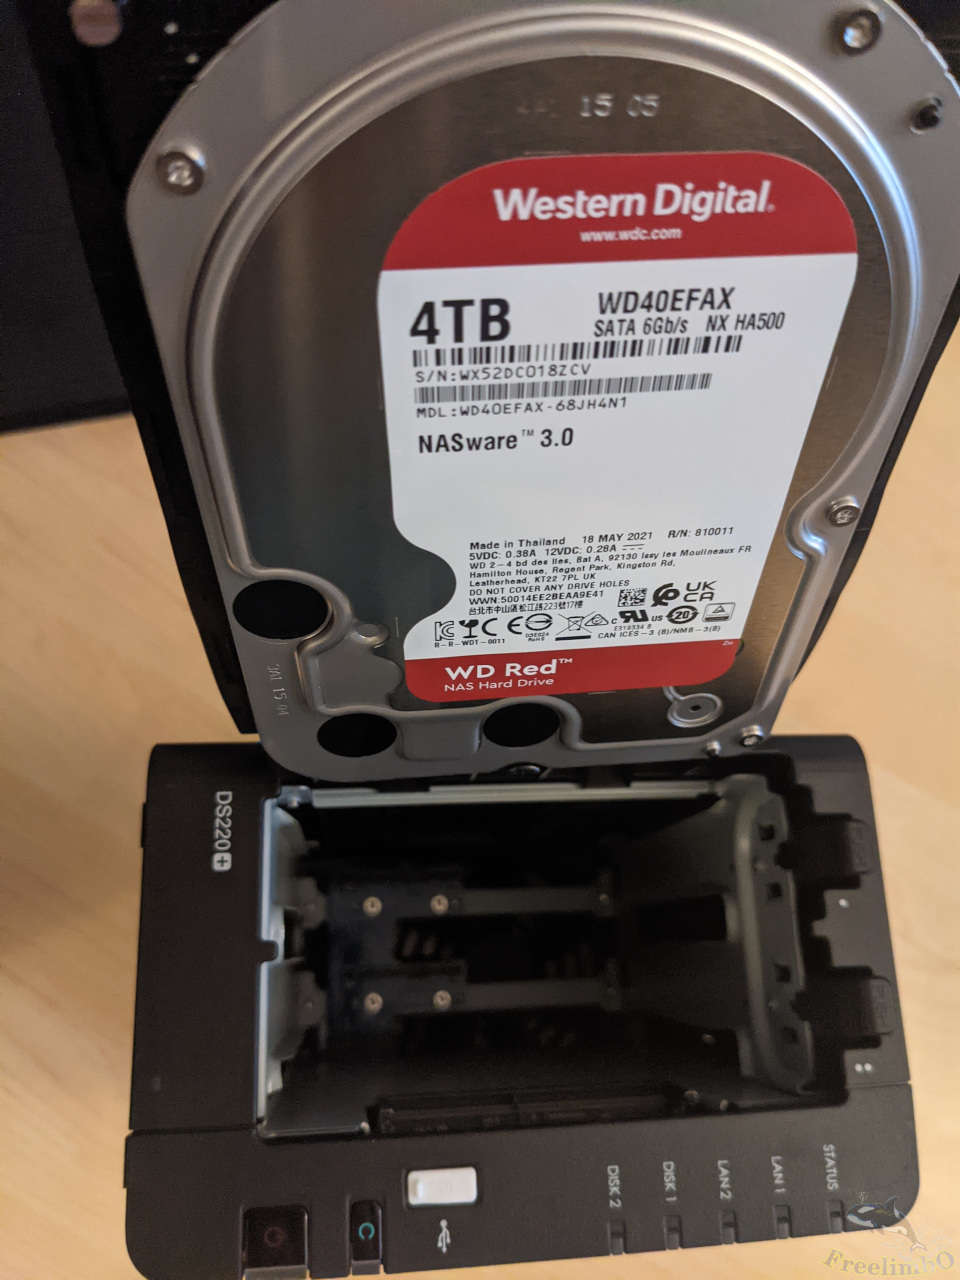
Installing my WD Red 4TB HDD into the NAS, and then put the cover back. That’s it.
Tips and Casual Reviews
The installation was pretty straightforward, and the instructions from Synology’s official site were quite easy to follow.
For the file system, I chose BTRFS, which was designed for RAID, version control, and faster caching. Remember to turn off version control if you found your dis space was consumed too much.
Regarding the disk array system, I chose Synology’s special RAID, SHR, simply because its name was cool to me. However, after some searching online, I realized that for a two-bay NAS, SHR was the same as RAID-1. Most articles said that there would be no difference between SHR and RAID unless I have more bays, but I wondered what about the process of upgrading capacities? If I started with a pair of 4TB drives and then upgraded one of them to 6TB, and then the other to 6TB as well. Maybe the procedure can be done more easily with SHR.
I also set up a QuickConnect ID and allowed external access so that I can use my phone to browse my photos while I was outside my home. Looks like Synology has built a dynamic DNS to handle the dynamic IPs from users so that we only needed an internet address to fetch our private clouds.
Besides setting up a firewall and installing anti-virus software, another important thing was to enable SSL connection. The Synology Knowledge Center provided some instructions to set up an SSL encryption key.
I enabled both Drive and Photos. My new photos can be sync’ed to the NAS through the Synology Photos App, and my old photos were uploaded through Synology Drive simply by drag and drop in the file browser.
The DSM OS’s package center also included lots of interesting apps. I have tried the Synology Office and found it useful to me.
Overall, I am pretty satisfied with my DS220+. If there has to be a score to summarize my review, I would say 4 out of 5. The missed one star was due to the wrong image orientations and dates. Google Photos also had this issue and seemly slightly more serious.
OS Upgrading from 6.2 to 7.0
Recently Synology release DSM 7.0 and I also finished the upgrade.
I can feel the responding latency in the OS was reduced. The graphic interface was changed to make everything cleaner and more beautiful.
However, the wrong dates and orientation came back upon I finished the upgrade. A few weeks ago, I just manually corrected everything, and the new OS brought them back. I filed a claim to Synology and put this issue aside.
By the end of that day, I got back to check Synology Photos and found most of the wrong orientations and dates were fixed automatically. Looked like the new OS needed some time to read the modifications I made and and applied into the new database. Anyway, problem solved.
RAM Upgrading
After a few weeks, I start to find the loading in the Synology Photos was a bit slow especially when I click a time moment long ago in the timeline view. I did some research online and found it can be solved by adding more RAM to allow the OS to expand its cache.
Some Redditors mentioned Samsung’s 16GB DDR4, M471A2K43CB1-CTD, was compatible with DS220+. I cannot found a new one on Amazon, but there was an unheard brand, FMB-I selling a compatible alternative.
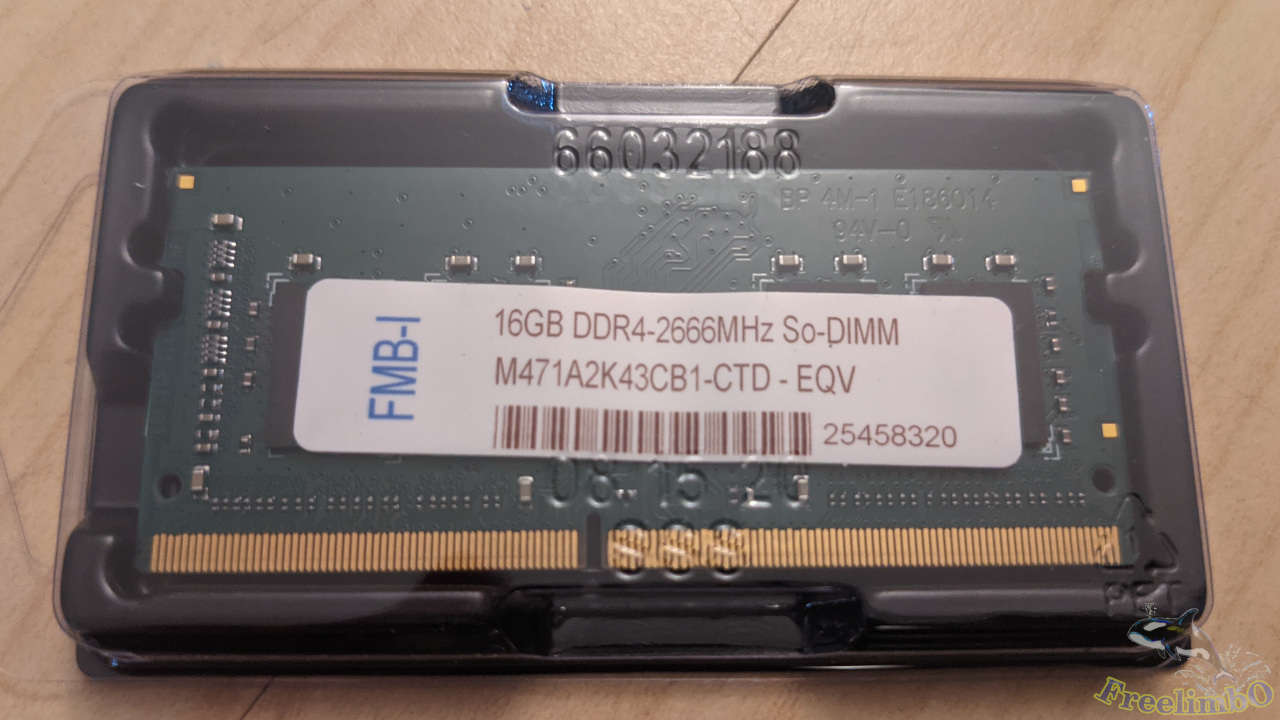
So it was delivered to me.
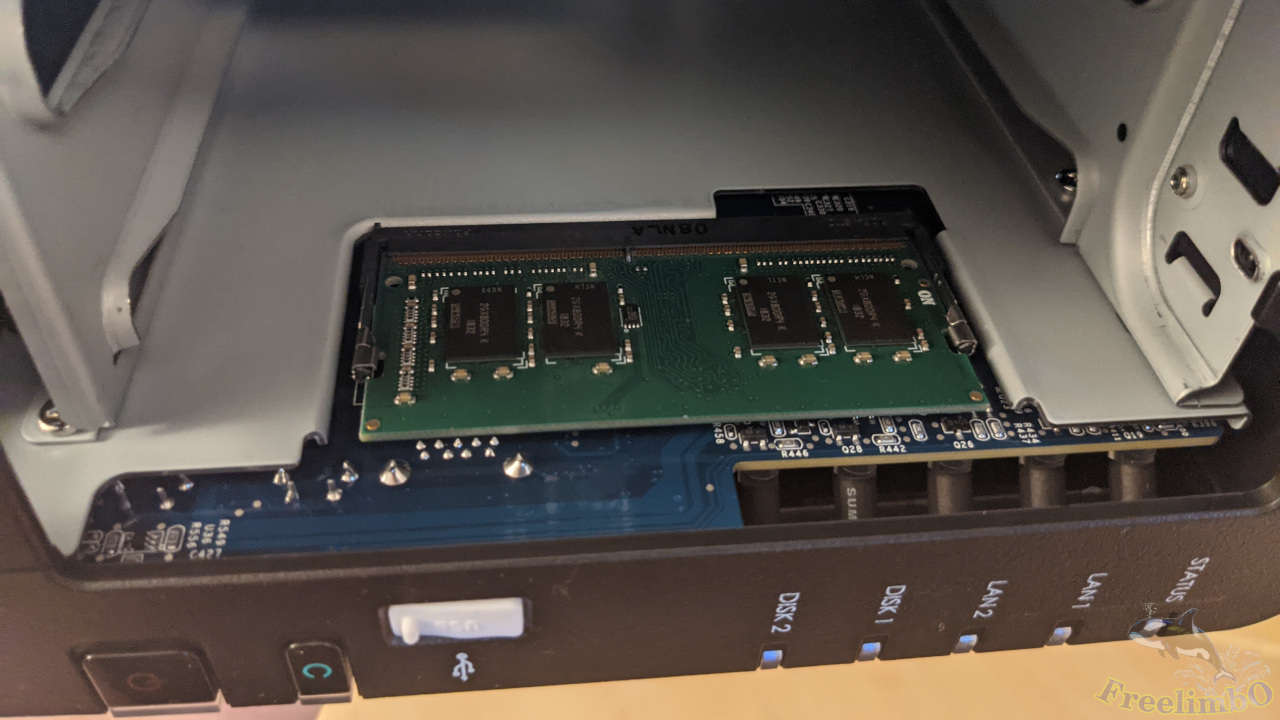
I installed the 16GB DDR4 RAM into my DS220+, and downloaded the test tool to my laptop to run the memory test. It roughly took me eight hours to finish the test and got my photo cloud back online.
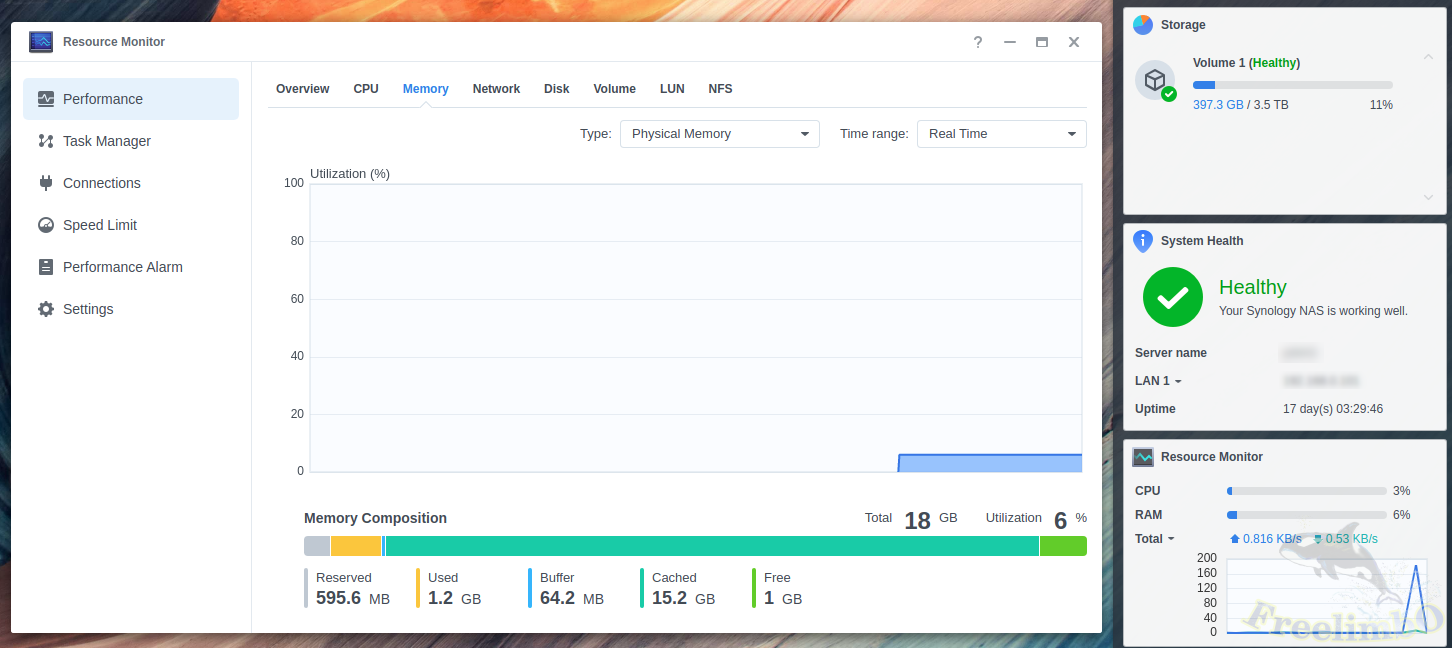
After some hours of use, the system cache started to fully utilize the total 18GB, and the speed of photo loading was improved obviously. 😎