Parts: Ryzen 7 2700X, Cryorig M9a, Aorus X570-I, G.Skill 16GB DDR4-3200, EVGA Supernova 650 G2, and Thermaltake Core V1.
I cannot remember when was the last time I built a desktop computer. I guess I have been using laptops and NUC as terminals for years to access powerful workstations, so I decide to build a gaming desktop for myself as a birthday gift. To make this wish a bit more challenging, I set the budget to 500 USD excluding GPU, m.2 SSD, and HDD since I would like to reuse my old parts.
(The existing m.2 SSD and HDD are from my laptop, and the GPU I have was actually an external gaming box with an Aorus RTX2070 in ITX size.)
Chassis: TT Core V1
The chassis I chose was a Thermaltake Core V1 Mini ITX Cube. Although some people might argue that its 22-liter size was a large one in the level of mini-ITX, I was fond of it because its nearly cubic shape was so cute, and the motherboard can lie down in the main chamber, which made me feel less fidgety than suspending the mobo vertically. (I will summarize all prices in a table at the end of the post for your reference.)
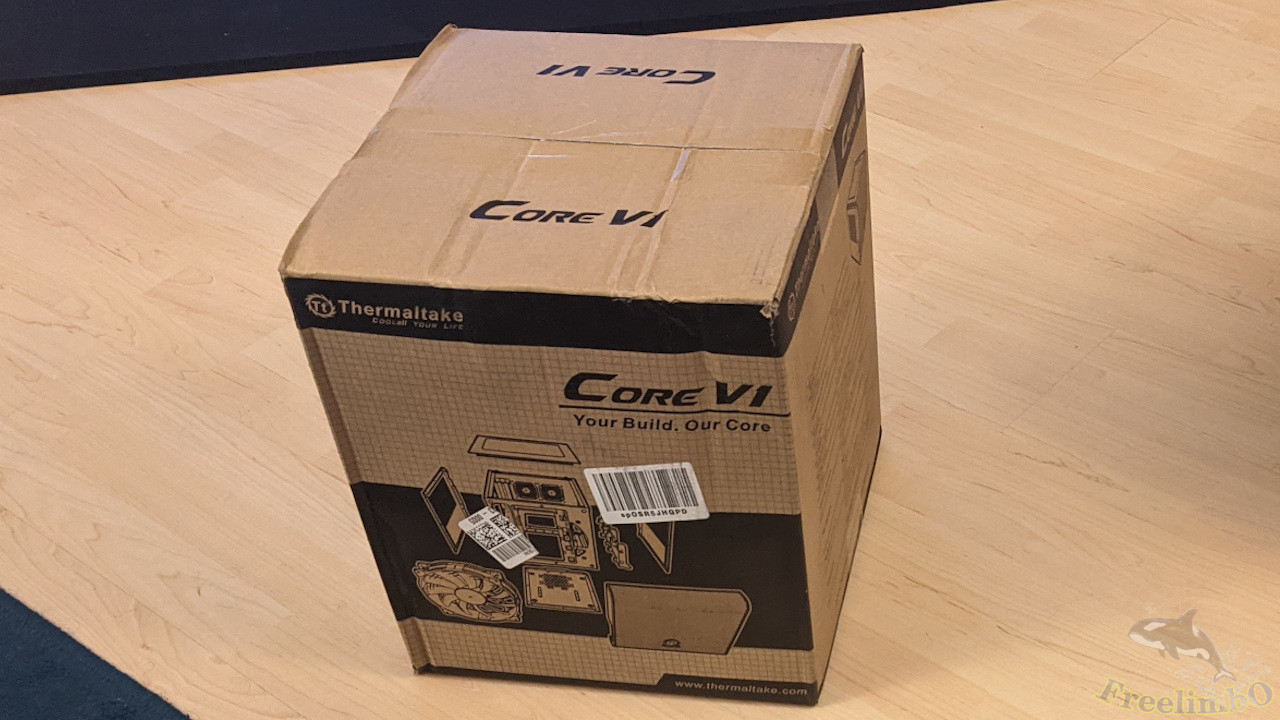 The shipping box was also nearly cubic.
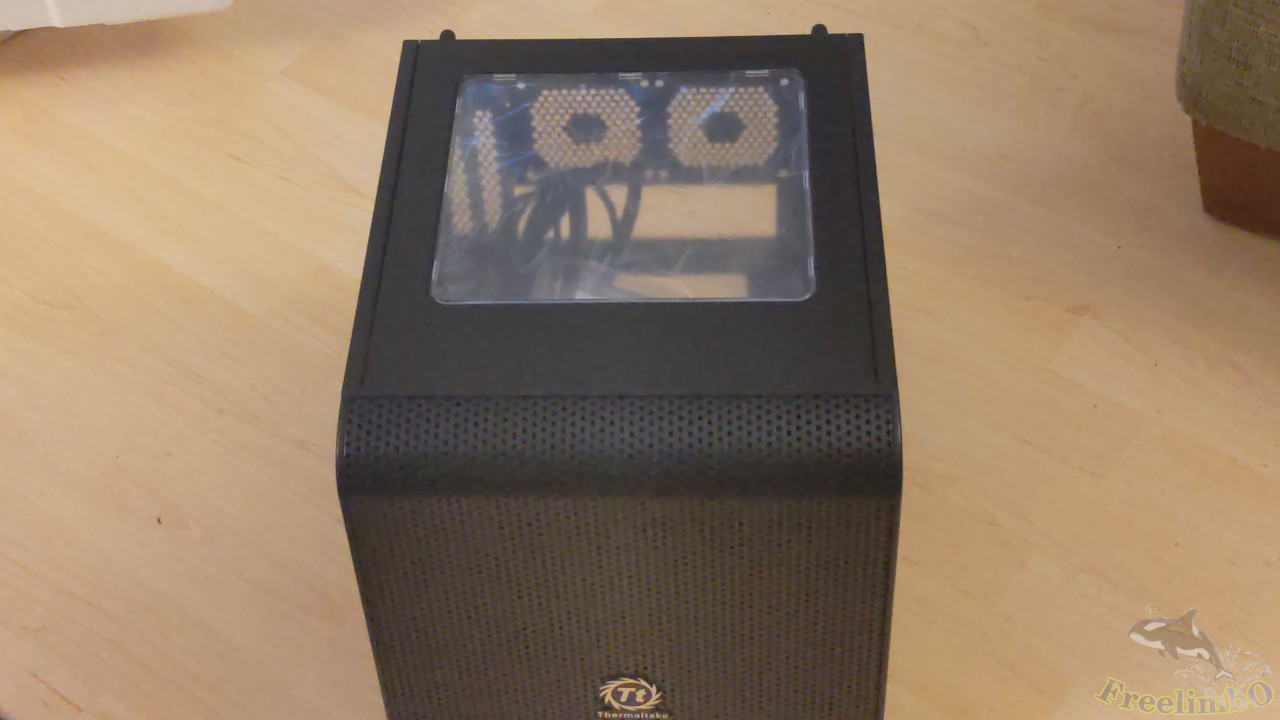 The chassis had a transparent top and ventilation plates on two sides. The front side was a big mesh and came with a built-in 20-cm fan. There were two chambers inside, the upper 2/3 volume was for mobo, and the lower was designed for a full-sized power supply unit (PSU).
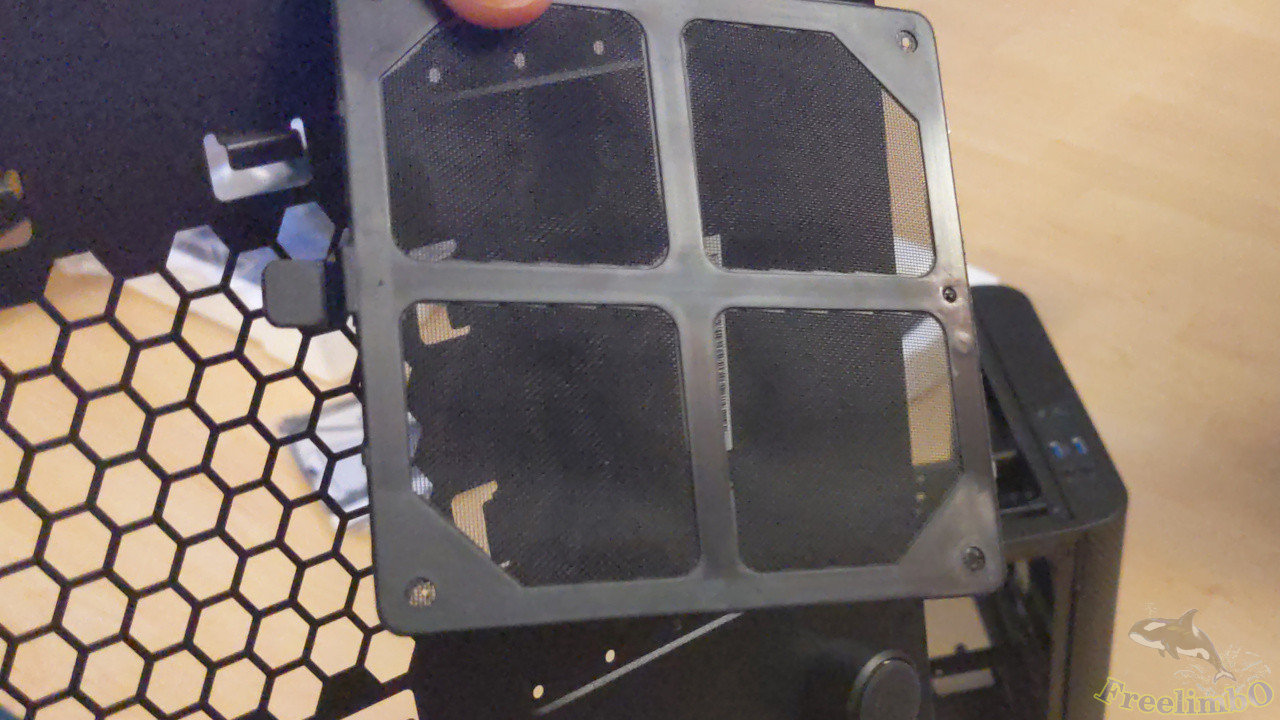 A honeycomb ventilation side plate and a small filter on the bottom fitting the intake fan of the PSU. The filter can be removed without a screwdriver, which will definitely make my life easier when I need to clean the filter.
PSU: EVGA Supernova 650 G2
 The PSU is from eBay. I found its looking was in great condition and the seller mentioned the PSU passed their tests and was fully functional. I only paid 50 bulks for it. Sounds great, right?
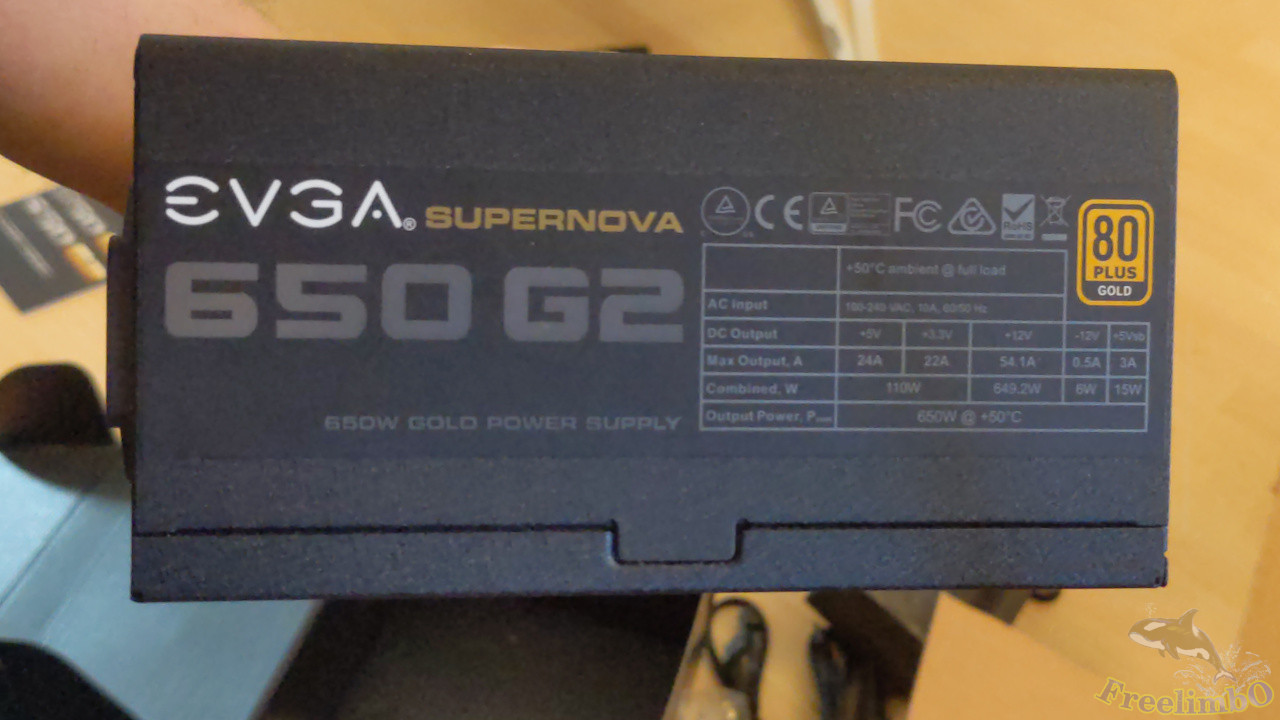 The sticker on one side shows its power specification. I think the currents should be enough to power a CPU with 105W TDP and my RTX2070.
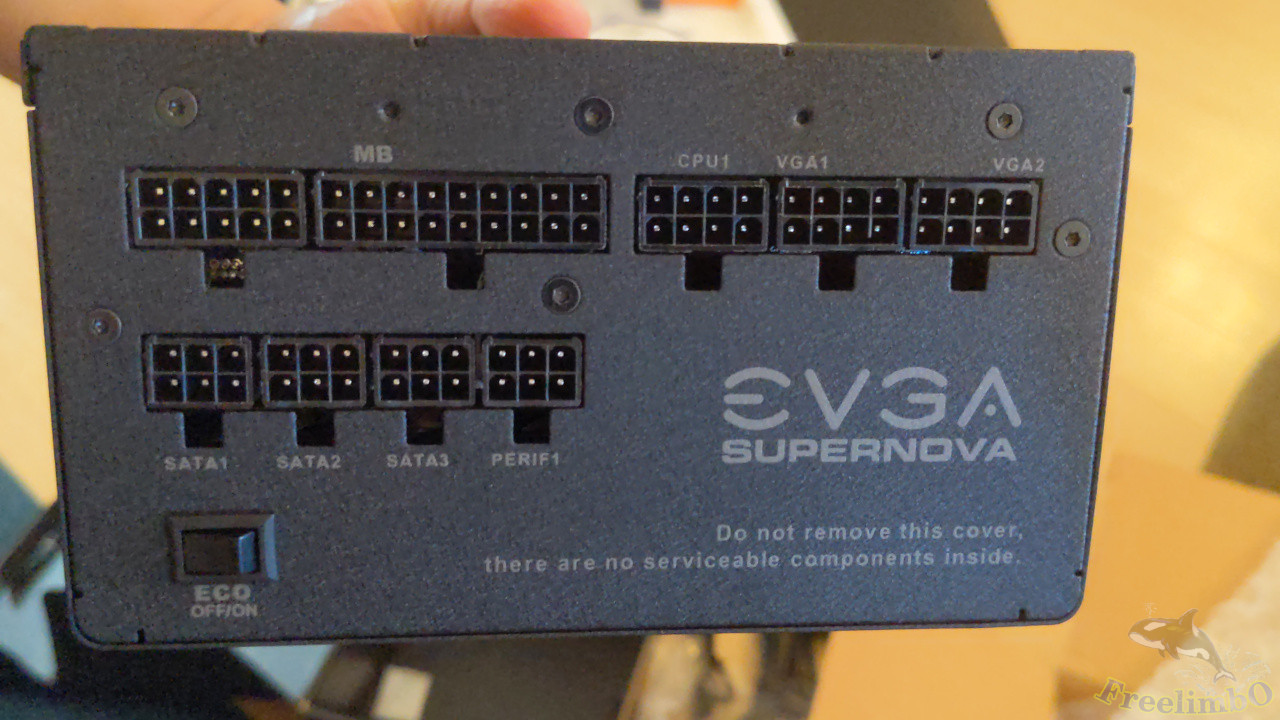 The front side has no power cords because modern PSUs are fully modularized to save our time and efforts for wire management.
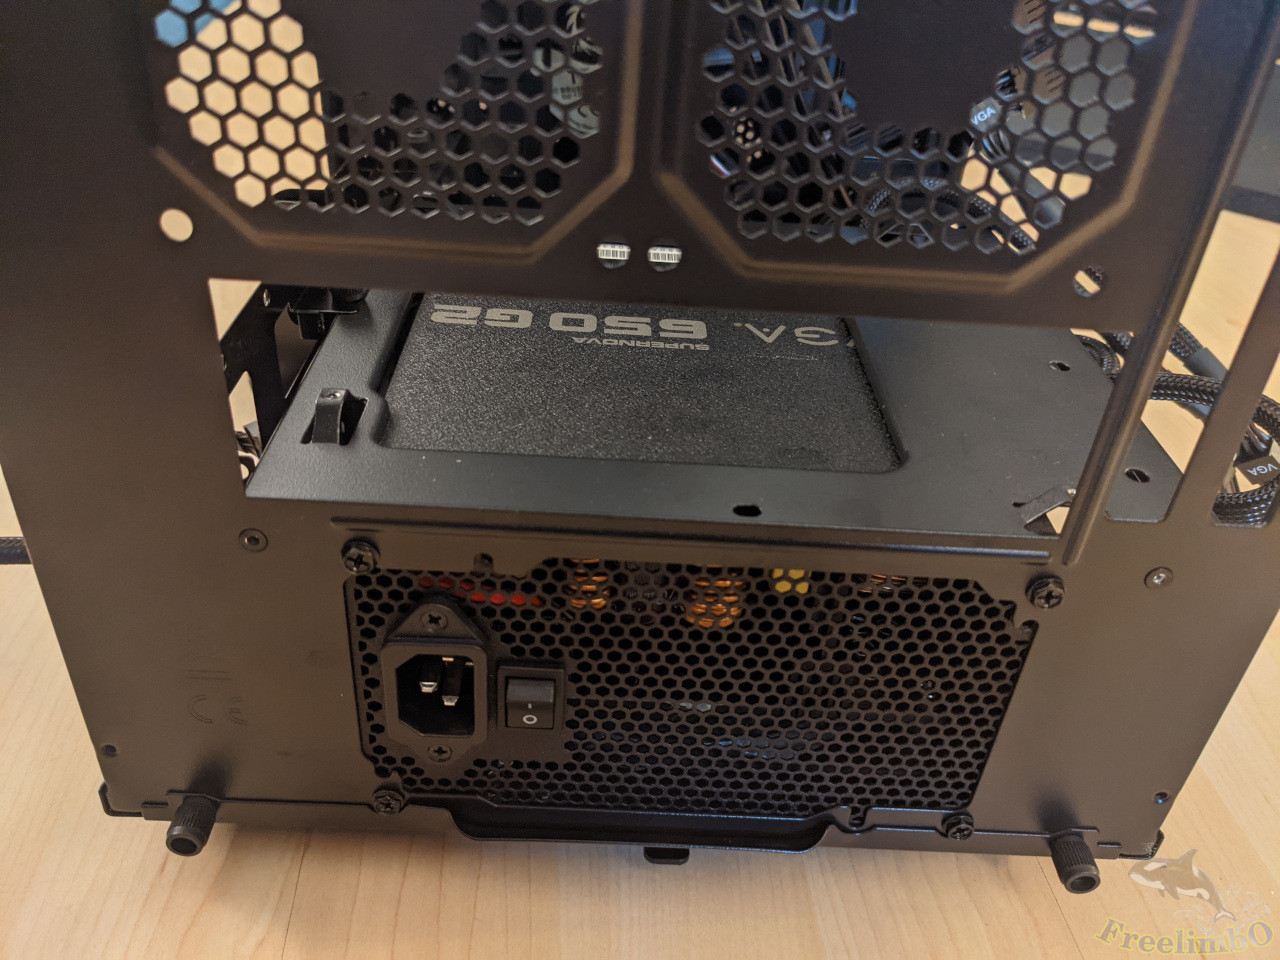 Not until the PSU was installed into the chassis did I remember to take a photo of the backside. It looked neat and the mesh looked like a honeycomb as well.
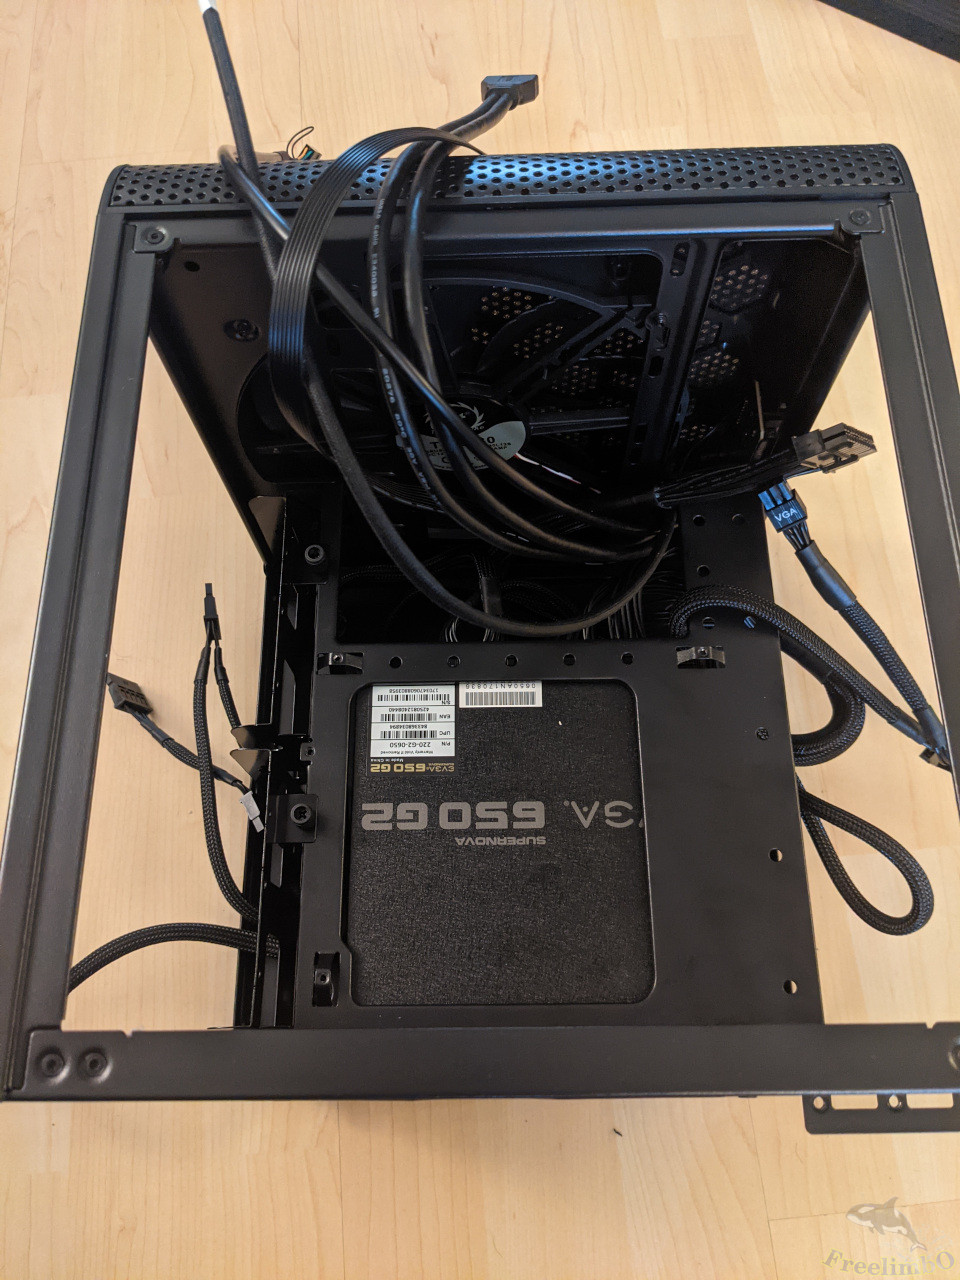 I pulled out all chassis' cables and power cords so that the mobo can be installed easily later. Those cables were for the HDD led, reset, power, and front USB 3 sockets.
Motherboard: Aorus X570-I
 I paid 160 USD for this good-looking mobo on eBay. It was Aorus X570-I, and I have heard that its CPU compatibility list range from the second-gen. Ryzen to the 5th-gen. Ryzen. I chose to spend more on the mobo instead of going for a cheaper B450-I because I planned to use a Ryzen 7 2700X for now, and upgrade to Ryzen 5000 when they are in stock again. It may sound weird, but I have a budget limit, and I was also interested in realizing how large the performance gap can be between Ryzen 2000 and 5000.
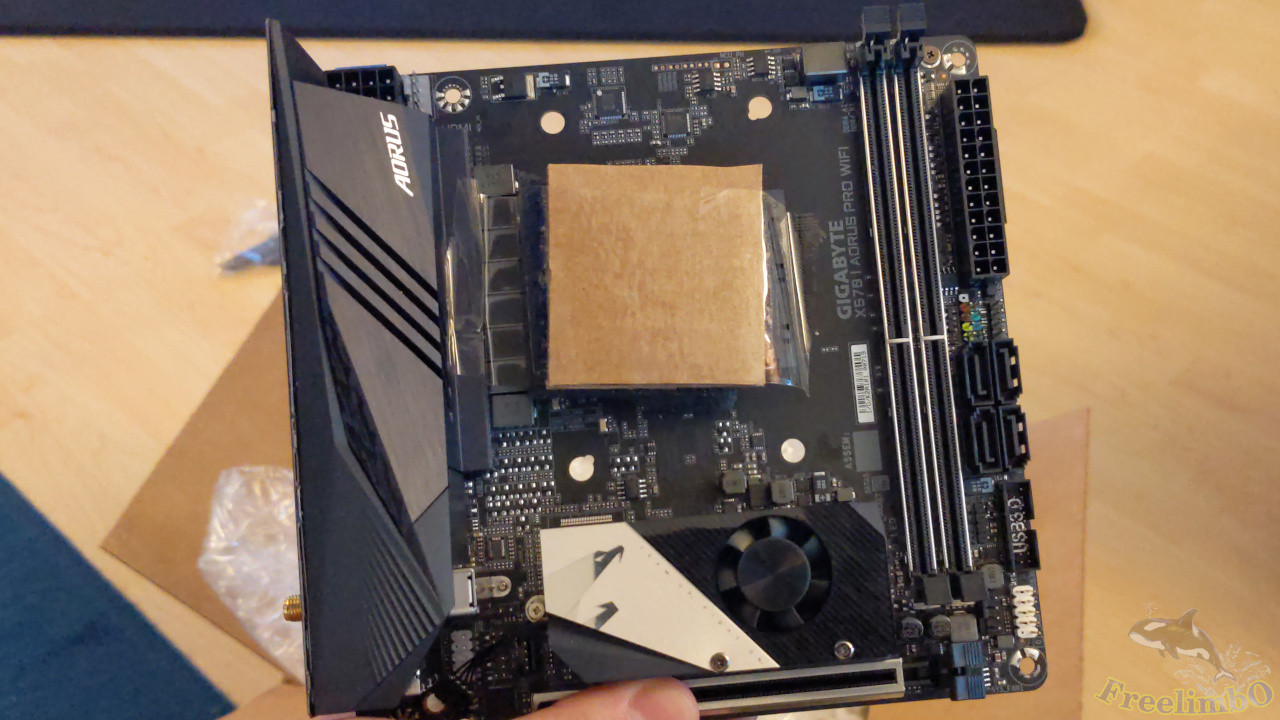
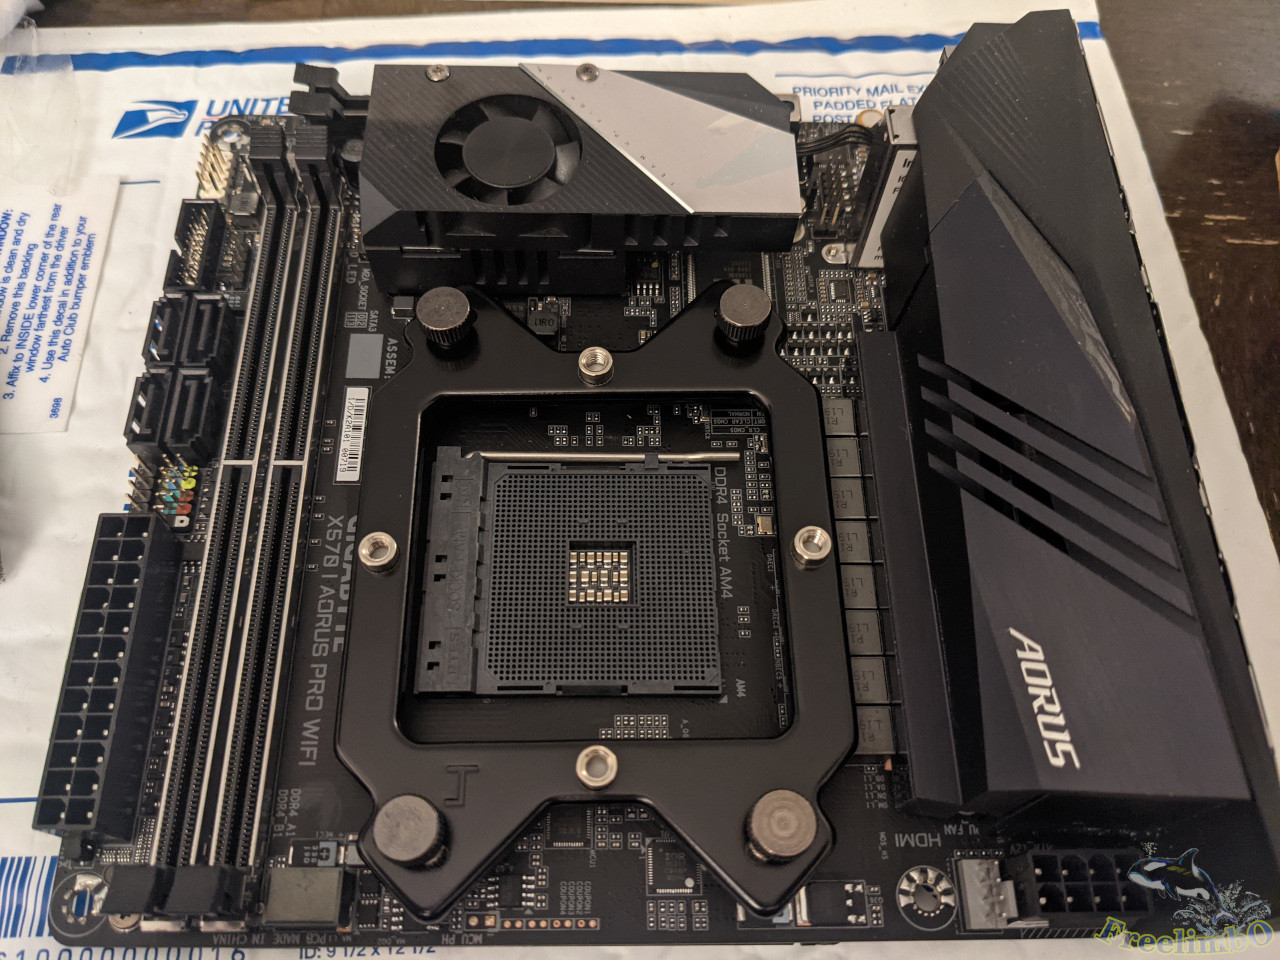
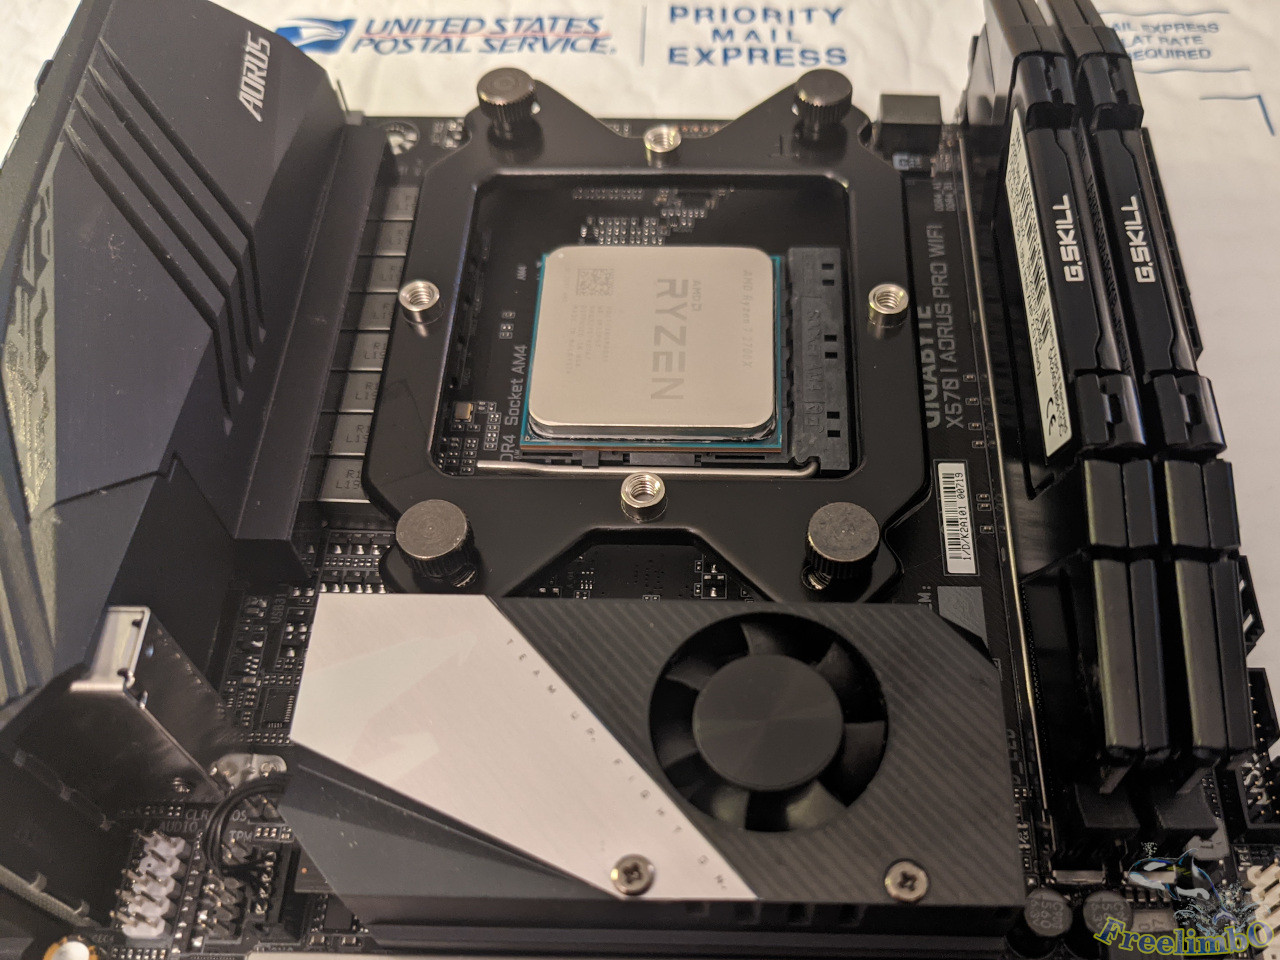
The top of X570-I has on PCI-e 3.0 socket, two DDR-4 sockets, AM4 CPU socket masked, some peripherals, and an m.2 SSD slot under the only fan on mobo.
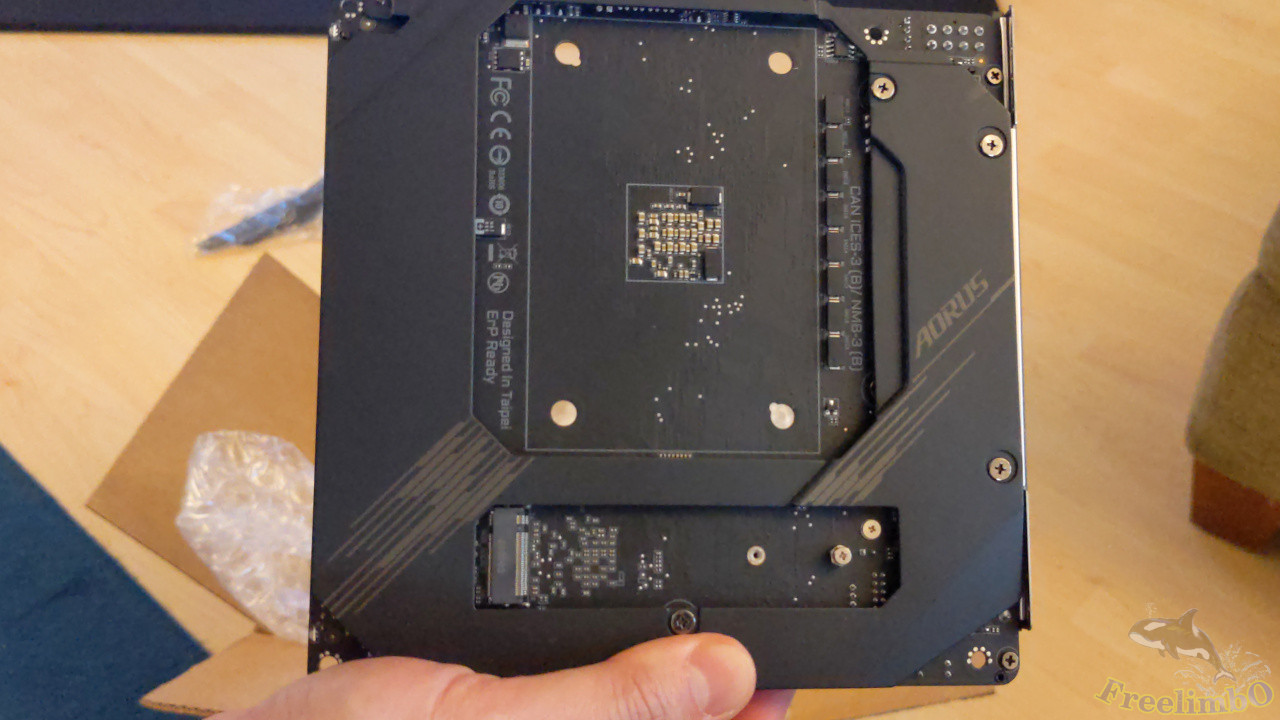 The bottom side had another m.2 SSD slot as well. Most areas of the bottom were shielded with metal, which made the looking consistent with the top and provided better ESD protection and heat dissipation.
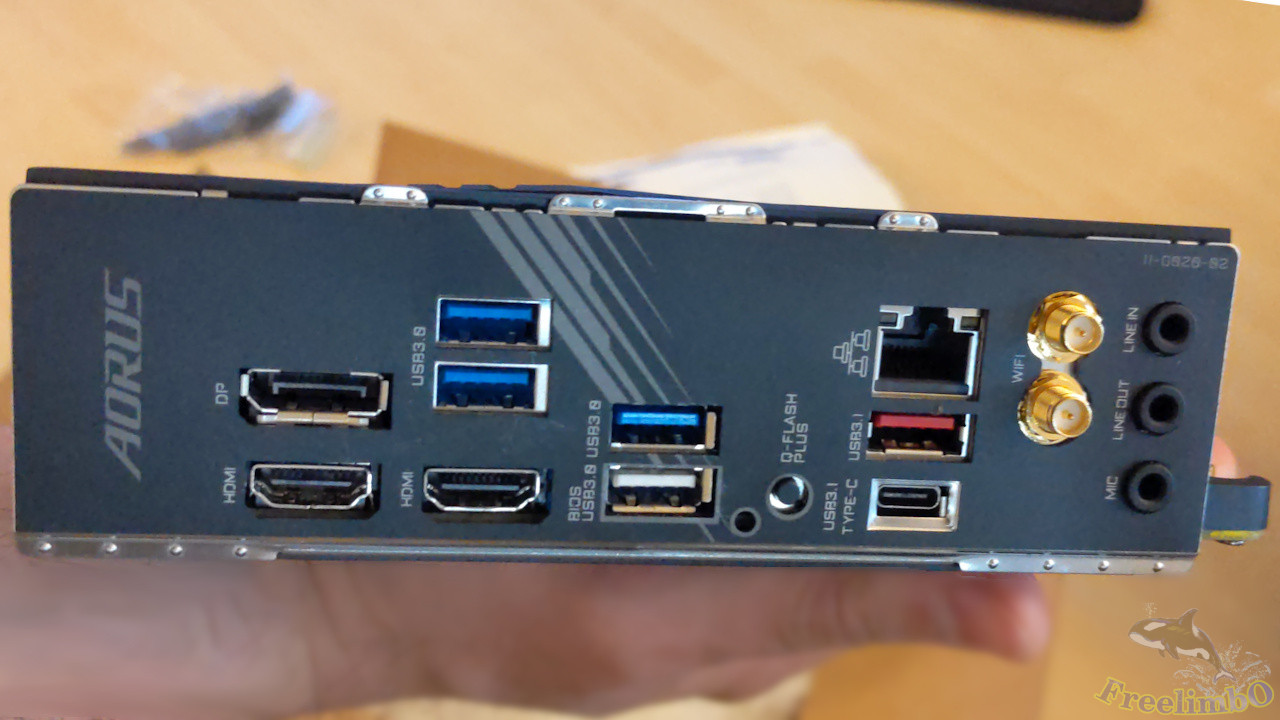 The back panel provided 1 DP, two HDMI, four USB 3.0, one USB 3.1, one Gb Ethernet, Wi-Fi connectors, and audio jacks. I especially appreciate this design because the back shield was soldered on the mobo already. The most painful step in the entire installation process could be the installation of mobo’s backplate. It had to be done with the installation of mobo onto the chassis at the same time, which can be very challenging. However, my X570-I’s backplate was already a part of the mobo, so I know I can avoid the most challenging step later.
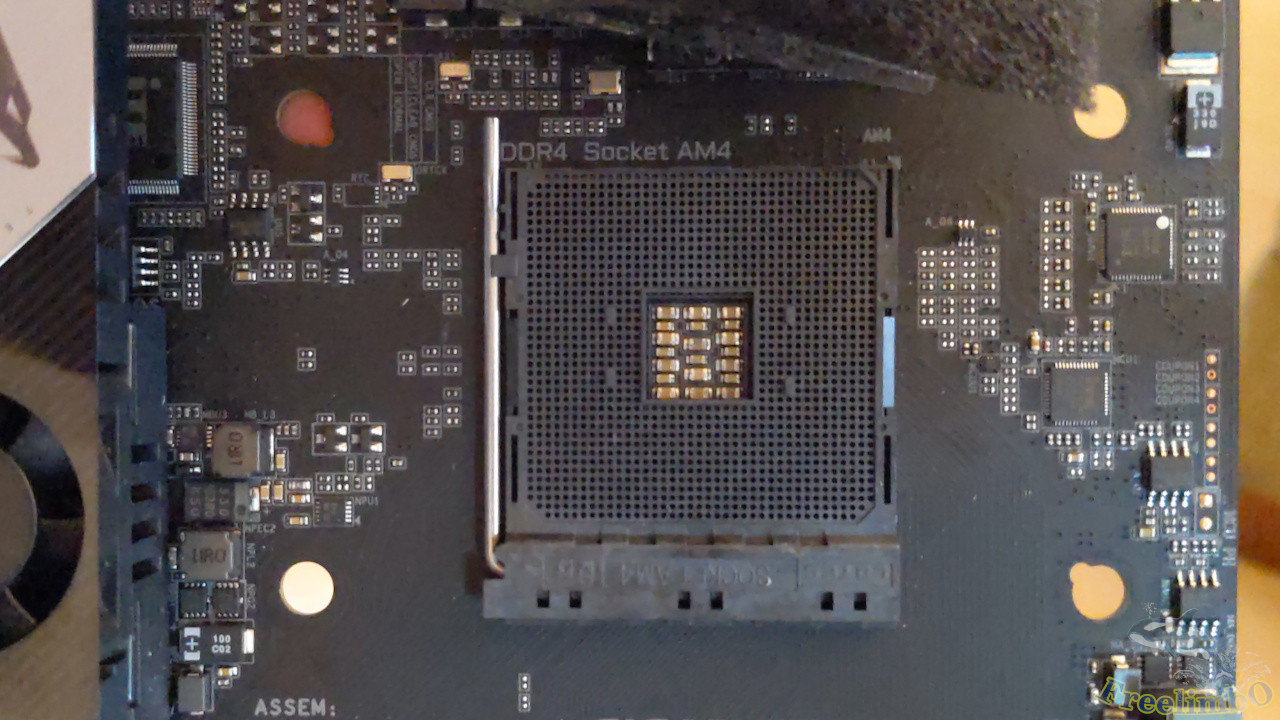
The AM4 CPU socket. Thanks to the seller for the covering to keep dust from getting into this part.
CPU: Ryzen 7 2700X
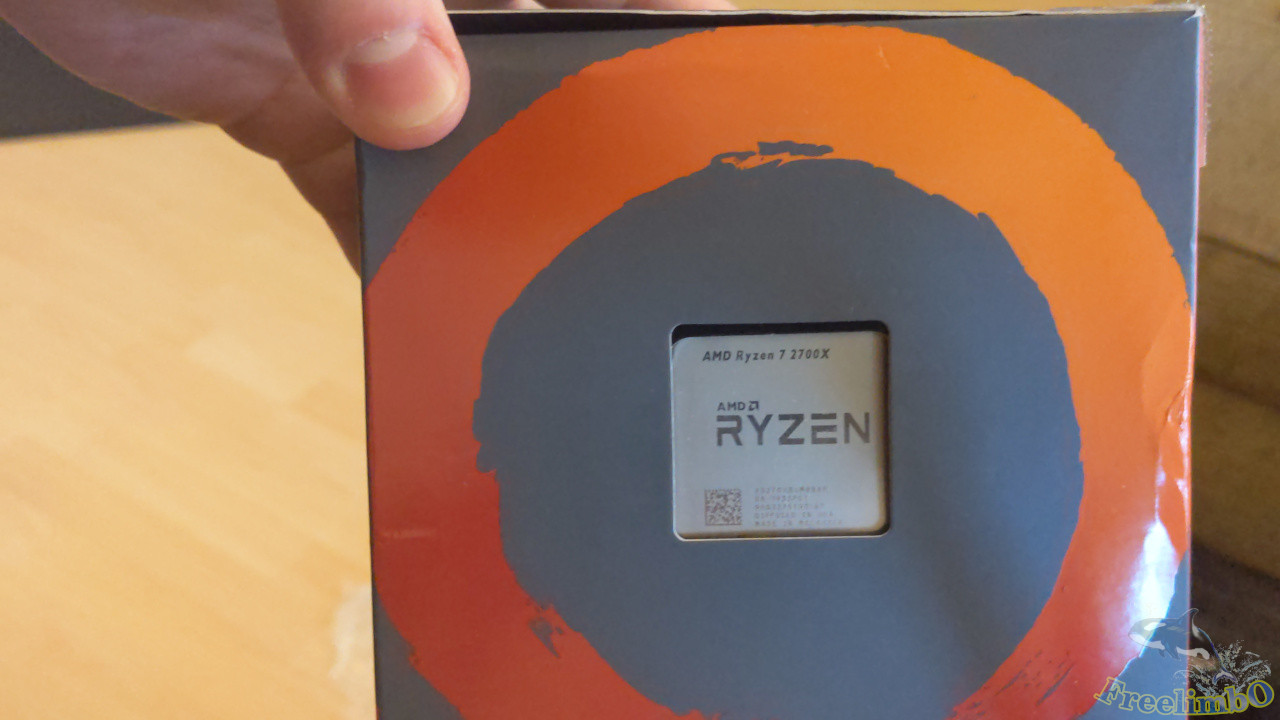 The box came with some scratches and dents.
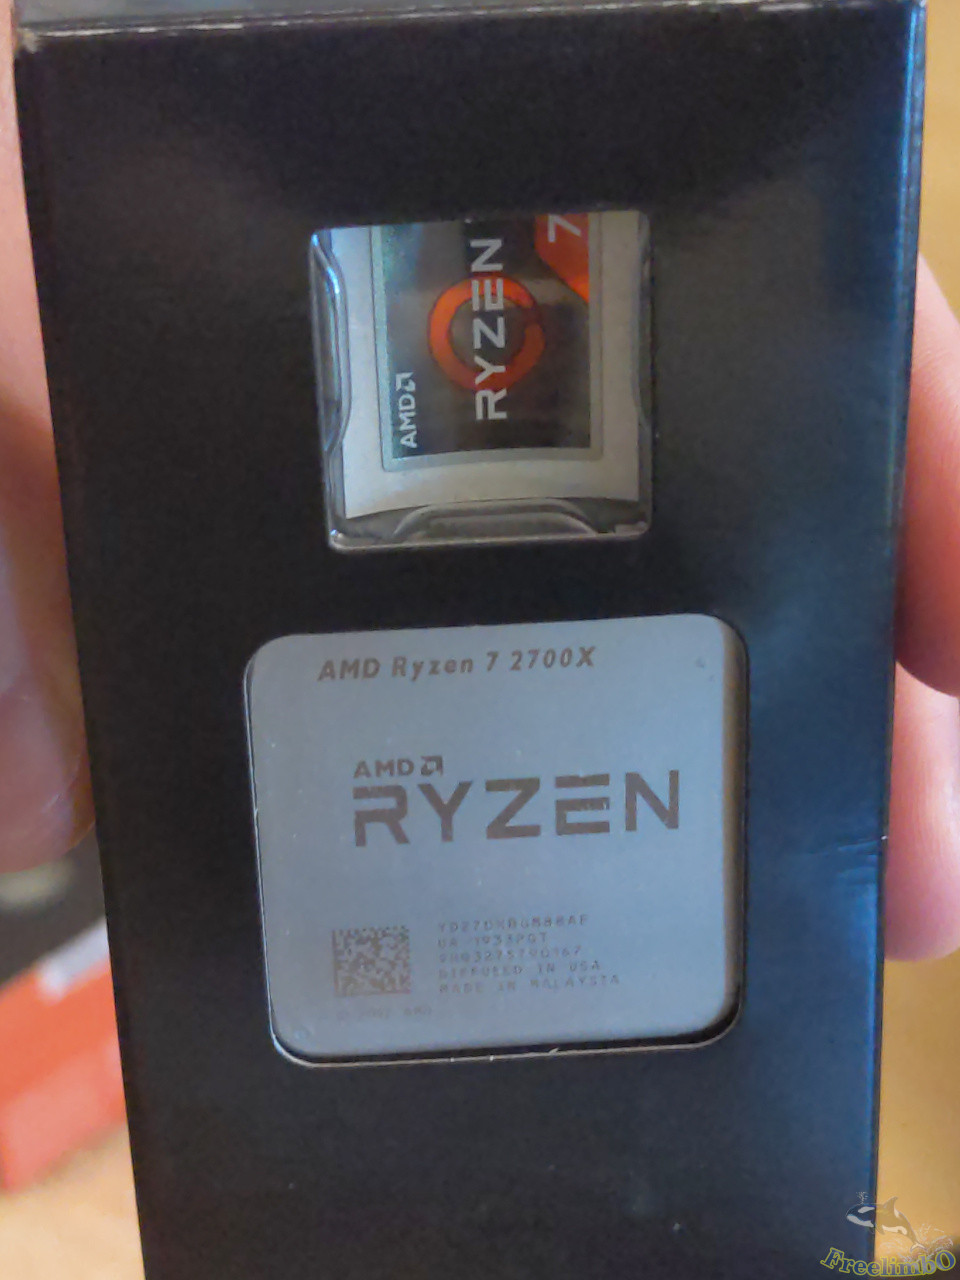 The CPU looked good. The sticker was still there untouched.
 I forgot to ask the seller whether my CPU came with a CPU cooler in the first time and bought another cheap tower fan.
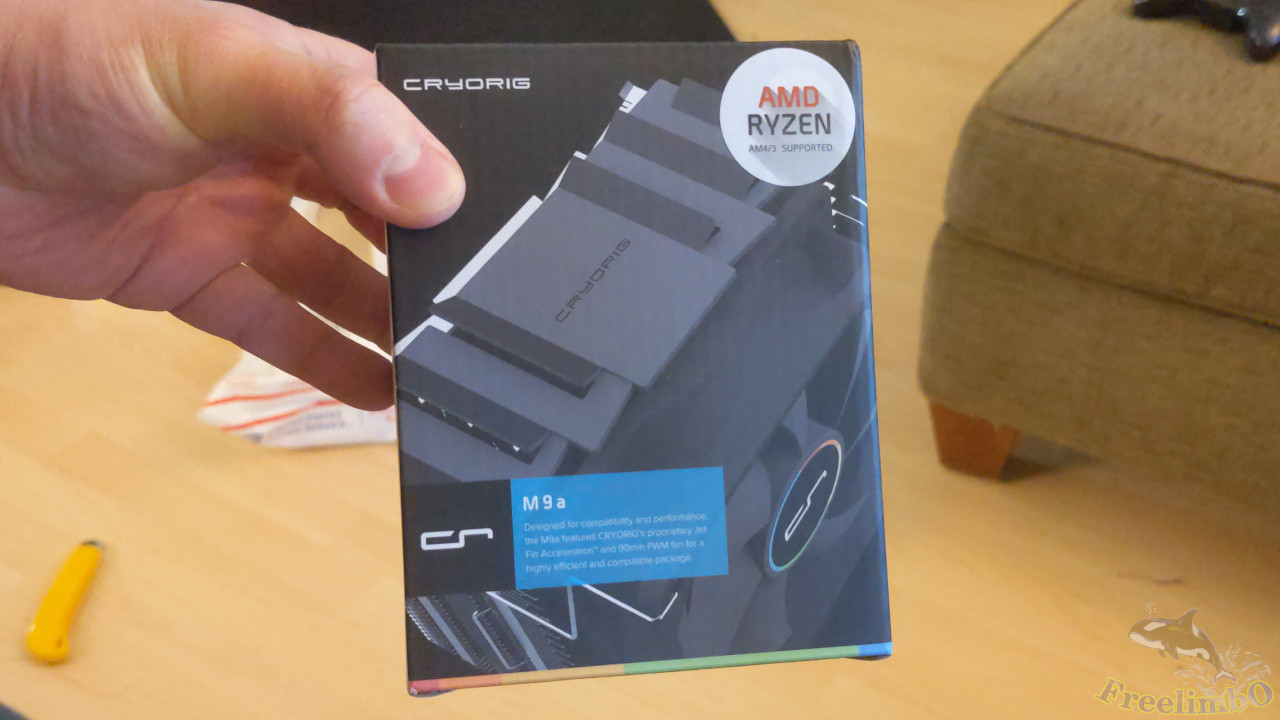 The Cryorig M9a CPU cooler. I check with PCParkPicker.com, and it told me this tower can fit into my TT Core V1.
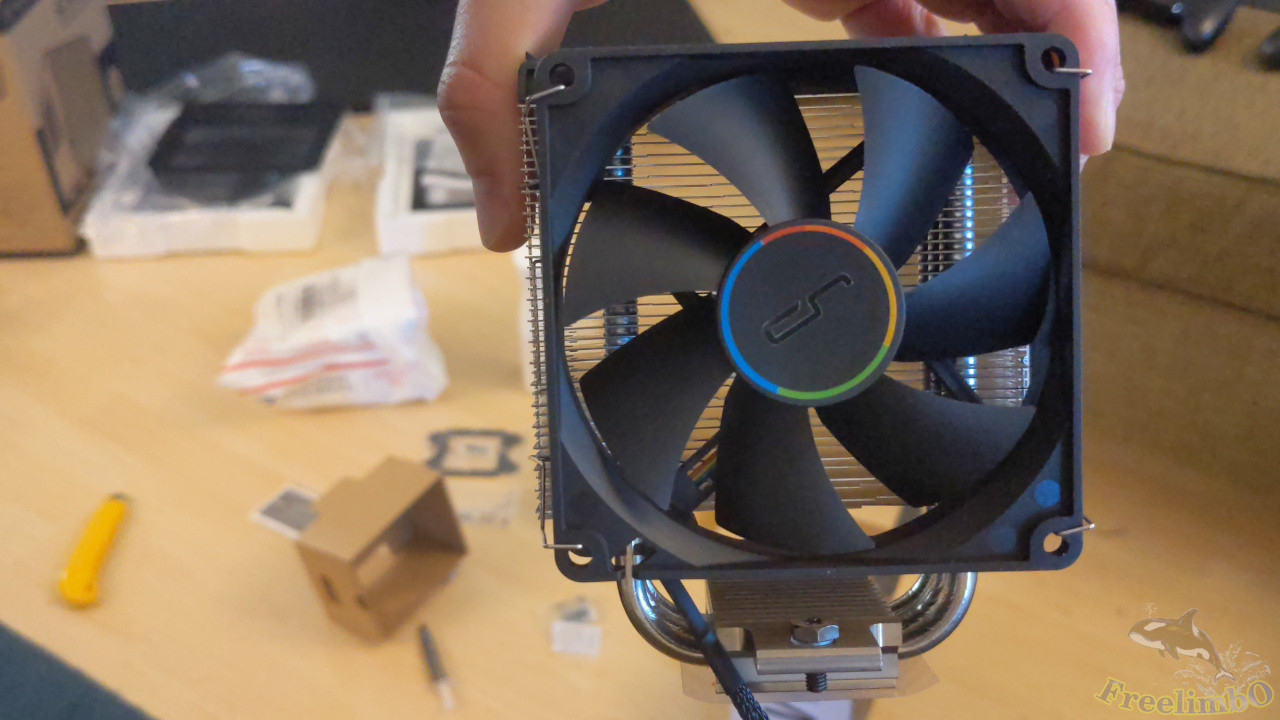 Front was a intake 9.2cm fan.
 Nothing on the back.
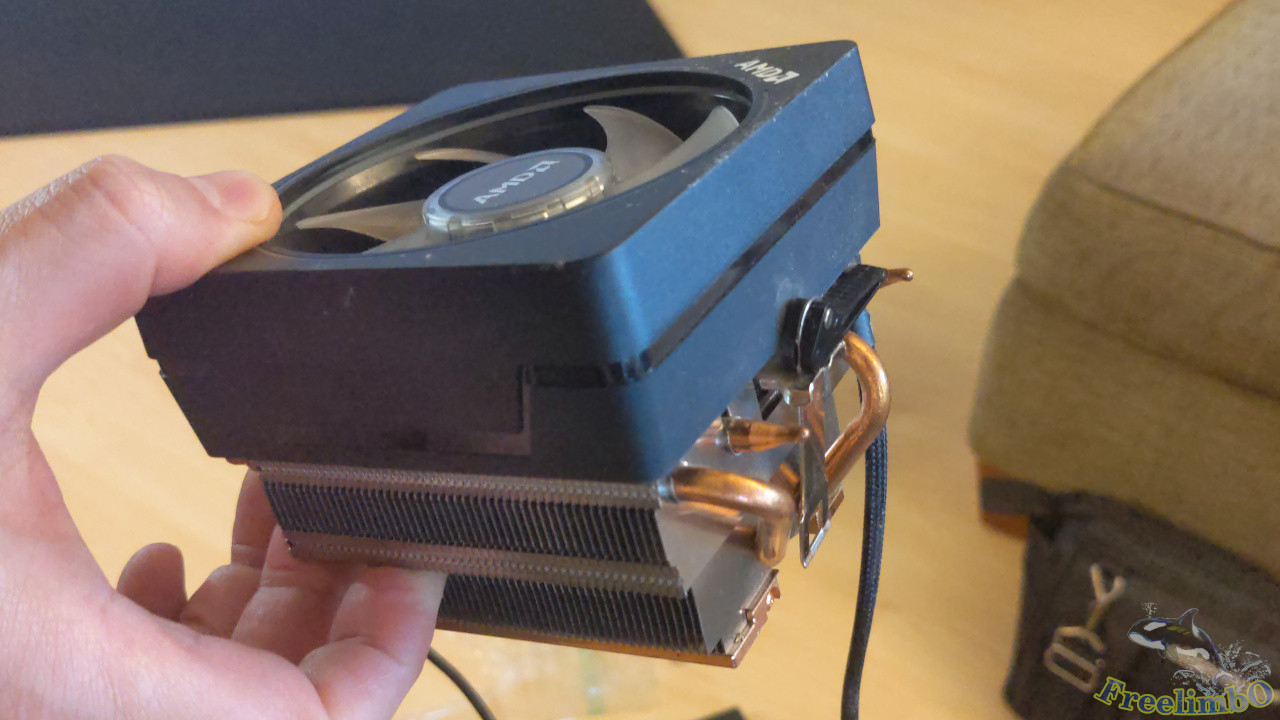
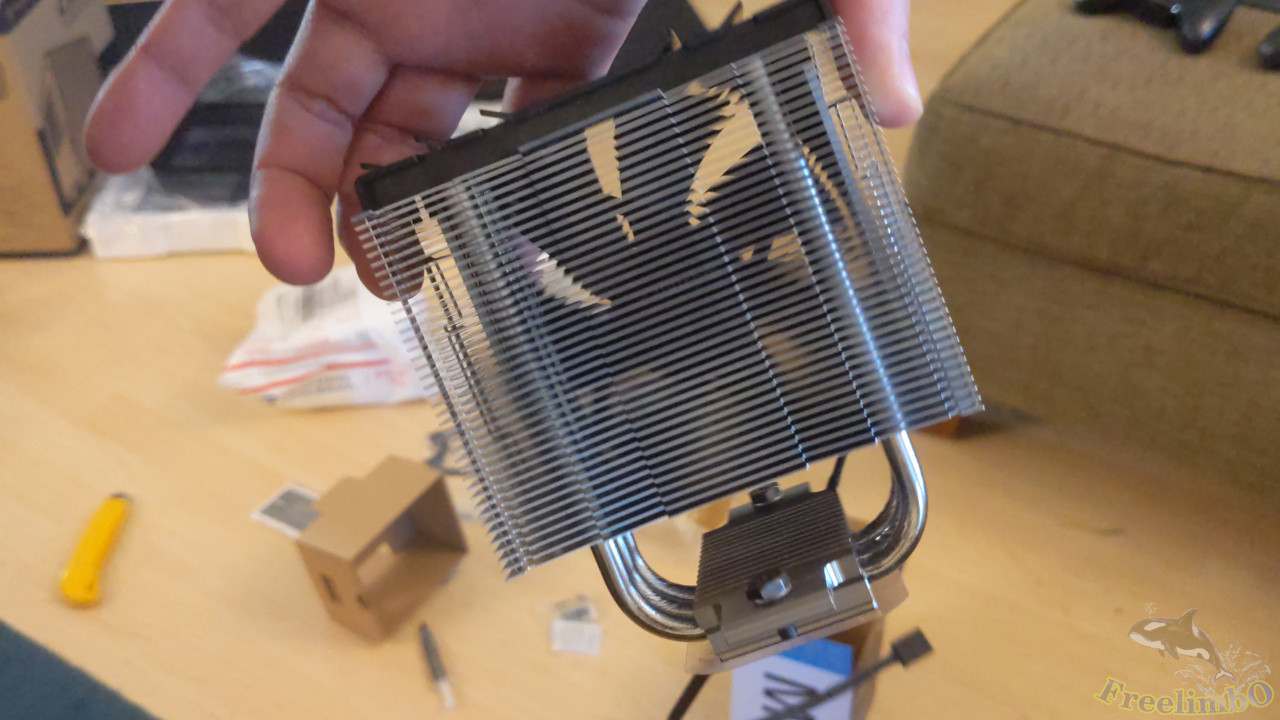
 Pure aluminum design. We can see there were three heat pipes. A better CPU cooler usually has four copper heat pipes, but this one only cost me 23 bulks.
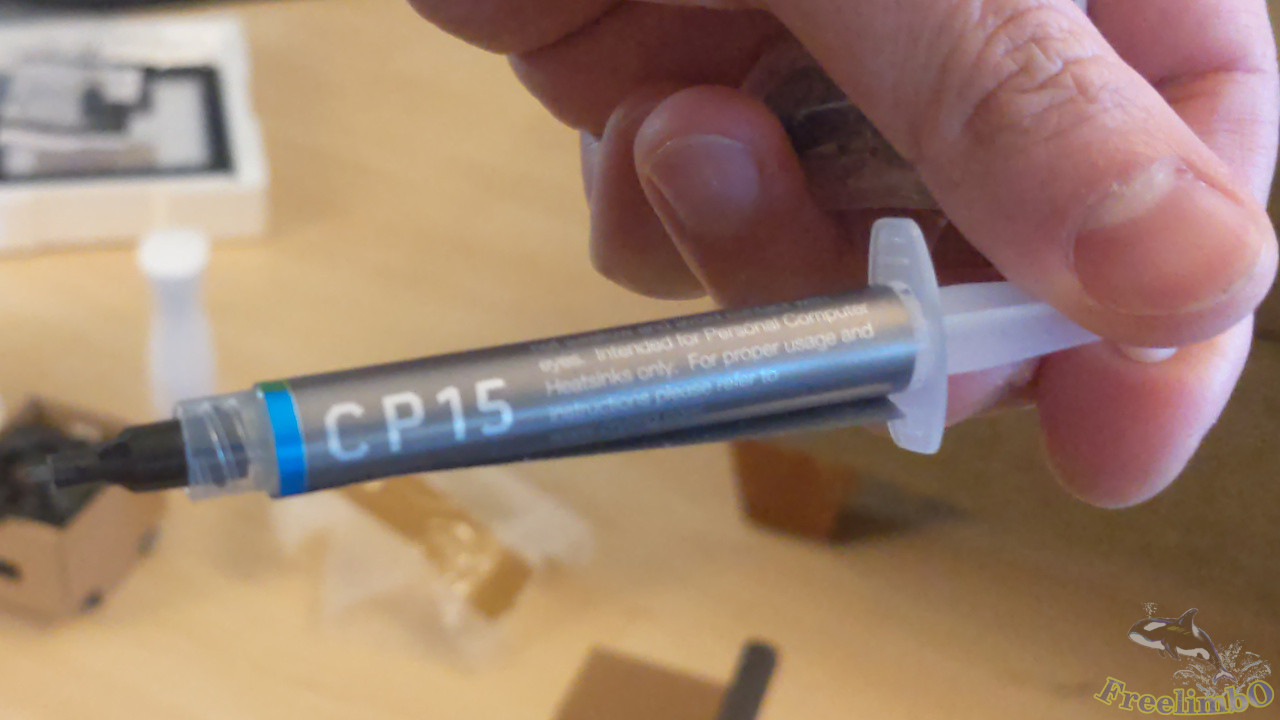 And it came with a thermal paste.
Memory: G.Skill Ripjaws V DDR4-3200 2x8GB
 The DDR4 RAM was from G.Skill. I heard they provide a lifetime warranty for DRAM memory.
Time for Building
Installing CPU and Cooler’s Bracket on Mobo
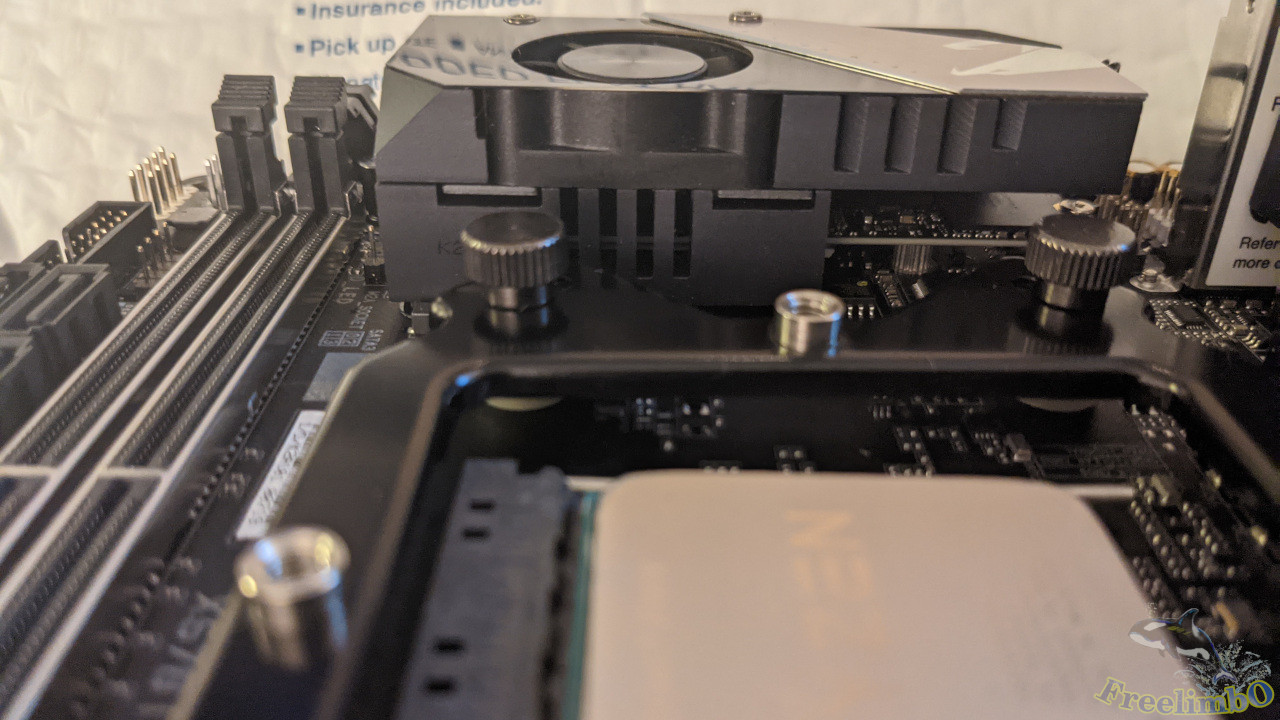
 My assembling sequence might be slightly out-of-order because I would just like to check whether the mobo components fit the height clearance for the cooler’s bracket. I probably should put my CPU on its socket before installing the bracket.
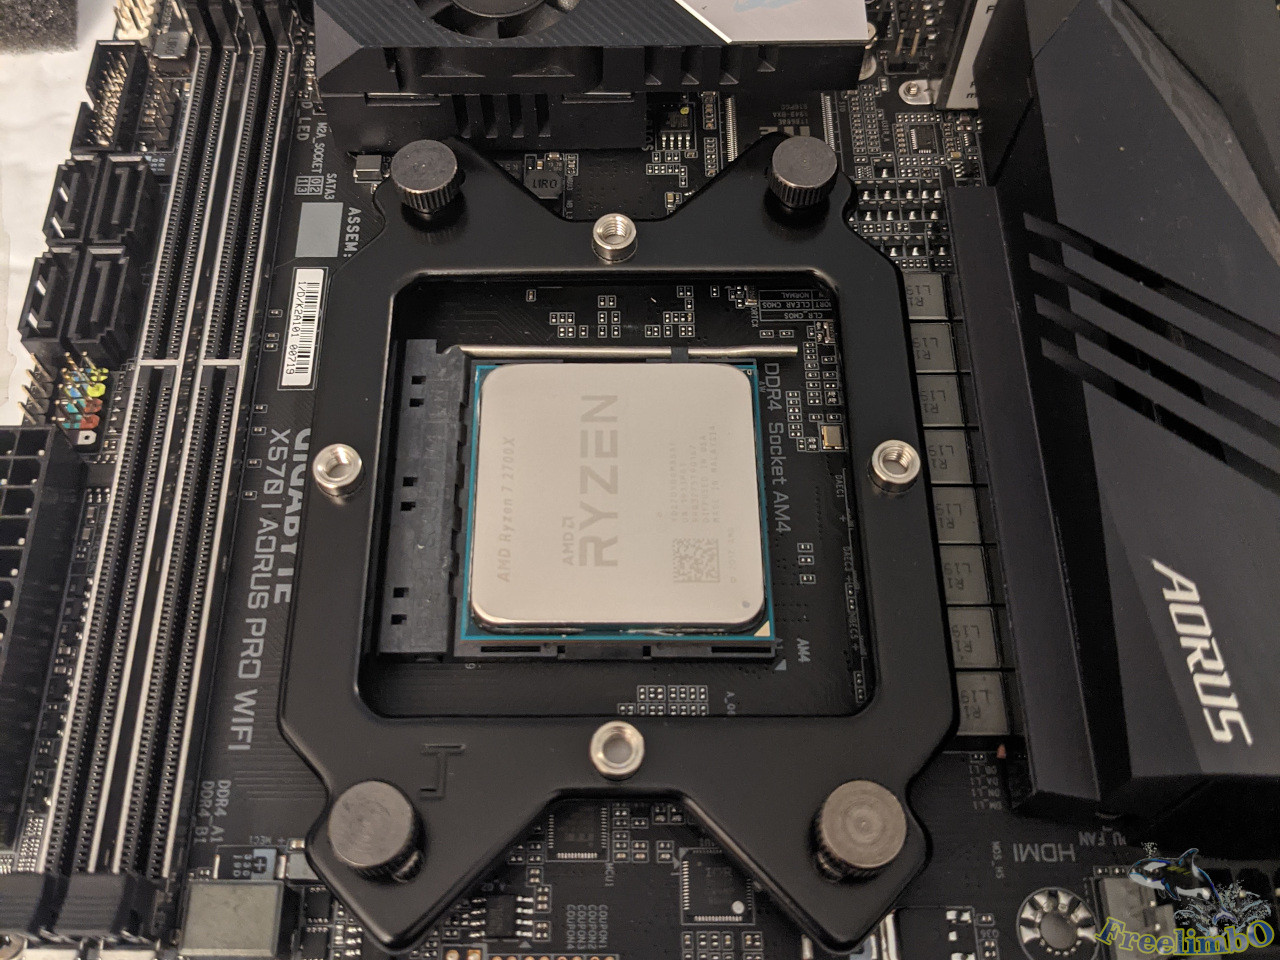 Anyway, both the CPU and bracket got installed without an issue.
Installing m.2 SSD
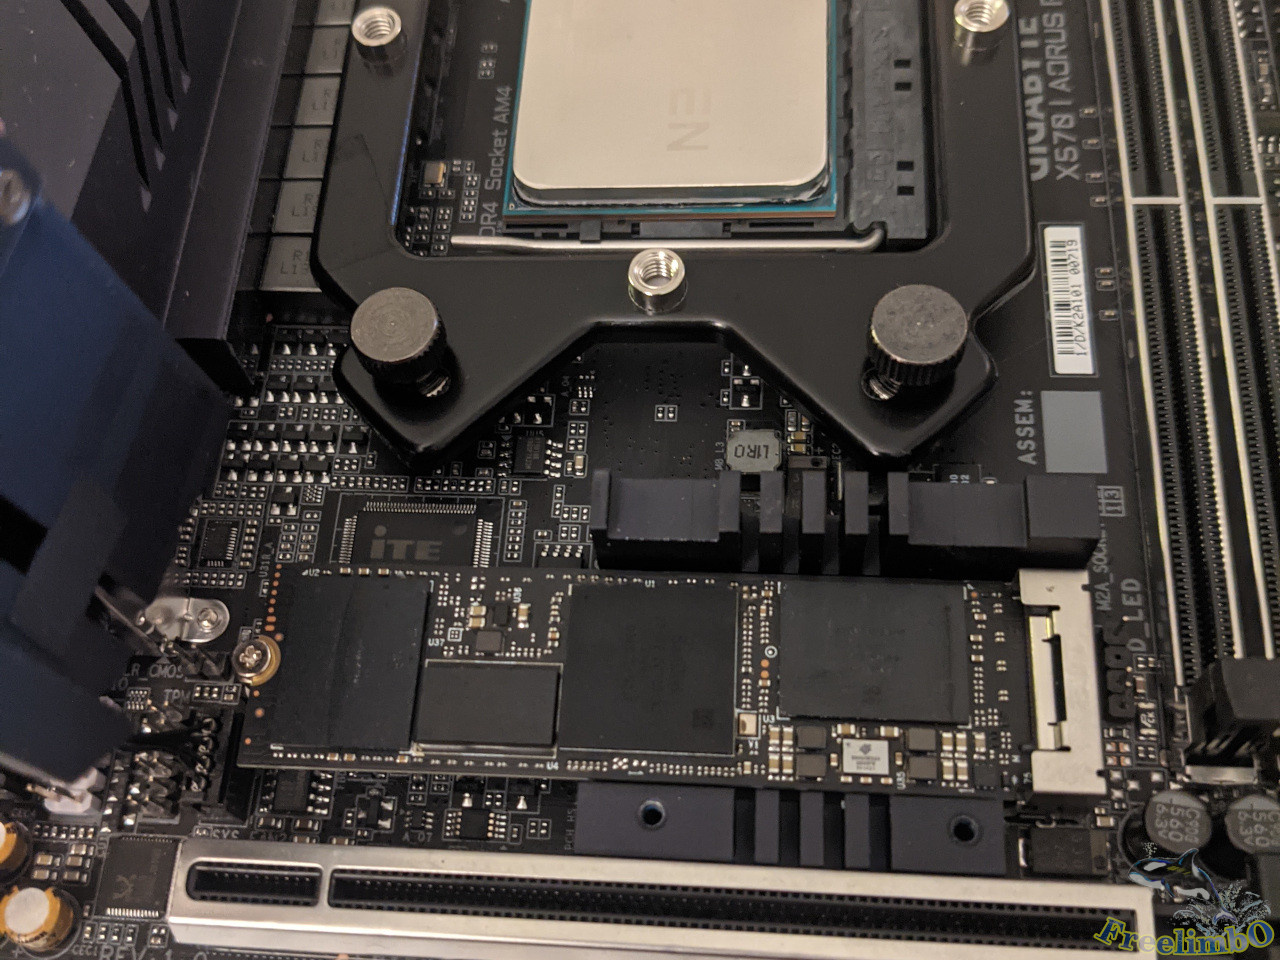 I put my WD SN750 1TB SSD in the socket. The mobo manual mentioned if the CPU was a Ryzen 2000, then only the m.2 socket on the top size worked.
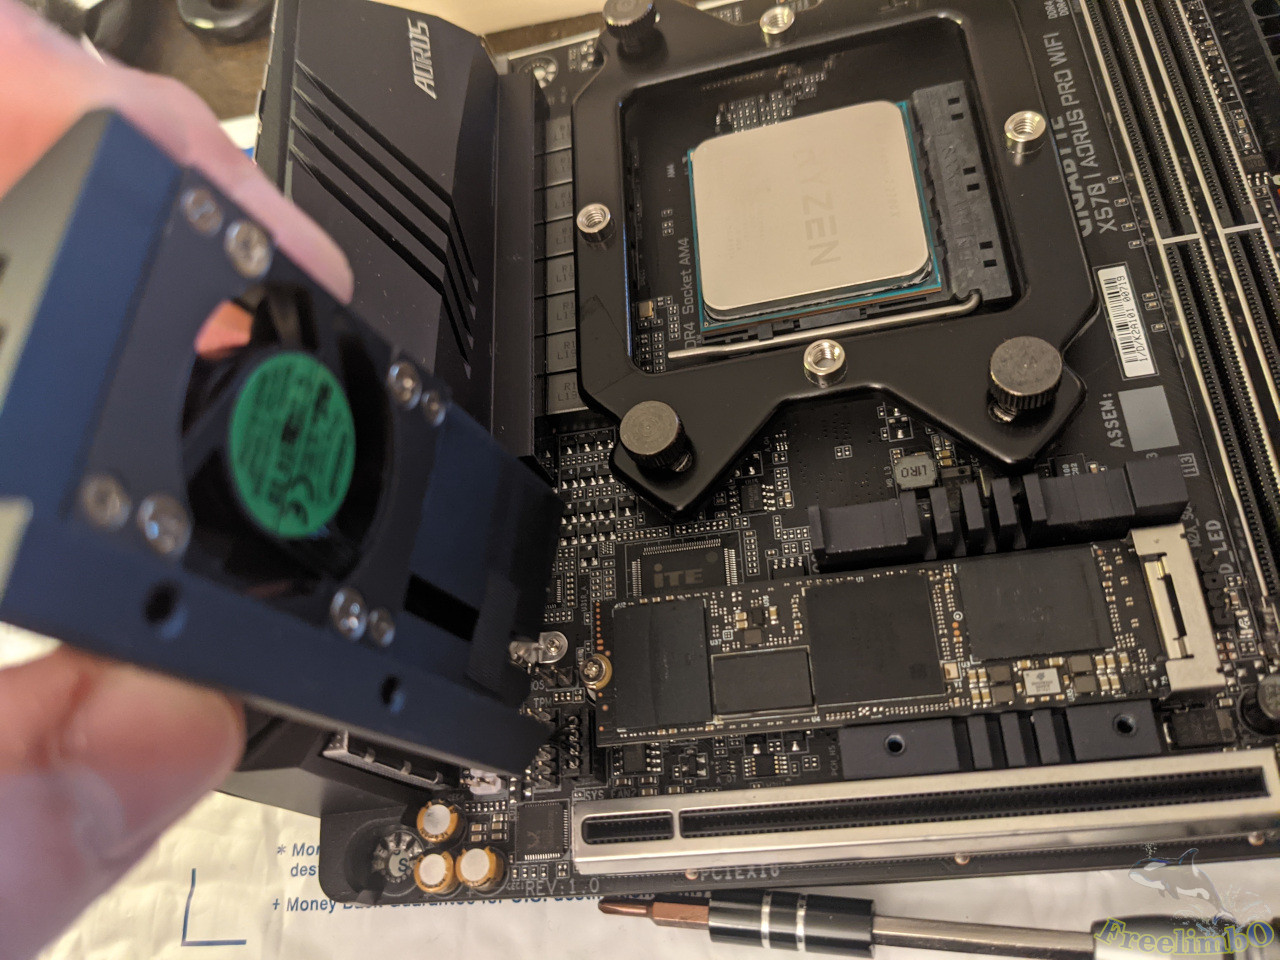 The SSD fan and the SSD.
 Put the SSD fan on.
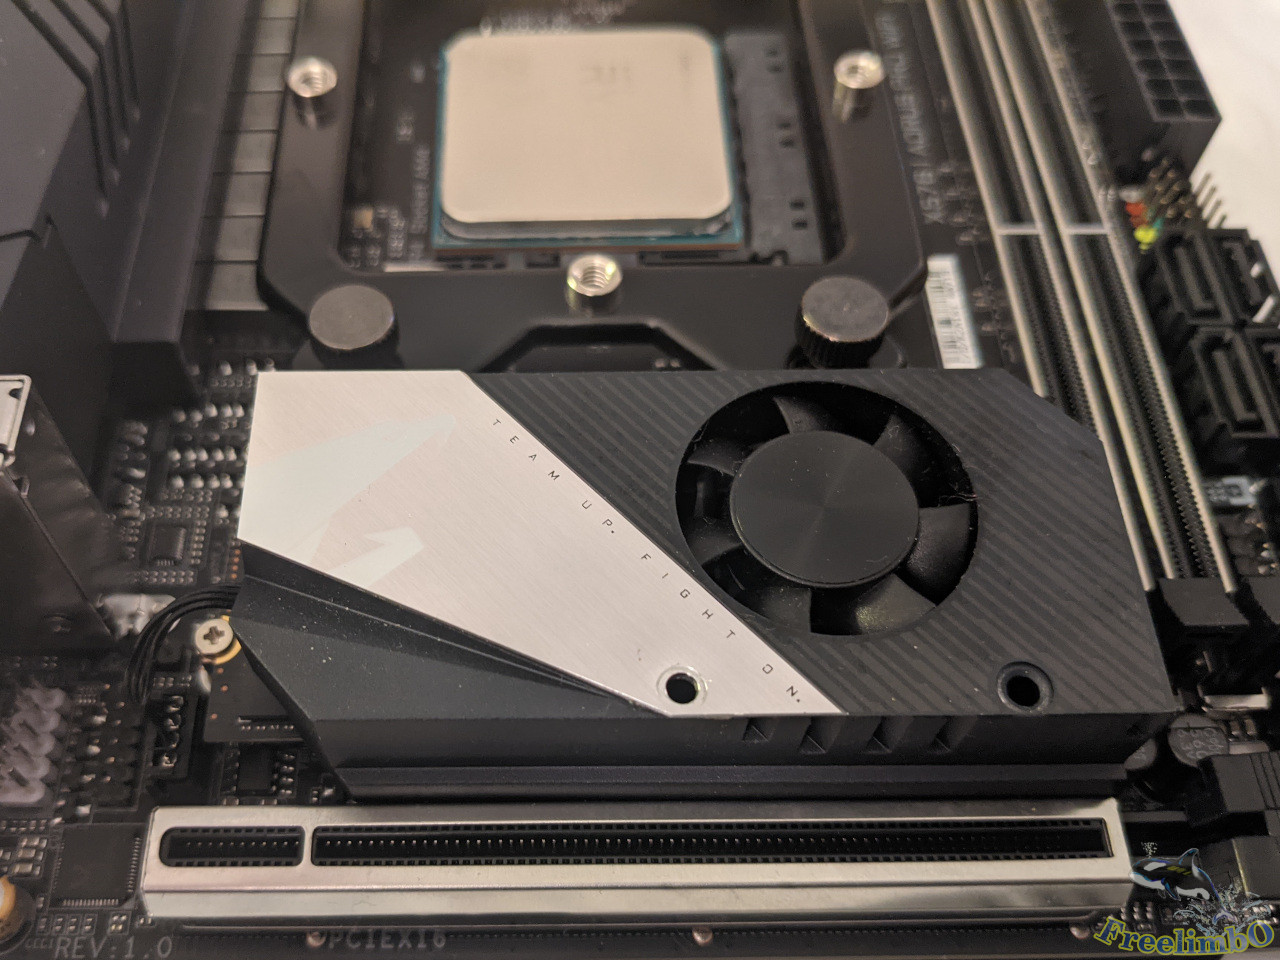
 The side view after I installed the SSD fan back to its original position.
Installing RAM
 The first one.
 And the second RAM installed.
Installing CPU Cooler
I forgot to take a picture of the thermal paste. I indeed put roughly 1 or 2 gram on the CPU before installing the cooler.
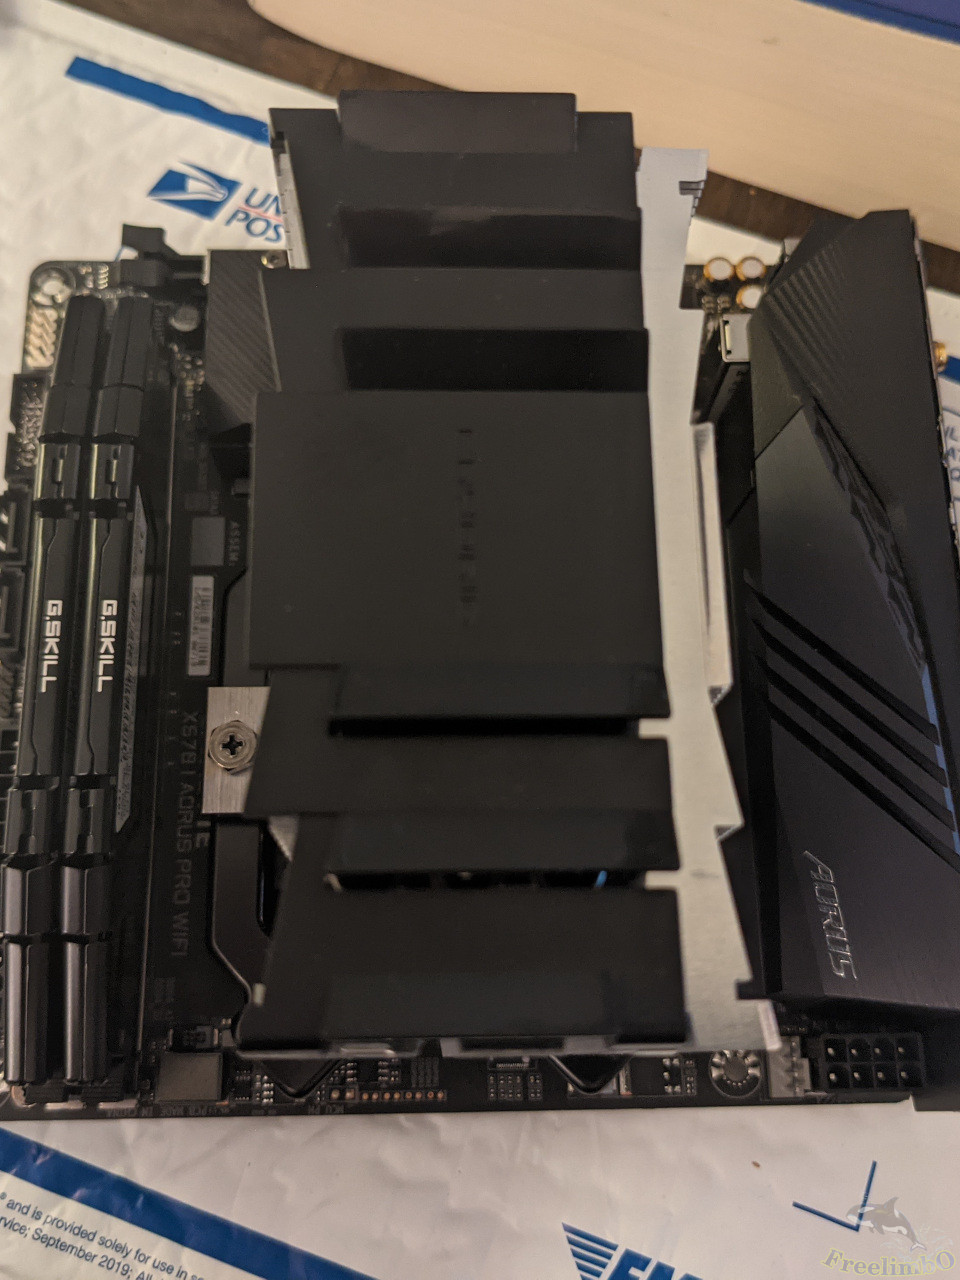 Remember to remove the fan on the cooler so that the installation can be easier.
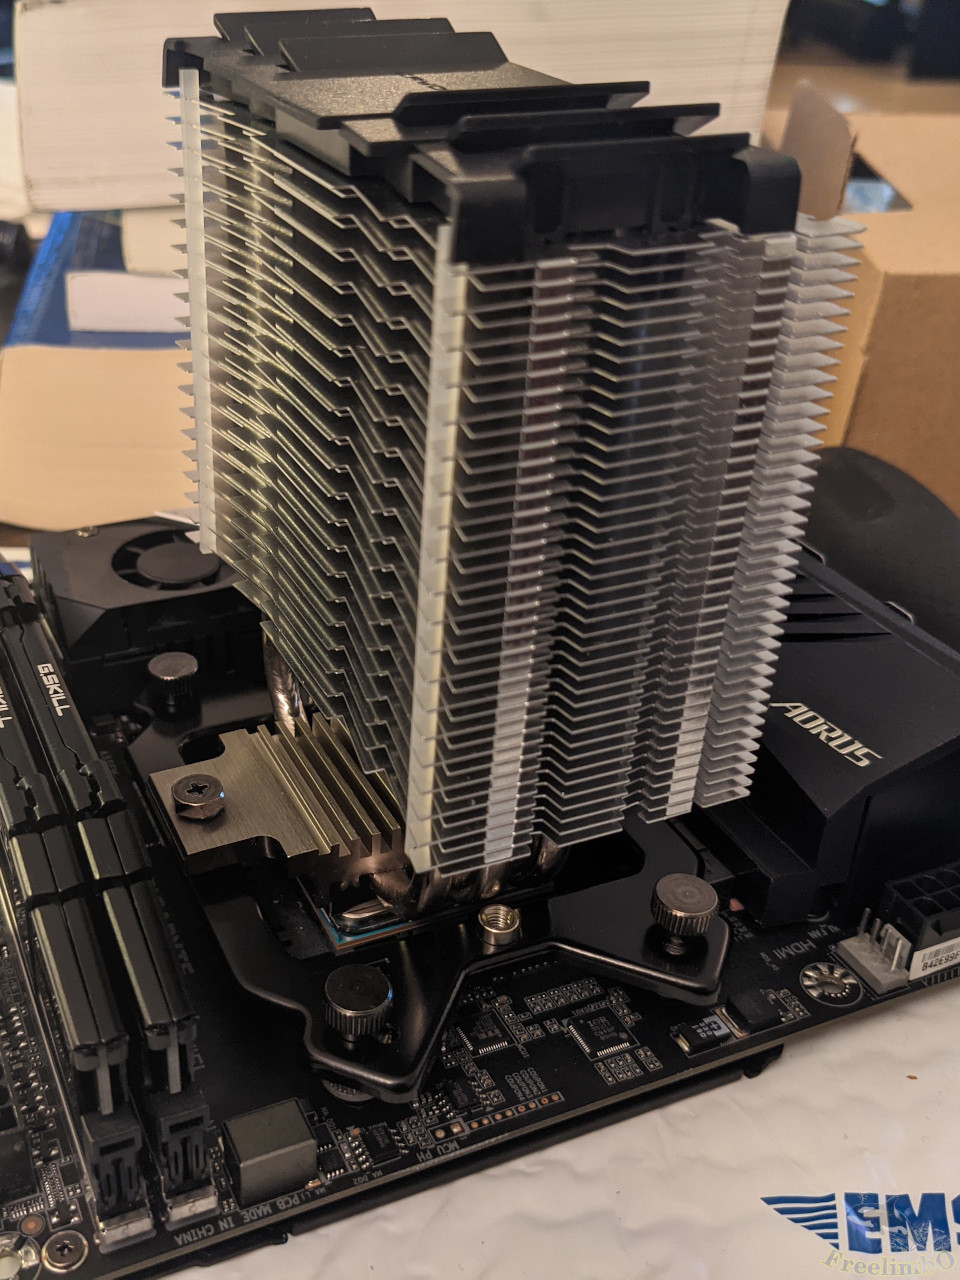 Make sure the forces on both screws were balanced during installing.
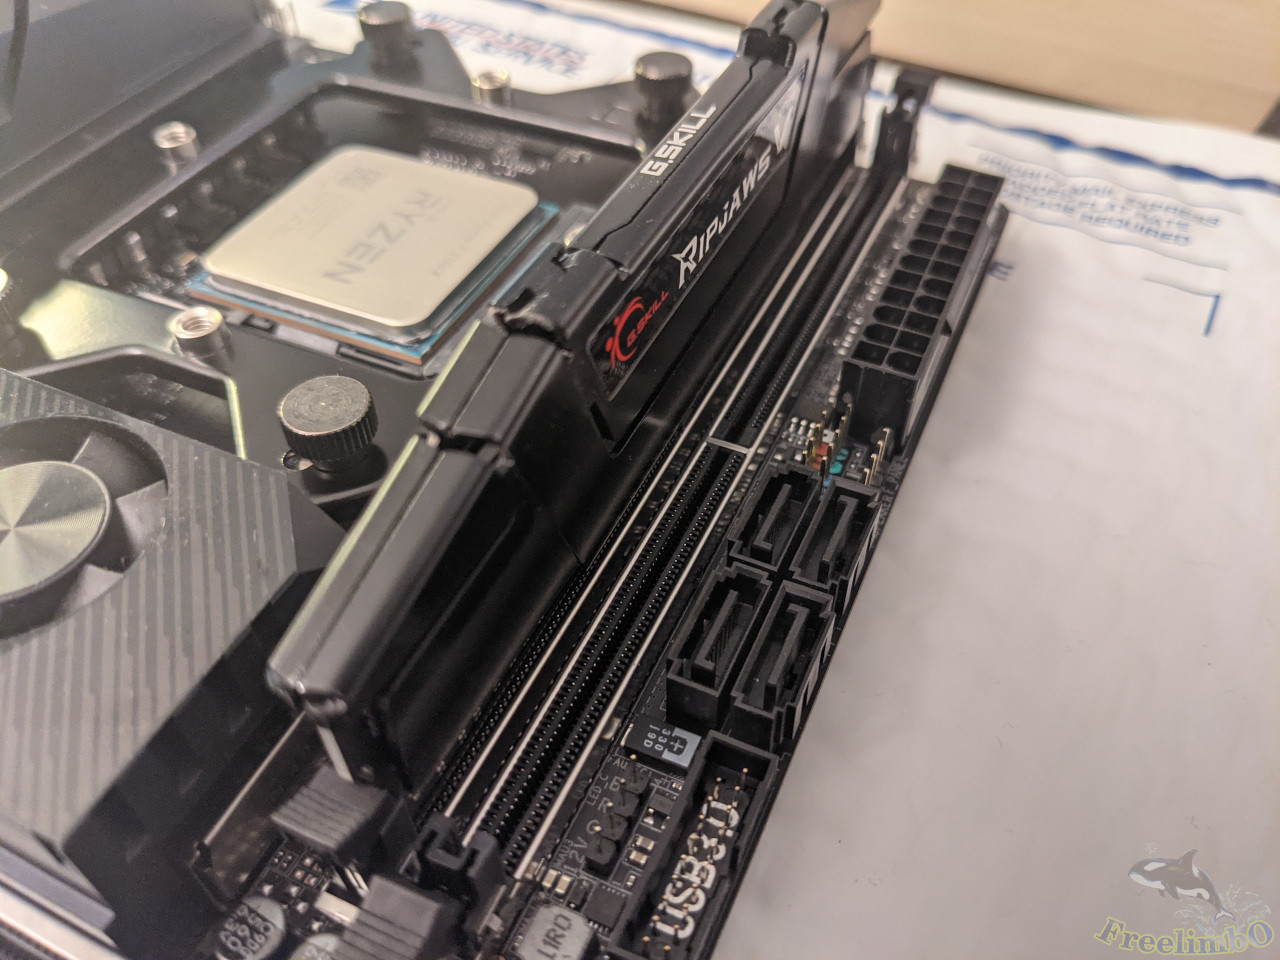
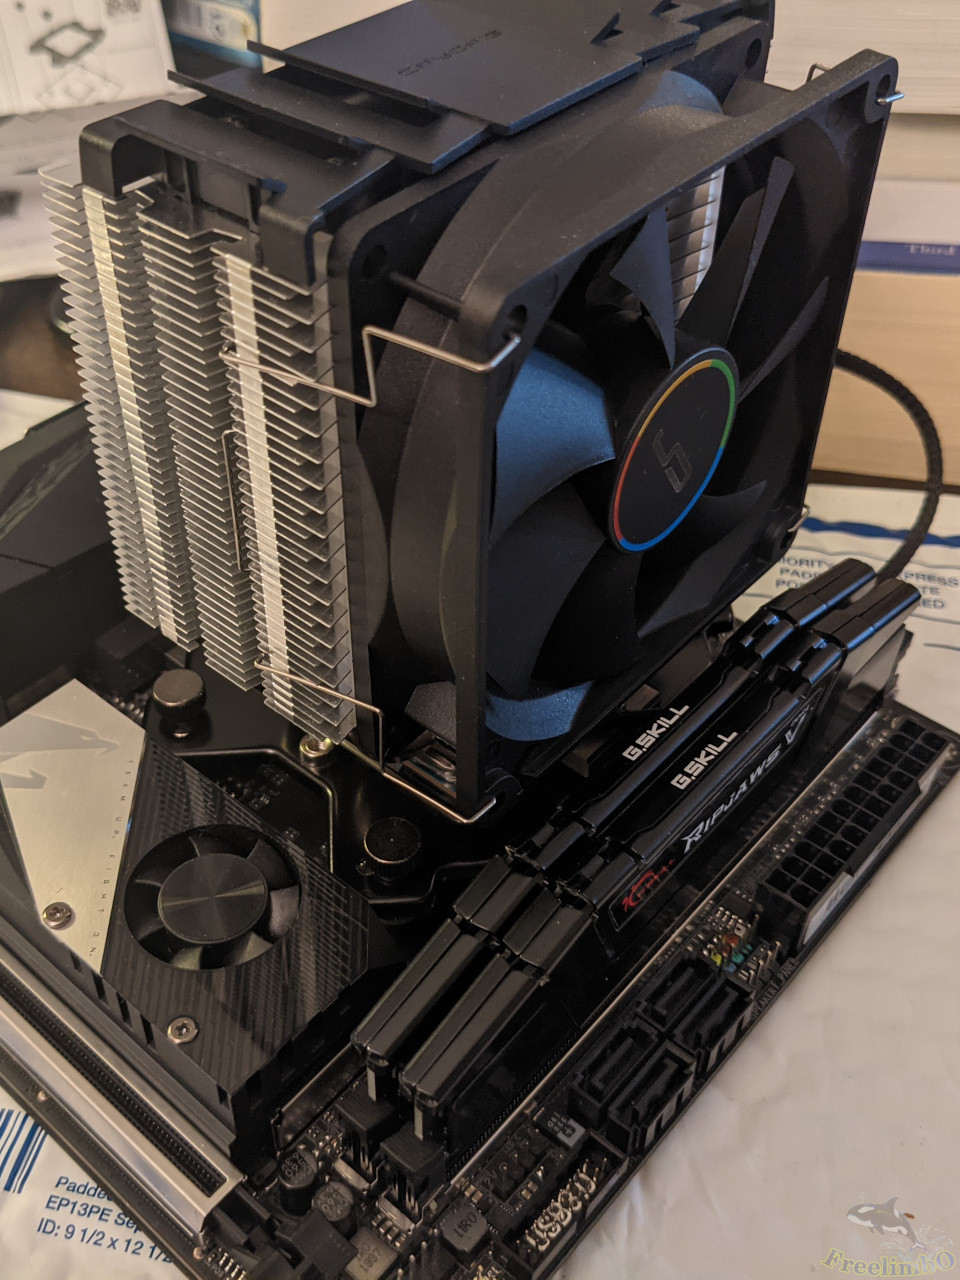 Then I hooked back the tower’s fan. Looked like the fan and the RAM cannot touch each other. Good good.
Lock the Mobo into the Chassis
 Thanks to the united back panel of Aorus X570-I, this step was done swiftly.
RTX2070 from Aorus Gaming box
I started to disassemble my external GPU.
 Although it looked not fancy, it was an ITX graphics card.
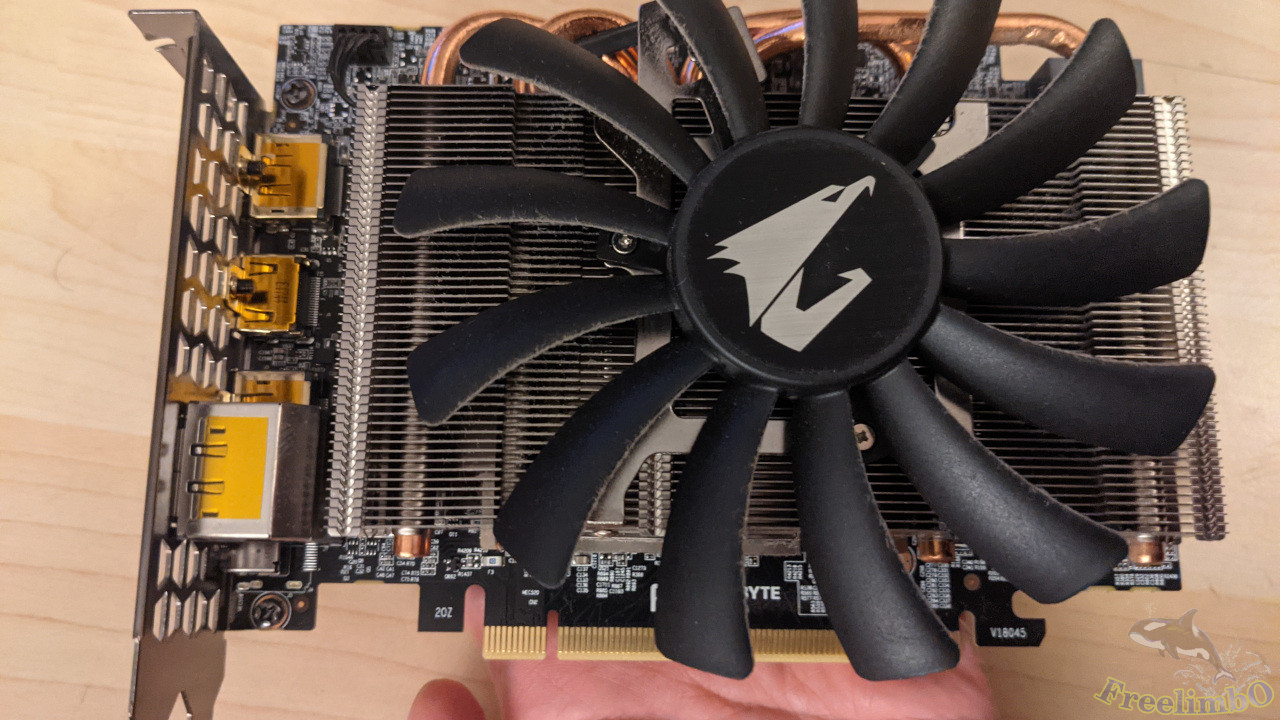 The fan was really big especially when I hold it in my hand.
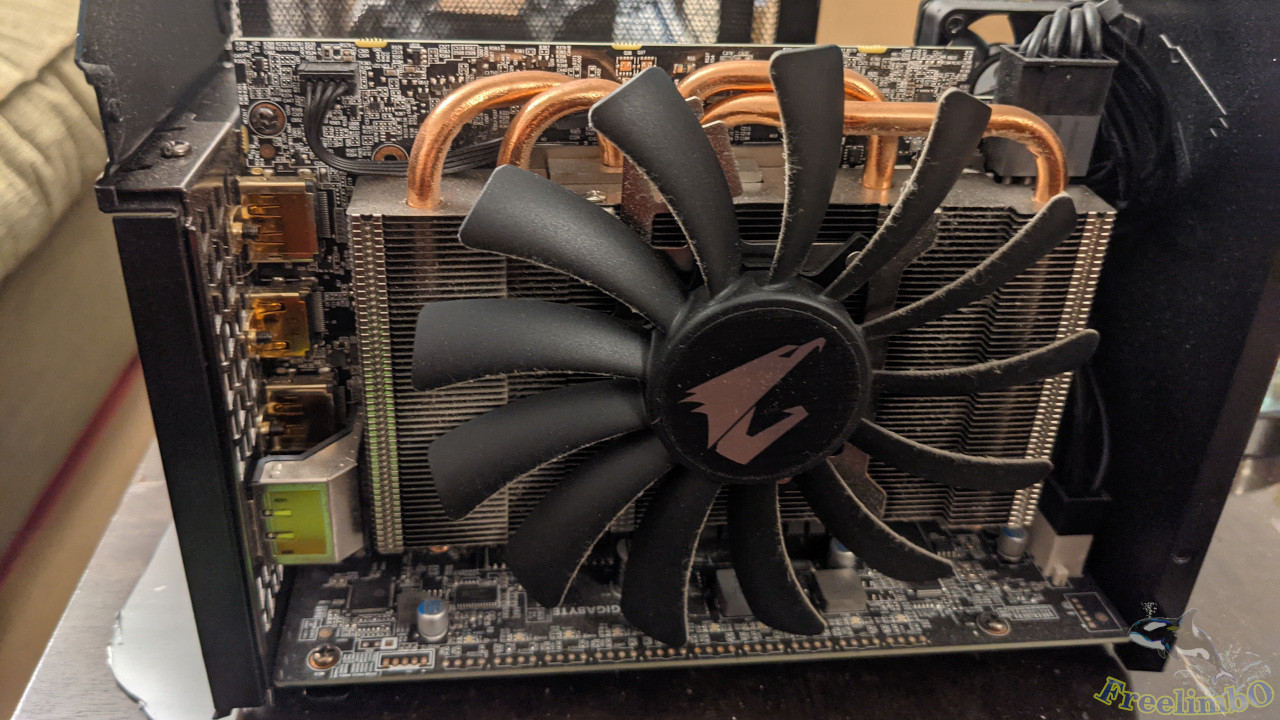
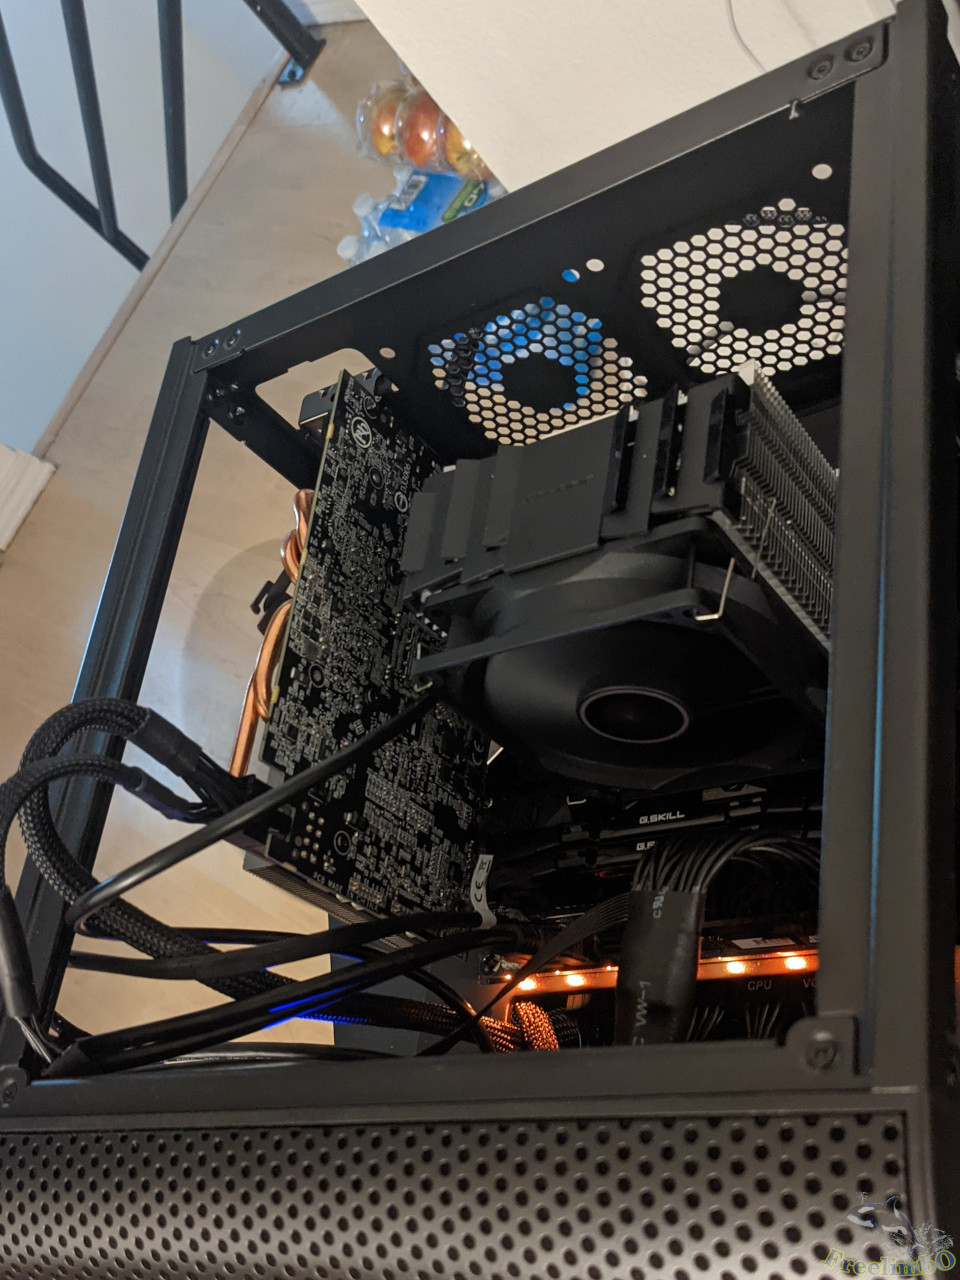
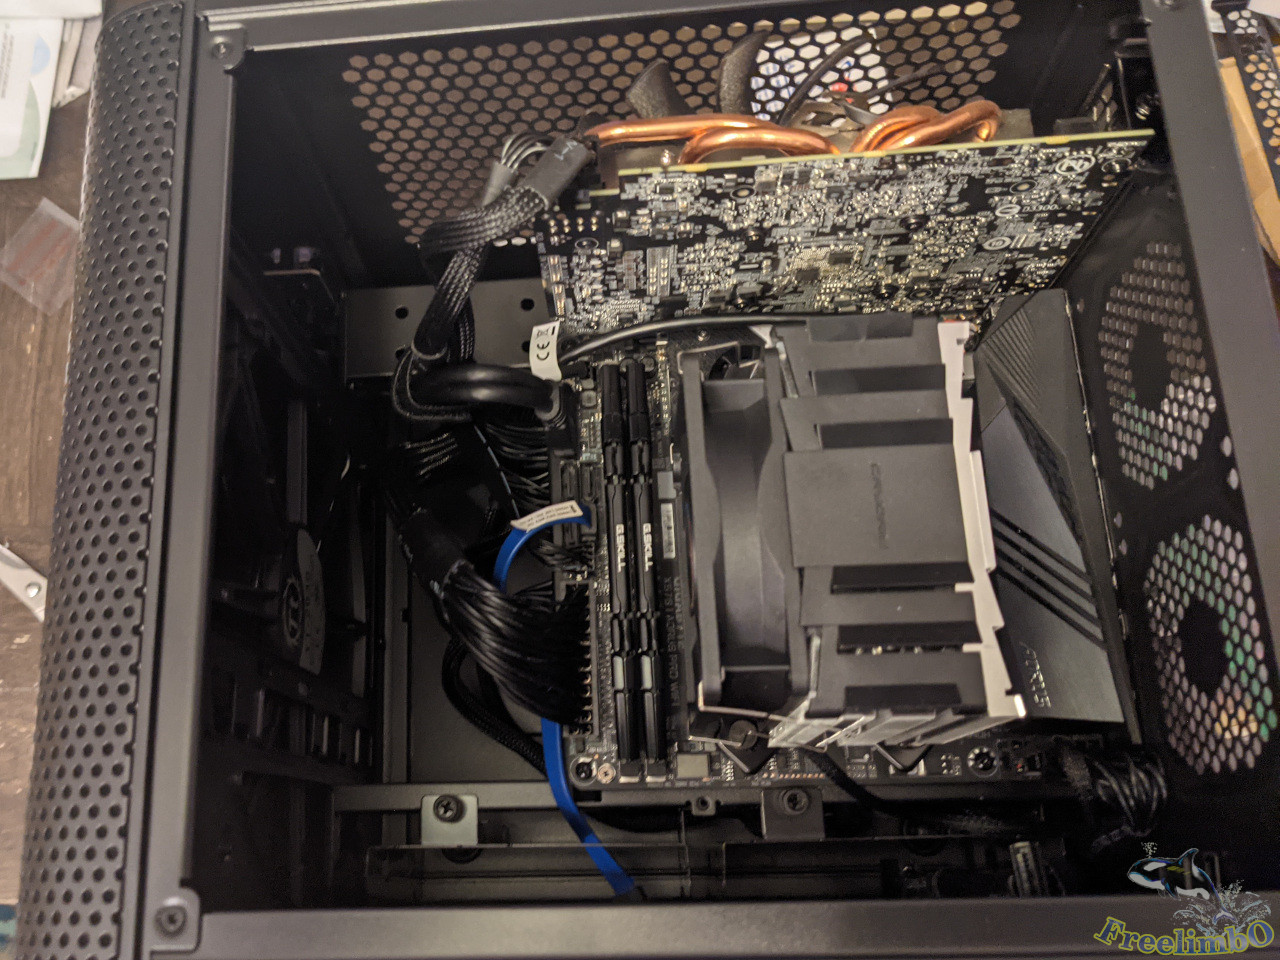 Luckily, nothing hitting each other after I installed the GPU onto the mobo in the chassis.
Wire Management
 While pulling out all the wires I realized that there was a LED stick built-in on mobo, and I decided to turn on the power to check it out. Wow, this was beautiful.
Installing the small cables to the pins on mobo
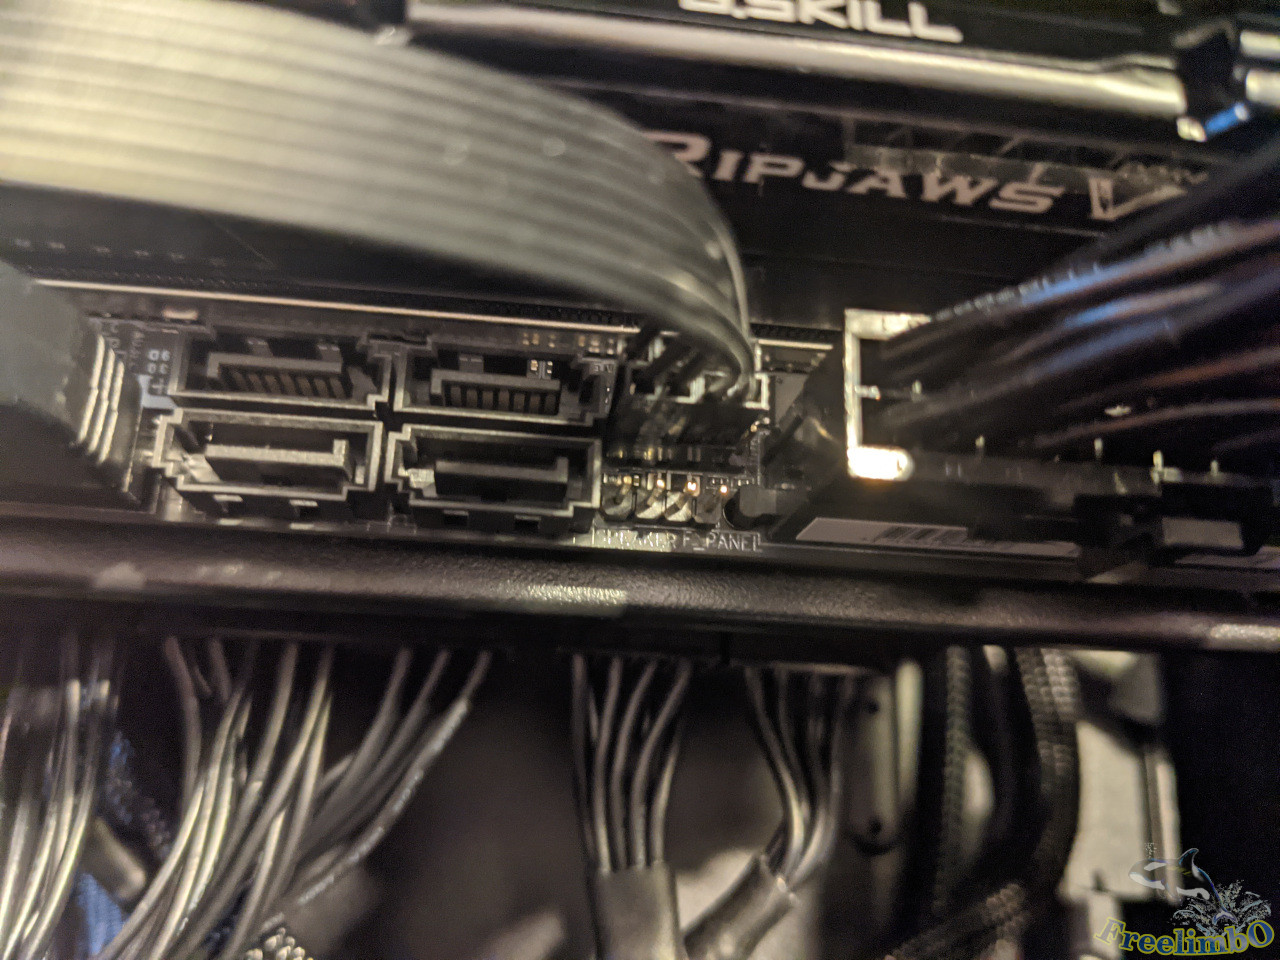 Ok, this should be the second challenging step in an installation. Those tiny cables can only be installed after the mobo was installed into the chassis, so I had to shine a flashlight into the chassis, and use my tweezers to micro-control the installation. The pins were tiny and close to each other. I need to read the manual carefully and keep my hand movement as stable as possible. Once I passed this step, the installation was almost done.
Blocking the Returning Airflow
 I followed the suggestions on Reddit to remove the front filter for blocking the returning airflow.
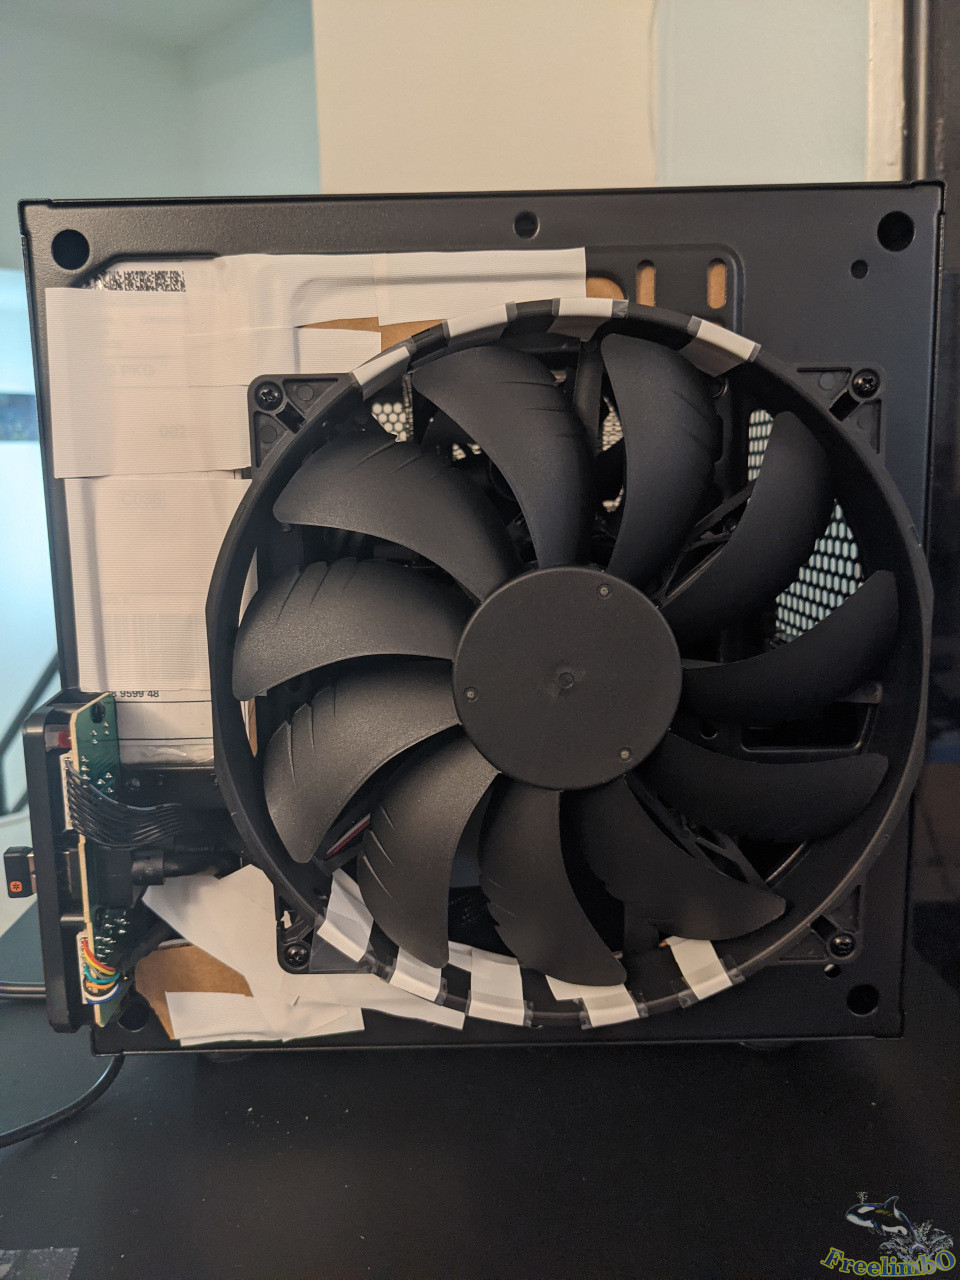 There were some holes allowing hot air to flow back to the gap of the front filter and the main intake fan. Reddit people suggested cutting down the returning path. This would help to lower the system temperature by 3 degrees Celsius.
Installation Finished
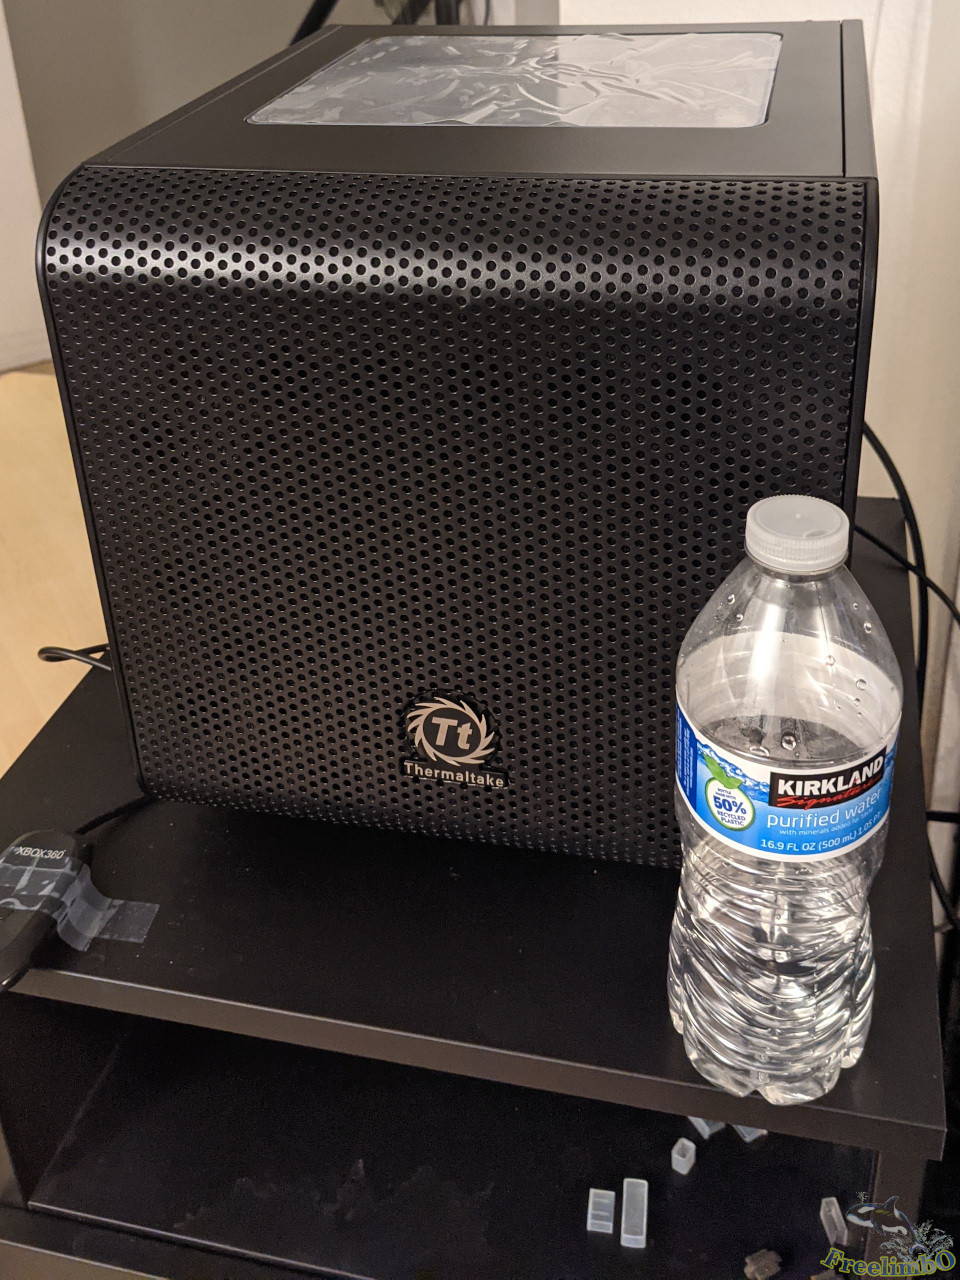 Compared to the size of bottled water, Core V1 is a lovely chassis.
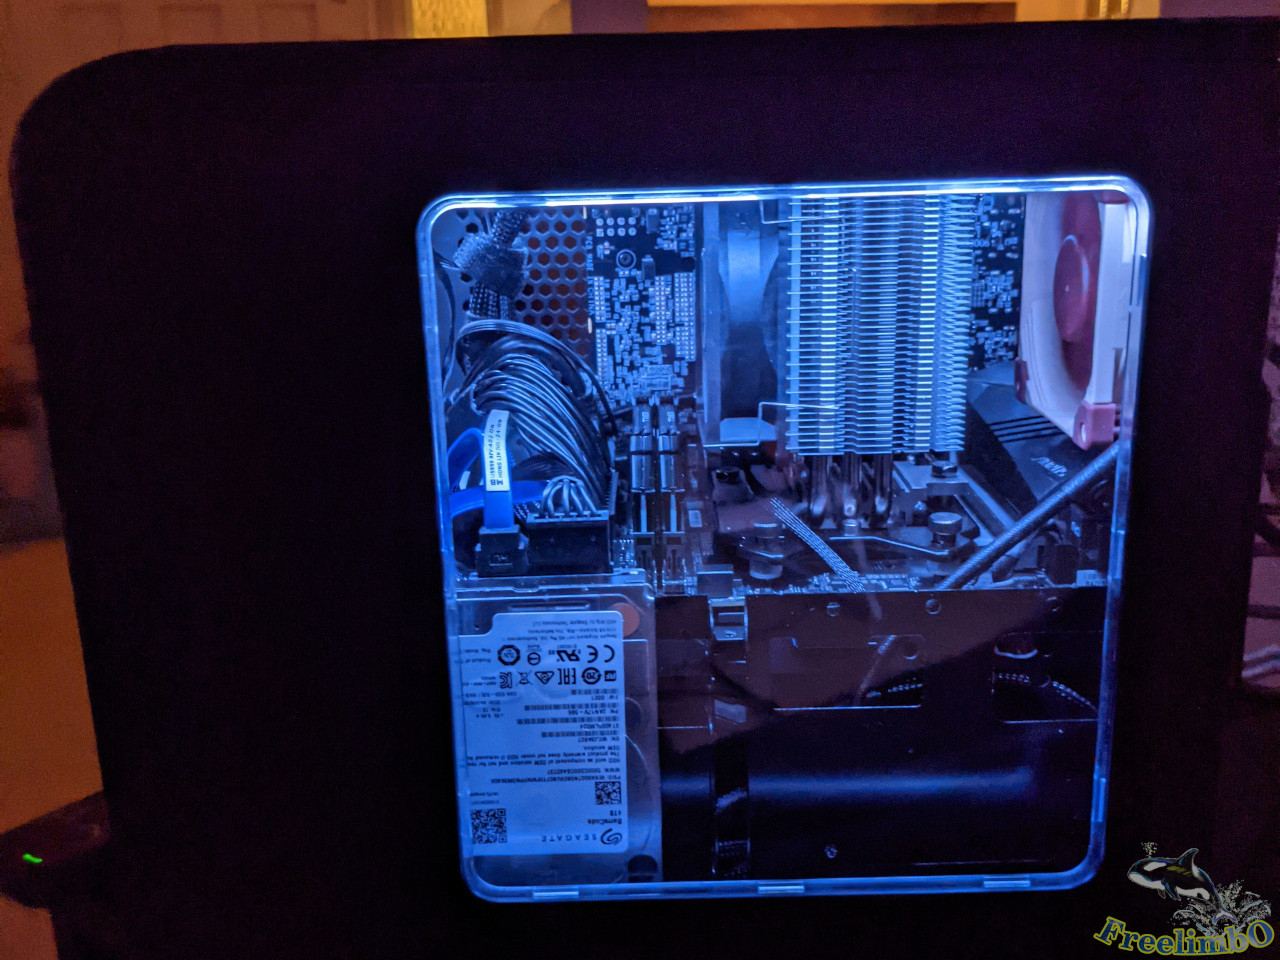 The LED made the computer fancier.
Almost forgot the mention the HDD. I got the 4TB Seagate from eBay as well. I used it to store retro games.
Verifying System Information
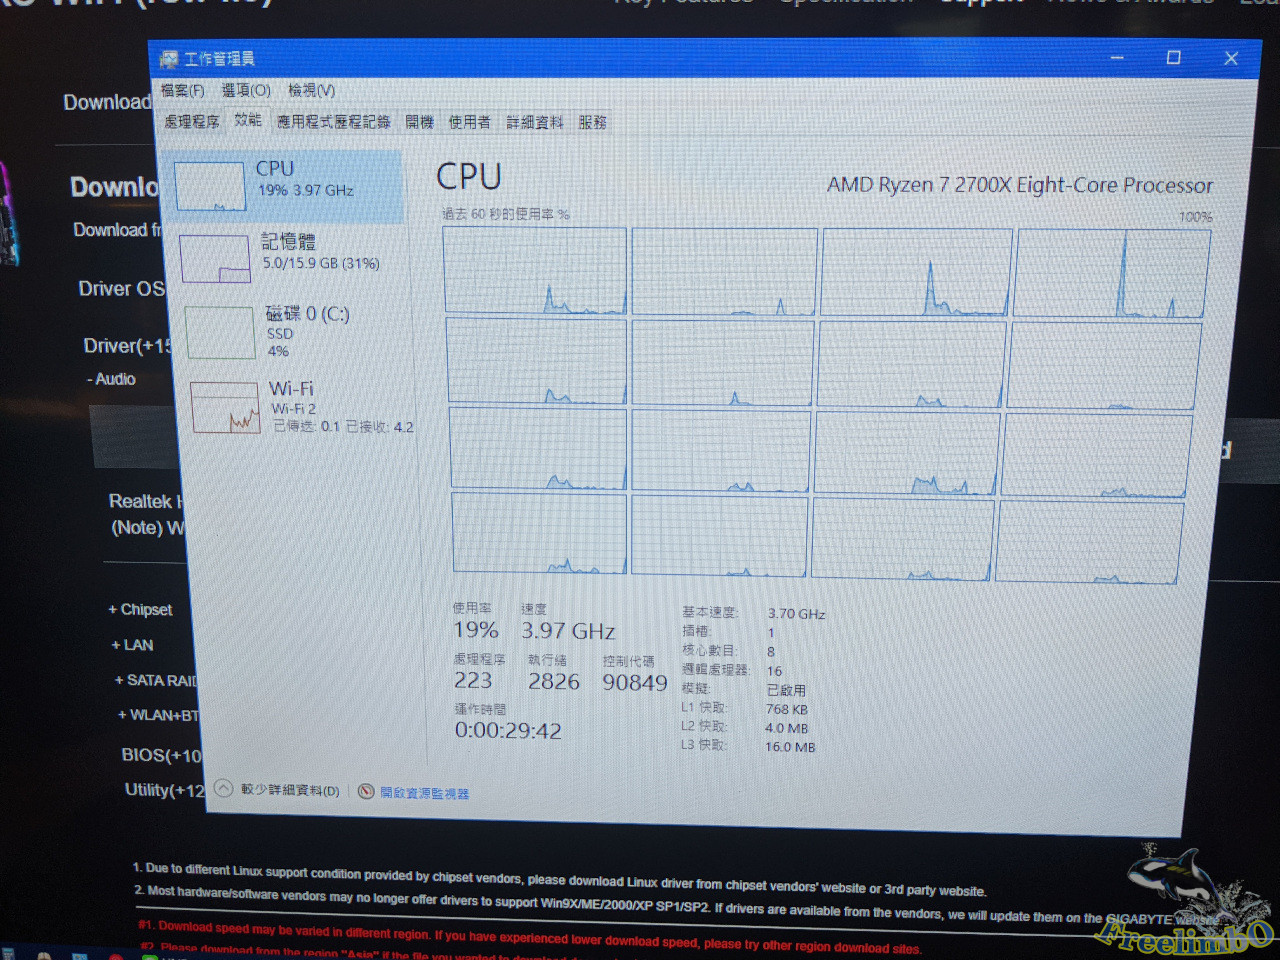 I got 16 logic cores.
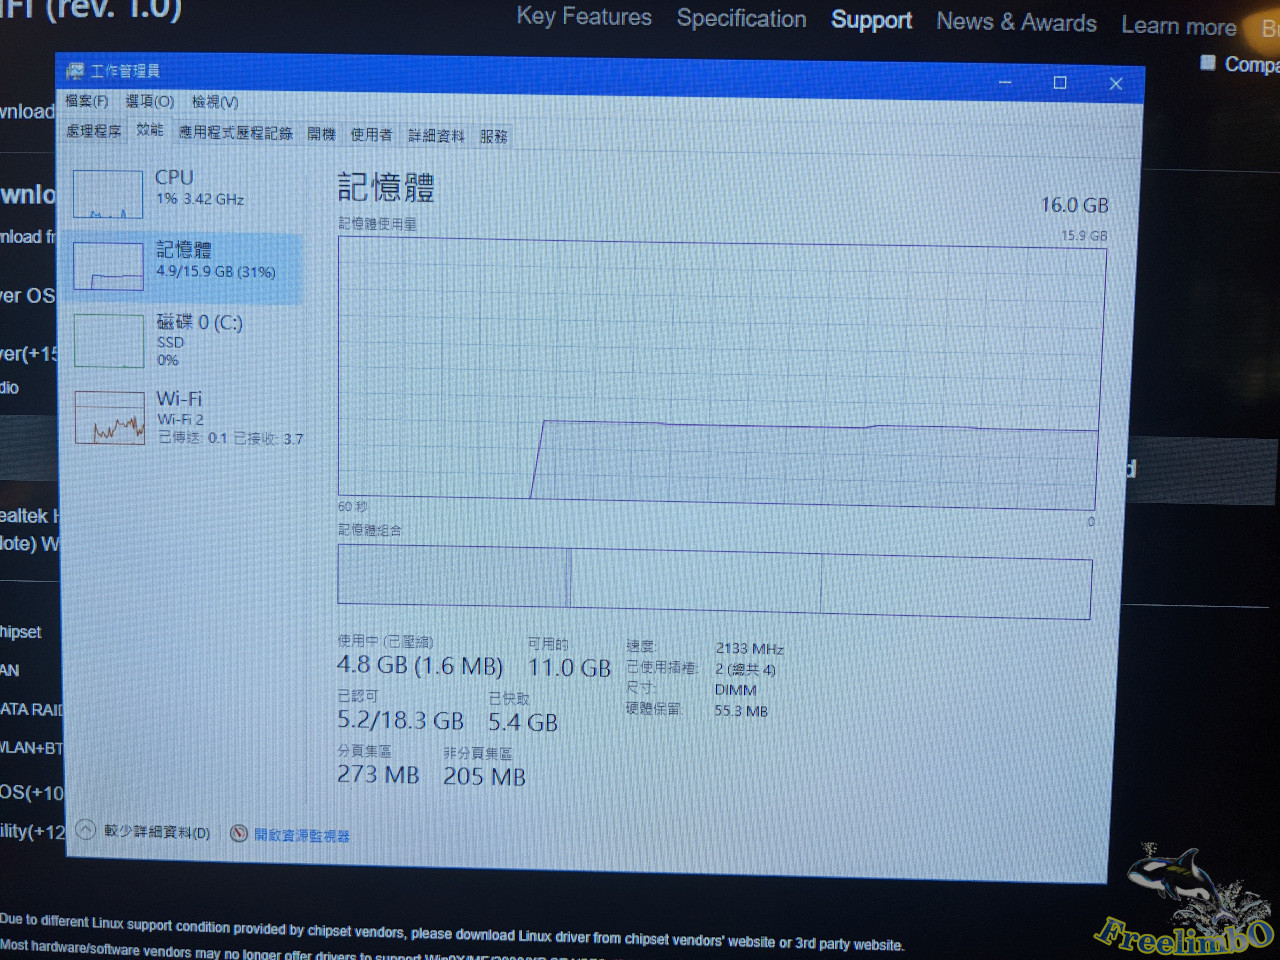 The main memory size was 16 GB.
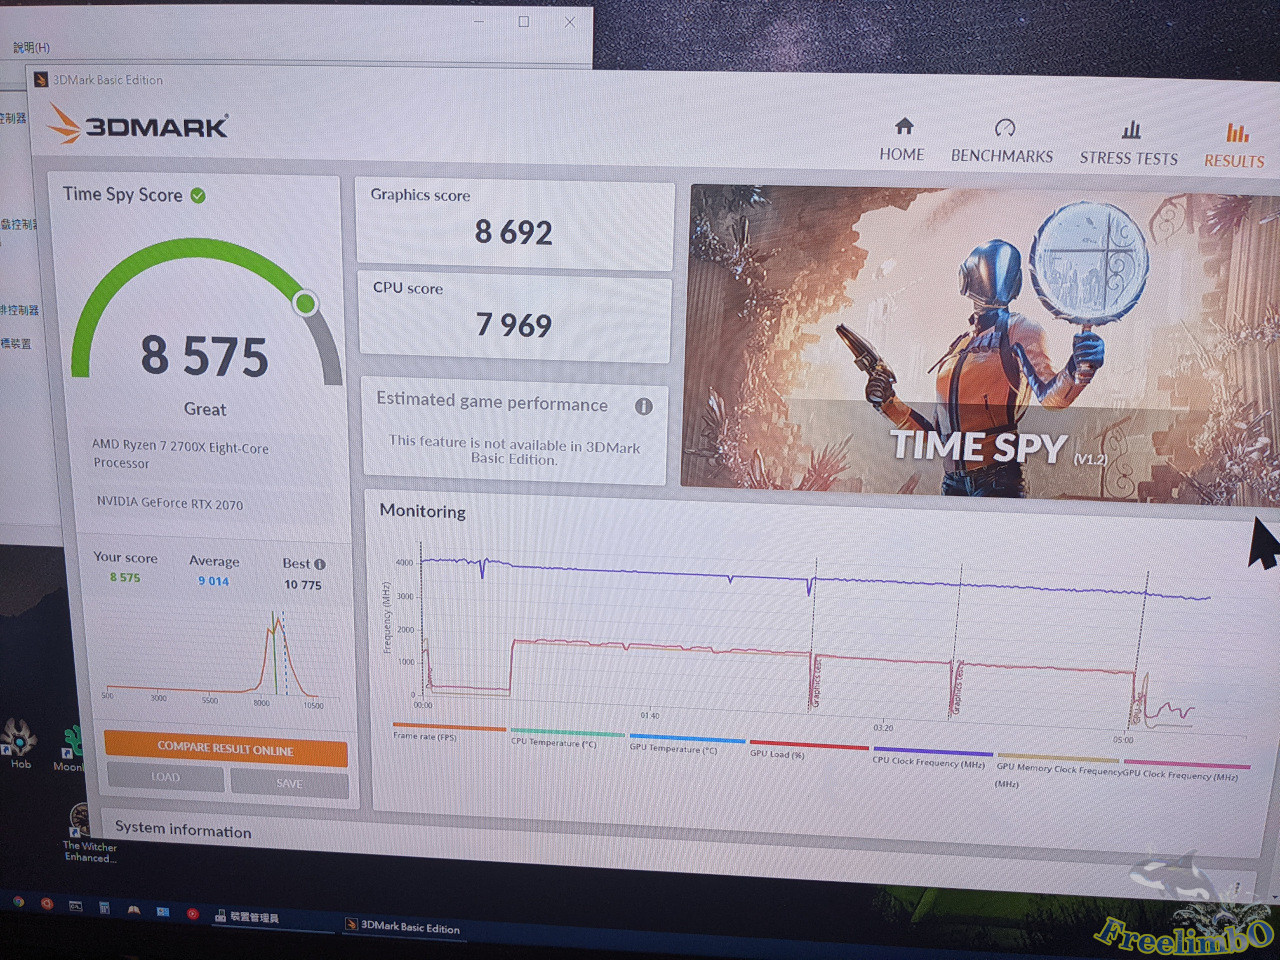 My machine scored 8,575 in the Time Spy benchmark. Looked decent for a combination of Ryzen 7 2700X and RTX2070.
Here is a table of my PC parts for your reference. Thanks for reading.
| Part | Name | price before tax | Source | |
|---|---|---|---|---|
| 1 | Chassis | Thermaltake Core V1 | 60 | Amazon |
| 2 | Motherboard | Aorus X570-I | 160 | eBay |
| 3 | CPU | Ryzen 7 2700X | 160 | eBay |
| 4 | CPU Cooler | Cryorig M9a | 23 | Amazon |
| 5 | DDR4 RAM | G.Skill Ripjaws DDR4-3200 2x8GB | 60 | eBay |
| 6 | PSU | EVGA Supernova 650 G2 | 50 | eBay |